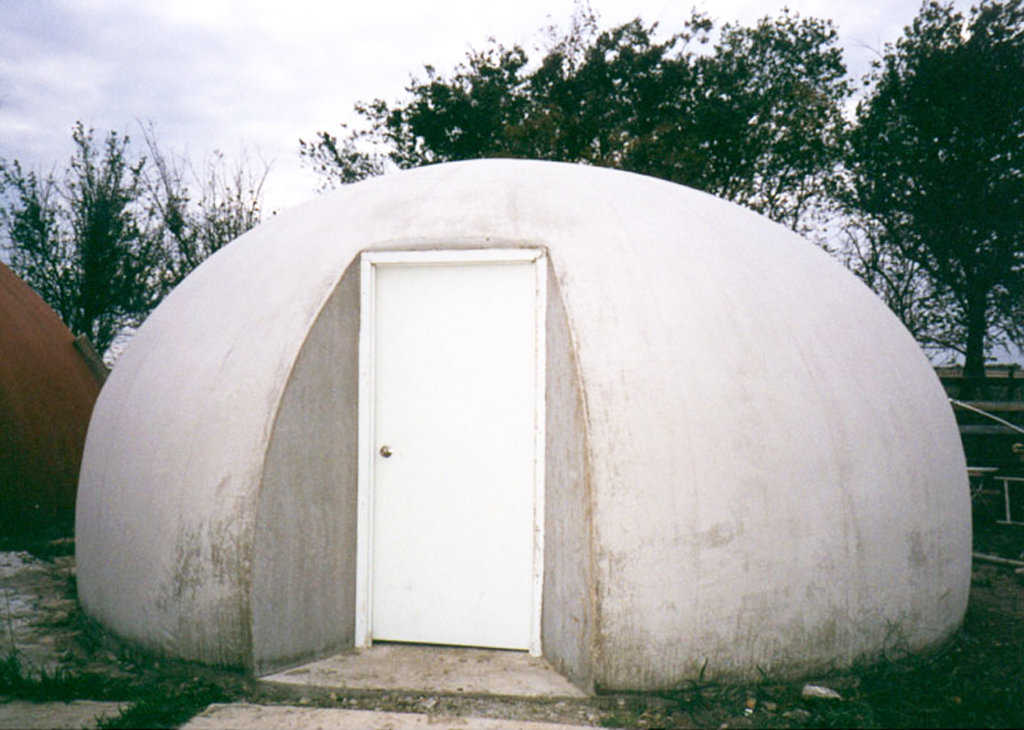
The Monolithic EcoShell II — The EcoShell II is a super-strong structure that can withstand hurricanes, tornadoes, earthquakes, fire, termites and rot.
The Monolithic EcoShell II
EcoShell II – Defined
Like an EcoShell I, an EcoShell II is a concrete, thin shell dome whose construction process includes Airforming. This technique uses an Airform that’s made of a high-strength, high-tech fabric. When inflated, the Airform, looking like a semi-rigid balloon, creates the EcoShell’s dome shape.
The Airform can be removed and reused. With proper care, it can be used 100 or more times. That feature significantly lessens construction costs for projects involving the construction of more than one structure.
For an EcoShell II, concrete is layered onto the interior of the inflated Airform. The shell is not usually insulated, but can be by adding polystyrene beads, vermiculite or perlite into some of the concrete as it is applied. This insulation and the thermal mass of the concrete does provide some thermal protection.
The EcoShell II is a super-strong structure that can withstand hurricanes, tornadoes, earthquakes, fire, termites and rot.
EcoShell II – How it’s used
In the United States and other industrialized nations, an EcoShell II can serve the same purpose as an EcoShell I: It makes an ideal, durable and low maintenance garage, workshop, grain storage, small warehouse or shed.
Nevertheless, some people feel that the EcoShell II is an improvement over EcoShell I, since its construction system allows Shotcrete to be applied to the interior of the Airform. This difference does not seem like much to some; others think it makes EcoShell II’s construction process more technologically sophisticated and therefore more appropriate for a nation with a developed economy.
David South, president of Monolithic, said, “For an EcoShell I, concrete is layered on to the exterior of an Airform; sometimes that is not easy. It all depends on the weather; if it’s good, applying concrete on the exterior of the Airform and allowing it to cure usually progresses well. But it’s a different story in bad weather. Then too, using a concrete gun outside means you must really watch what you are spraying. You don’t want to hit the neighbor’s car, bushes or pets. So we developed the EcoShell II, constructed mostly by working on the inside of the Airform. Now people have a choice.”
EcoShell II — How it’s built
The key to the successful construction of an EcoShell II is Monoform — the right primer. It allows concrete to stick to the interior of the Airform. Because the concrete sticks to the Airform, it is more difficult to get the Airform off after the concrete is set. It is a small penalty for being able to more closely control the spraying of the Shotcrete. It is almost impossible to hand apply the concrete to the interior of the Airform.
See images for step-by-step instructions on how it’s built!
Click here to learn about The Monolithic EcoShell I.
March 13, 2009
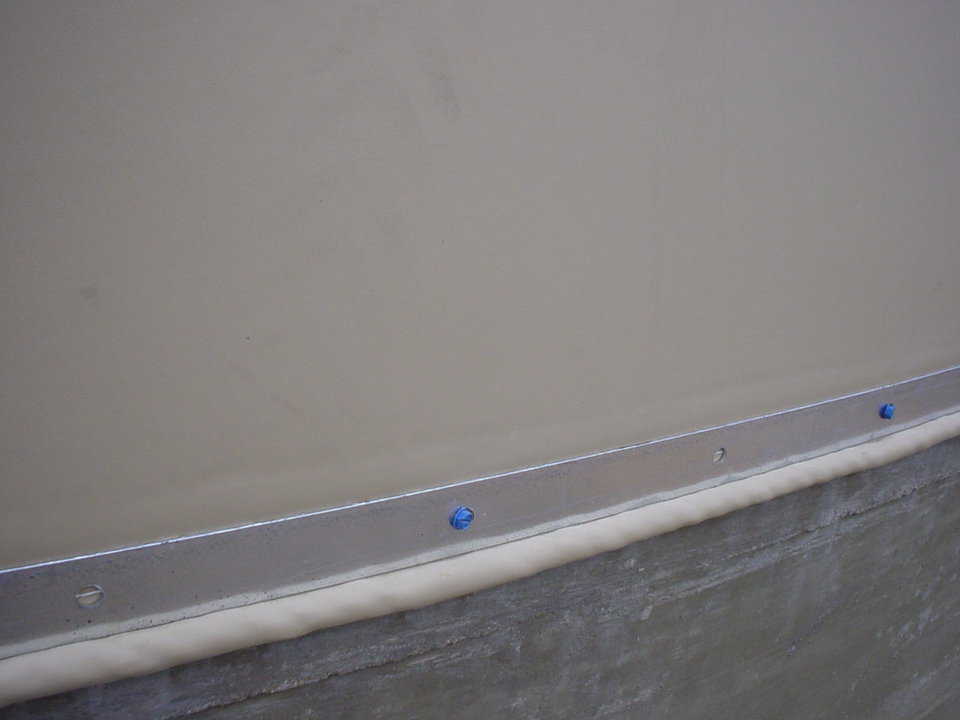
Step 1 — Airform is fastened to the exterior of the slab/footing in the same way as the Airform for a Monolithic Dome is fastened to its footing. Use clamp straps held in place with Tapcon concrete anchors (1/4″ × 1 1/4" to 1/4″ × 1 3/4").
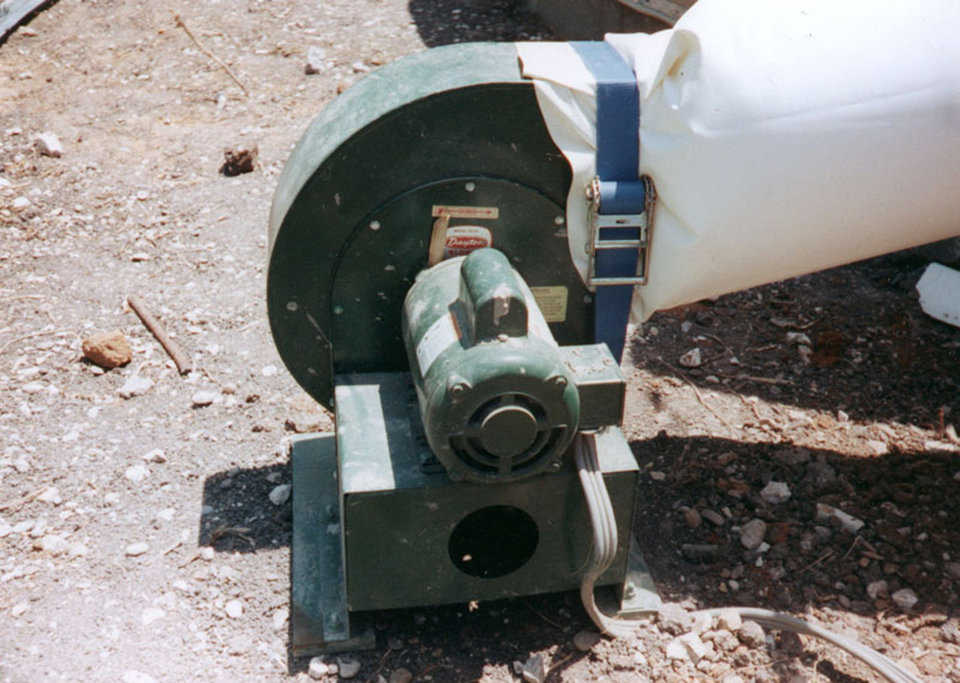
Step 2 — Inflator fan is the same as that used in Monolithic Dome construction. For small domes, use the Monolithic Puffer at a pressure of about 2 inches of water column. Monitor carefully. Increased pressure can expand the Airform and pull off or crack the concrete.
Step 3 — Inspect the Airform and seal it to the foundation. Then stabilize the pressure at 2 inches. Make sure the inside of the Airform is clean and dry.
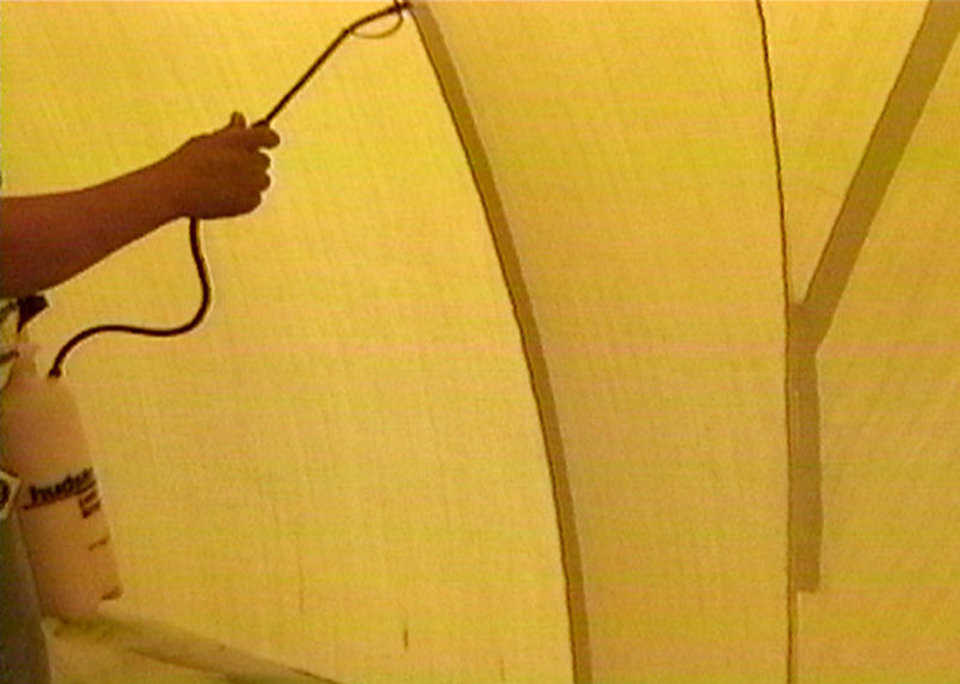
Step 4 — Apply Monoform Primer to the Airform’s interior, at a rate of about 300 square feet per gallon. It can be applied with an airless sprayer, but must be applied at least 30 minutes or more (up to a few days if it remains clean) before spraying the first layer of Shotcrete. The Monoform should be dry but sticky to touch.
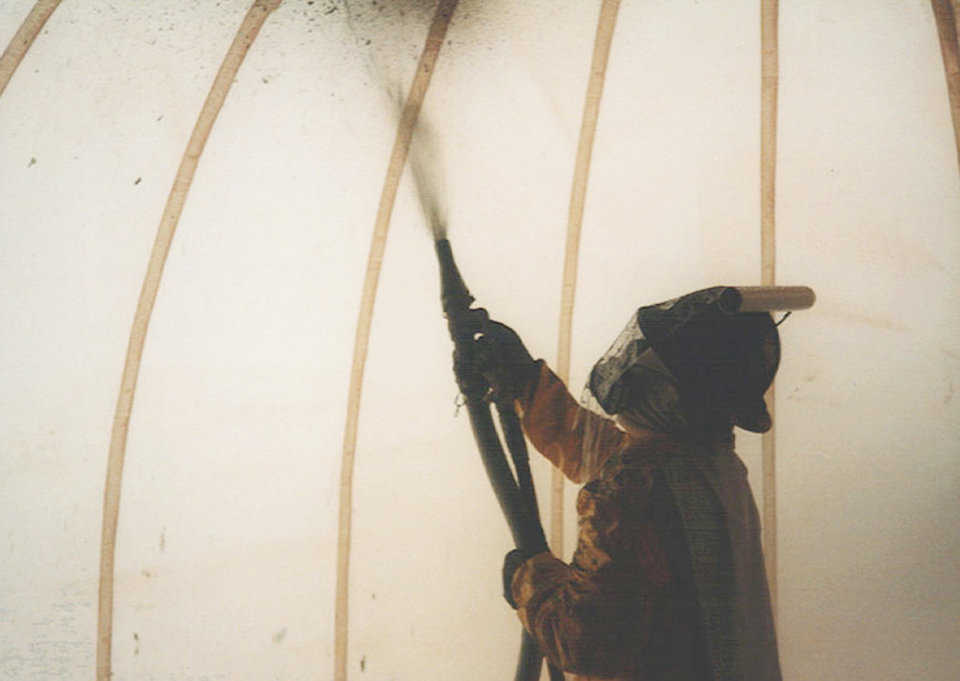
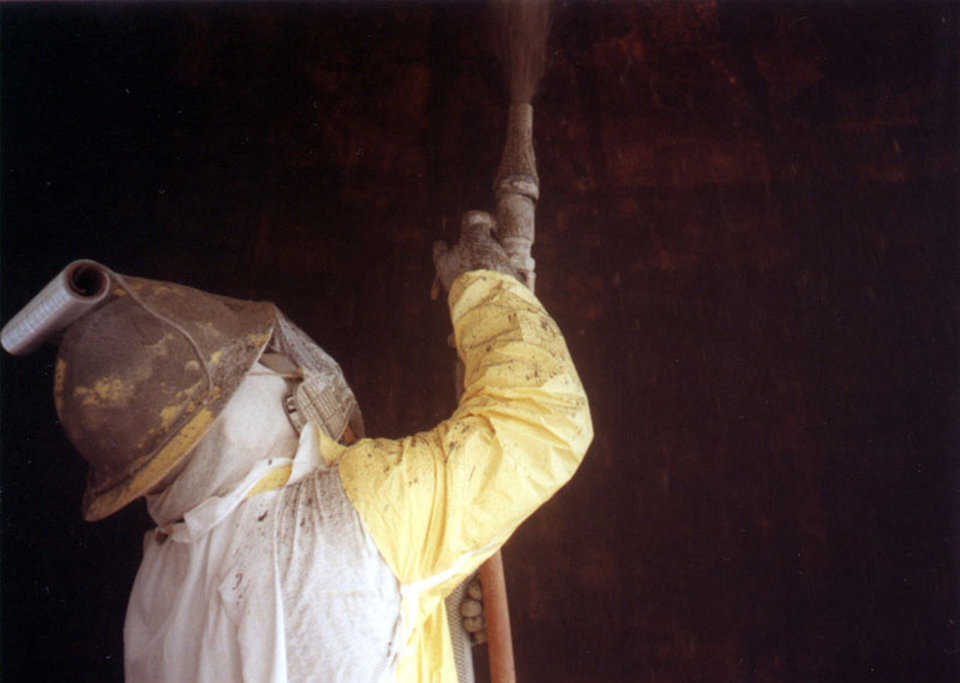
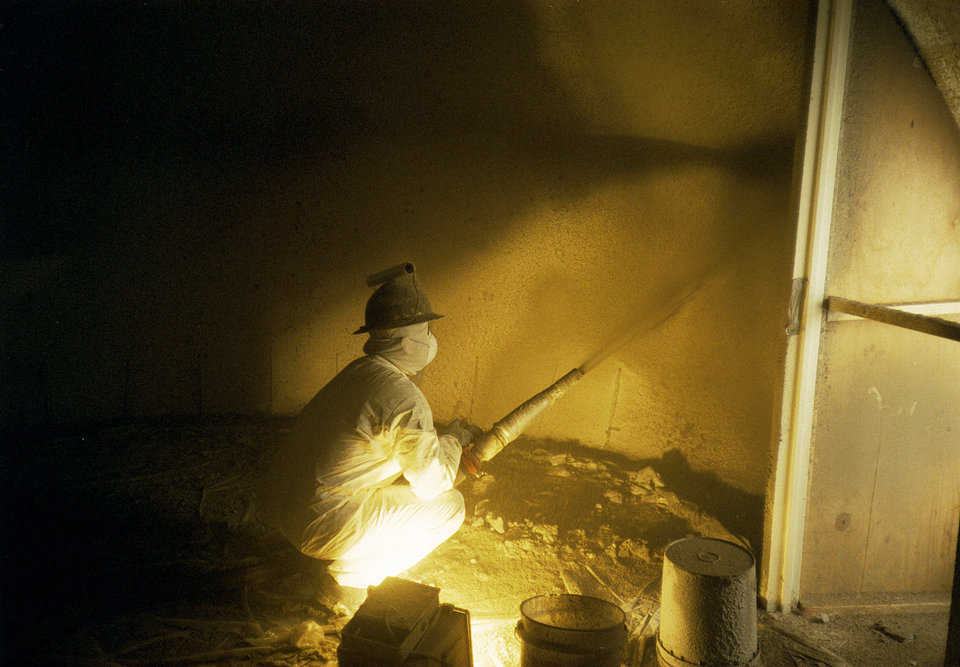
Step 5 — Coat the interior of the Airform with Shotcrete, over the Monoform Primer and to a thickness of at least 1/8 inch — up to 1/4 inch (preferably 1/4 inch). This is Monolithic’s standard mix with Kel-Crete and nylon fibers. Apply the second coat of concrete as soon as the first coat is ready or the next day (another 1/4" to 1/2" is about right). Concrete is ready for its second layer when it feels tough — not necessarily brittle. The time to recoat in hot weather can be in 1 hour. In colder conditions it may require heat and curing overnight.
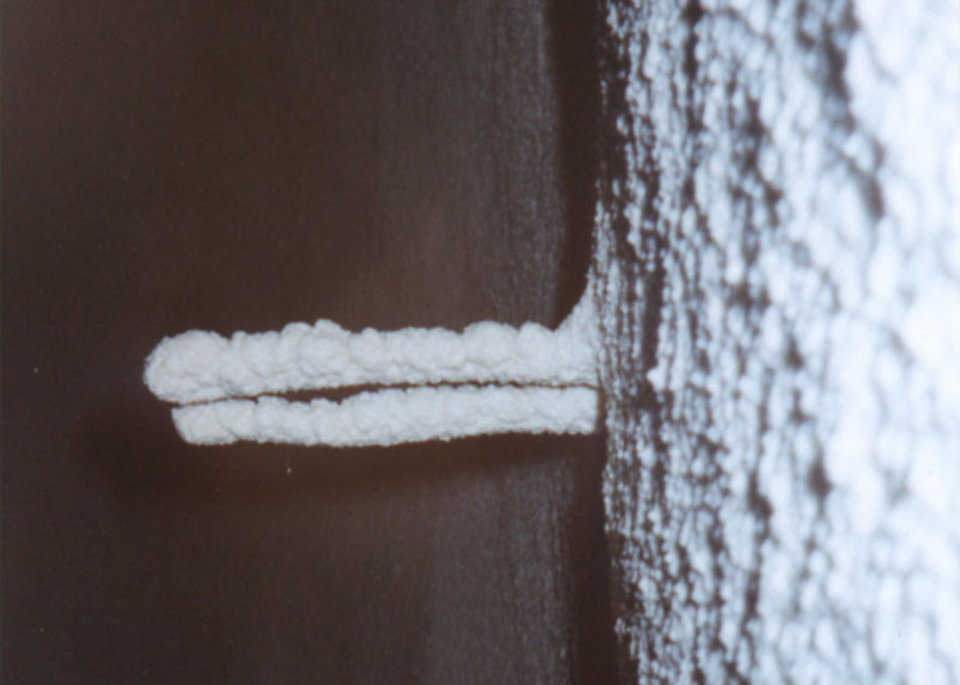
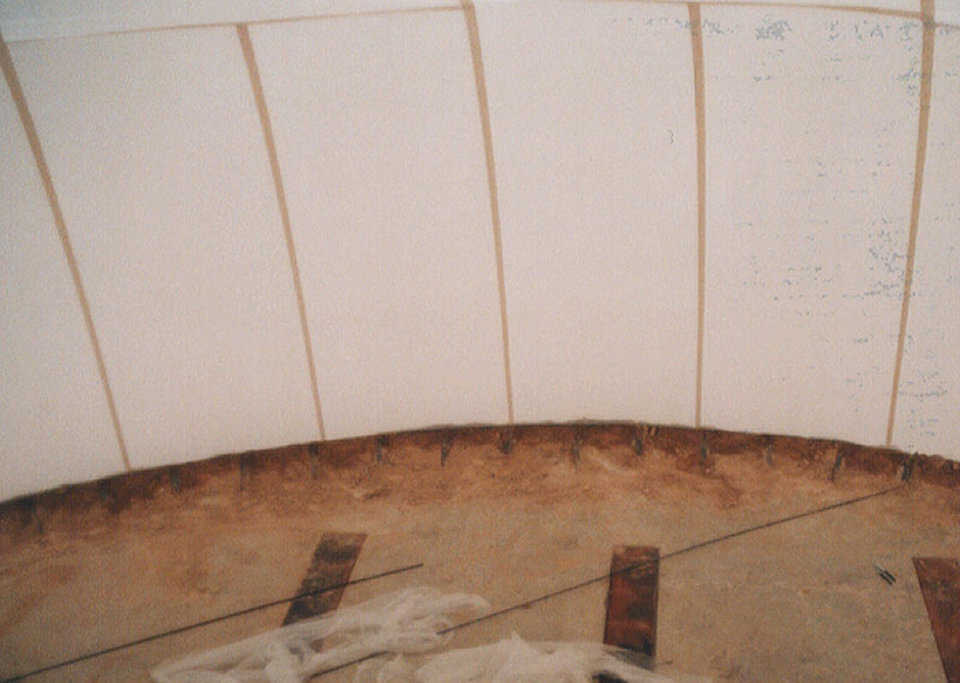
Step 6 — Directly after the second 1/4 to 1/2 inch of Shotcrete is sprayed, insert barbed rebar hangers into the still wet concrete. Then spray over the barbed rebar hangers with the third 1/4 to 1/2 inch coat of concrete to lock them in place.
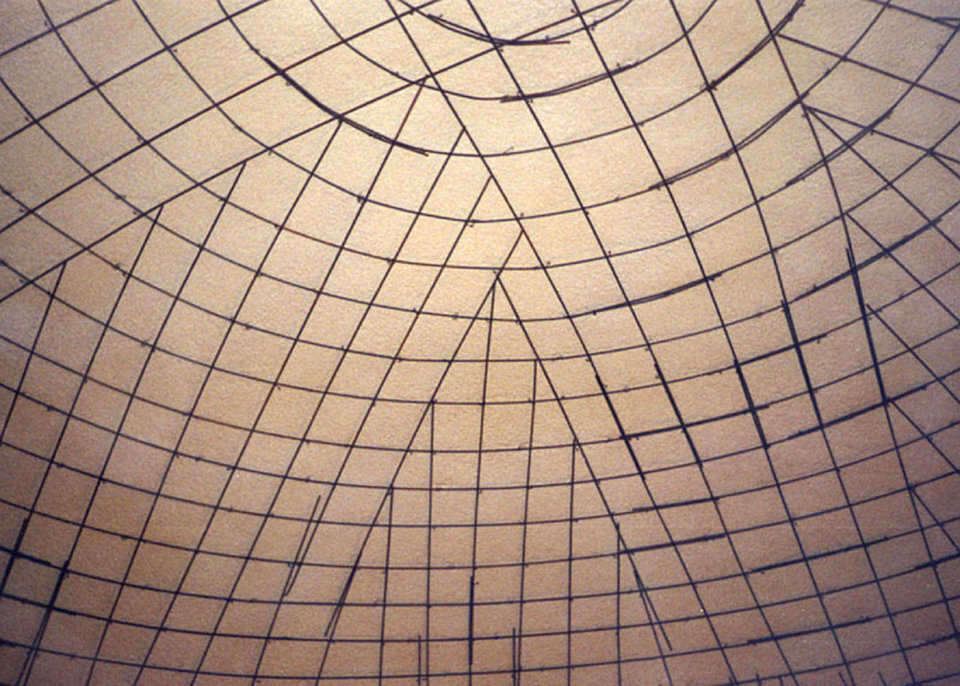
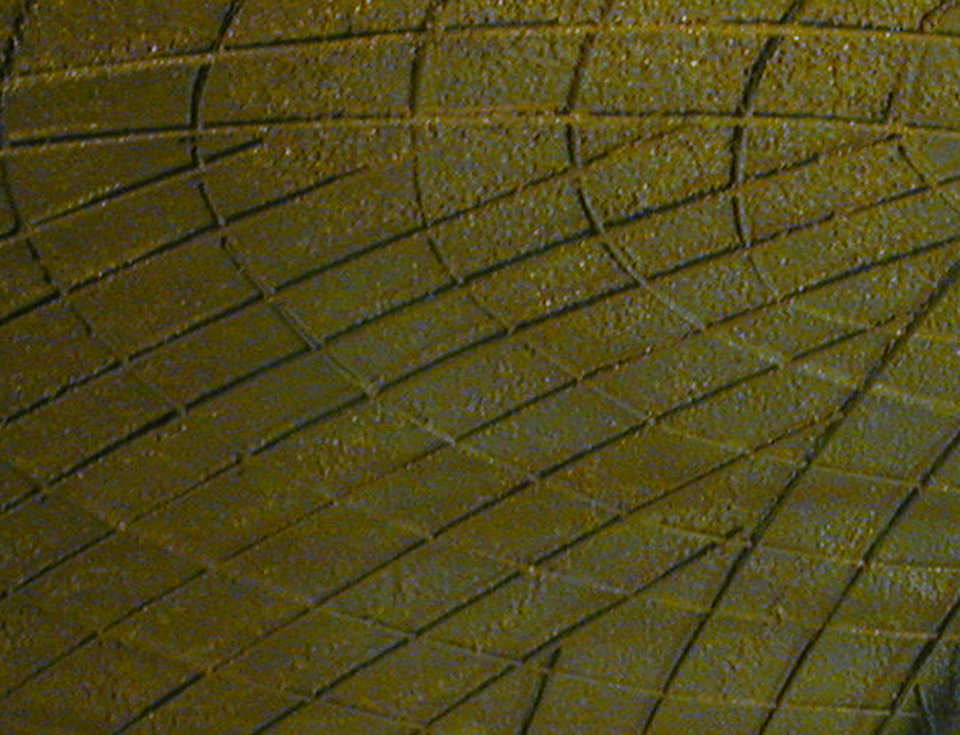
Step 7 — Place the rebar following the engineering specifications. Care should be taken to keep rebar as tight as possible to the shell concrete. The plan is to have 3/4" of concrete on the exterior of the rebar. Number three (3/8”) rebar spaced 10 inches on center both ways is always safe for small domes.
Step 8 — Spray balance of the concrete in 1/2" to 3/4" layers until desired depths are achieved. Concrete should reach at least 600 psi before the next layer is applied. As indicated in our table comparing EcoShell II to conventional concrete buildings, there are huge savings in concrete and rebar for the EcoShell.
Note to Step 8 — As the concrete is built up, the rebar should be kept relatively clean. This is done by proper Shotcrete techniques and/or cleaning for total embedment of the rebar.
Step 9 — Complete the EcoShell II with a 3/4" minimum cover over the rebar on the outside and 1/2" to 3/4" cover on the inside. EcoShell II should have a coating placed over its exterior surface. If the EcoShell II’s exterior is not coated, it’s considered unprotected concrete. Technically, there should be a concrete cover 2" over the rebar.
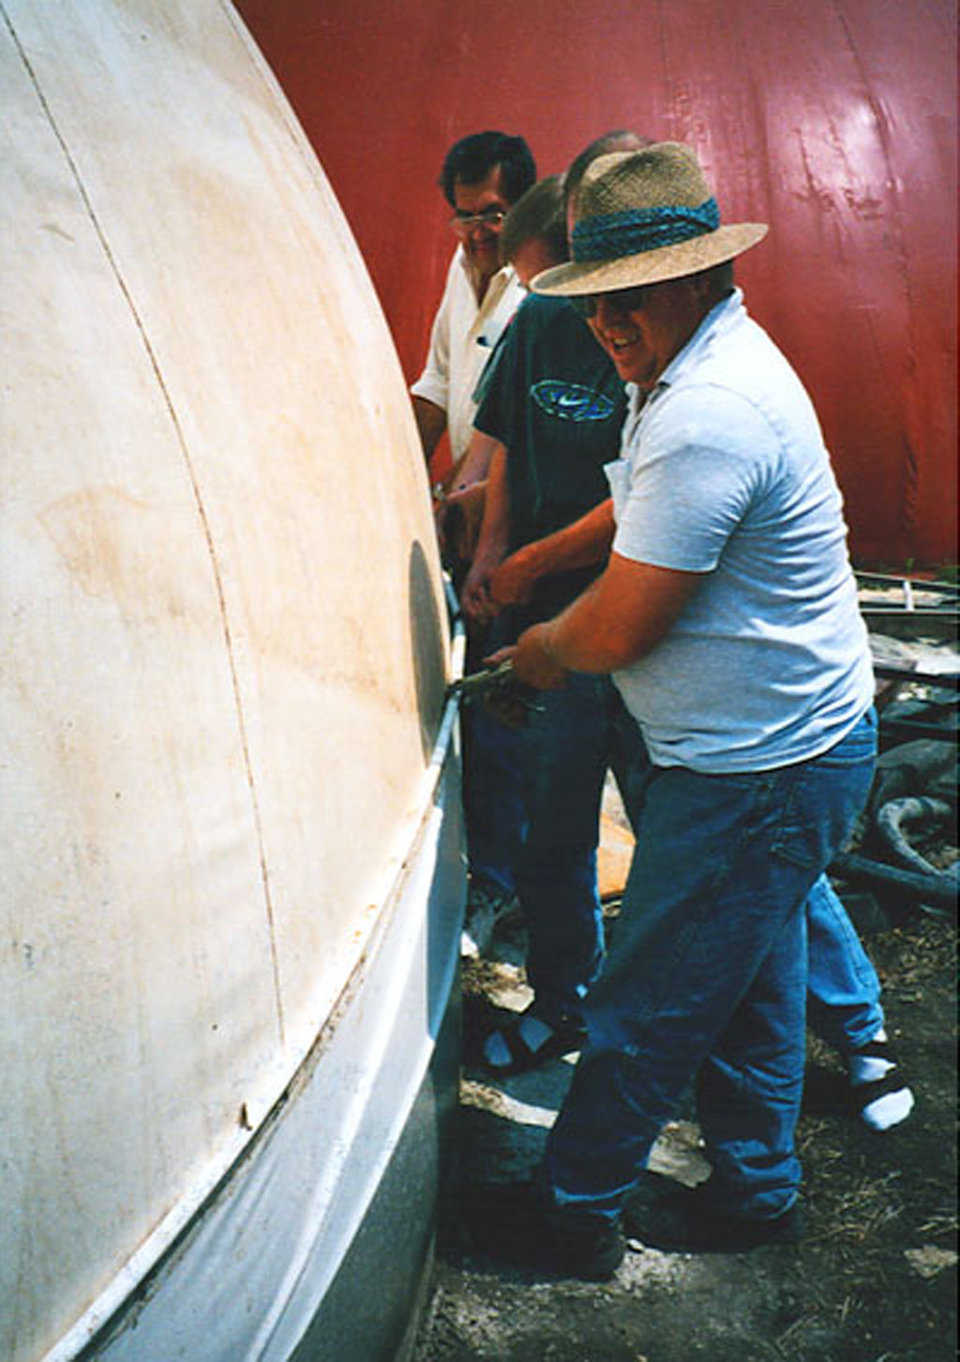
Step 10 — After a day or two, remove the Airform from the exterior of the EcoShell II. A coating should be considered and applied to protect the concrete from drying and to provide long term protection from leaks.
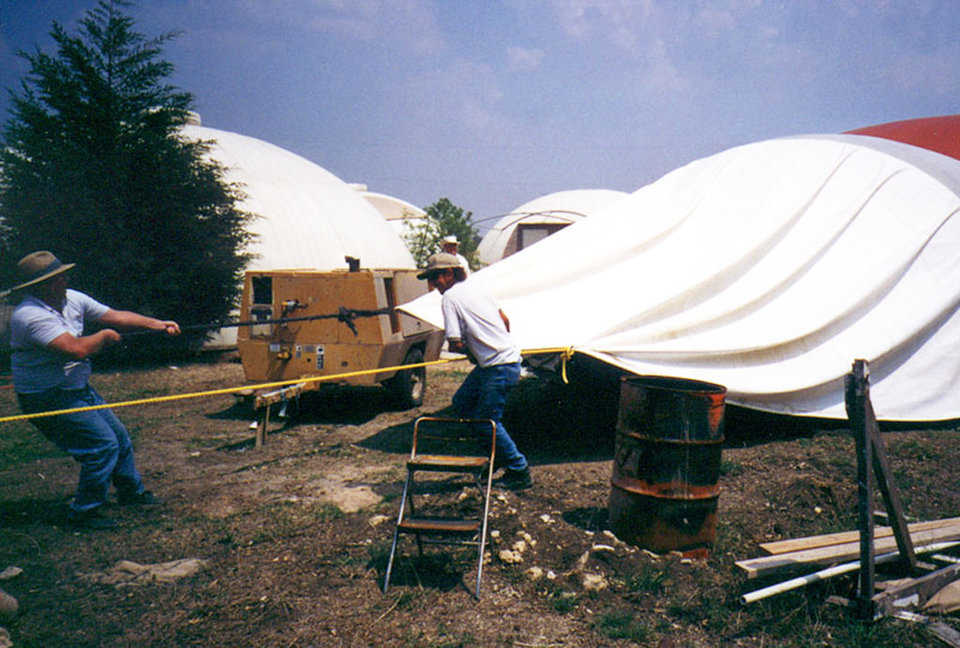
Step 11 — Removal of the Airform will be tough. If this is not so, there will be failure during the construction. The Airform must not let go of the concrete because a cave-in may ensue. Do not use a mold release; it will get you in trouble. The work of pulling the Airform is nothing compared to putting a fallen dome back together. Removal of the Airform can be done by simply pulling it up, bit by bit, around and around. Ropes can be affixed for pulling larger Airforms.