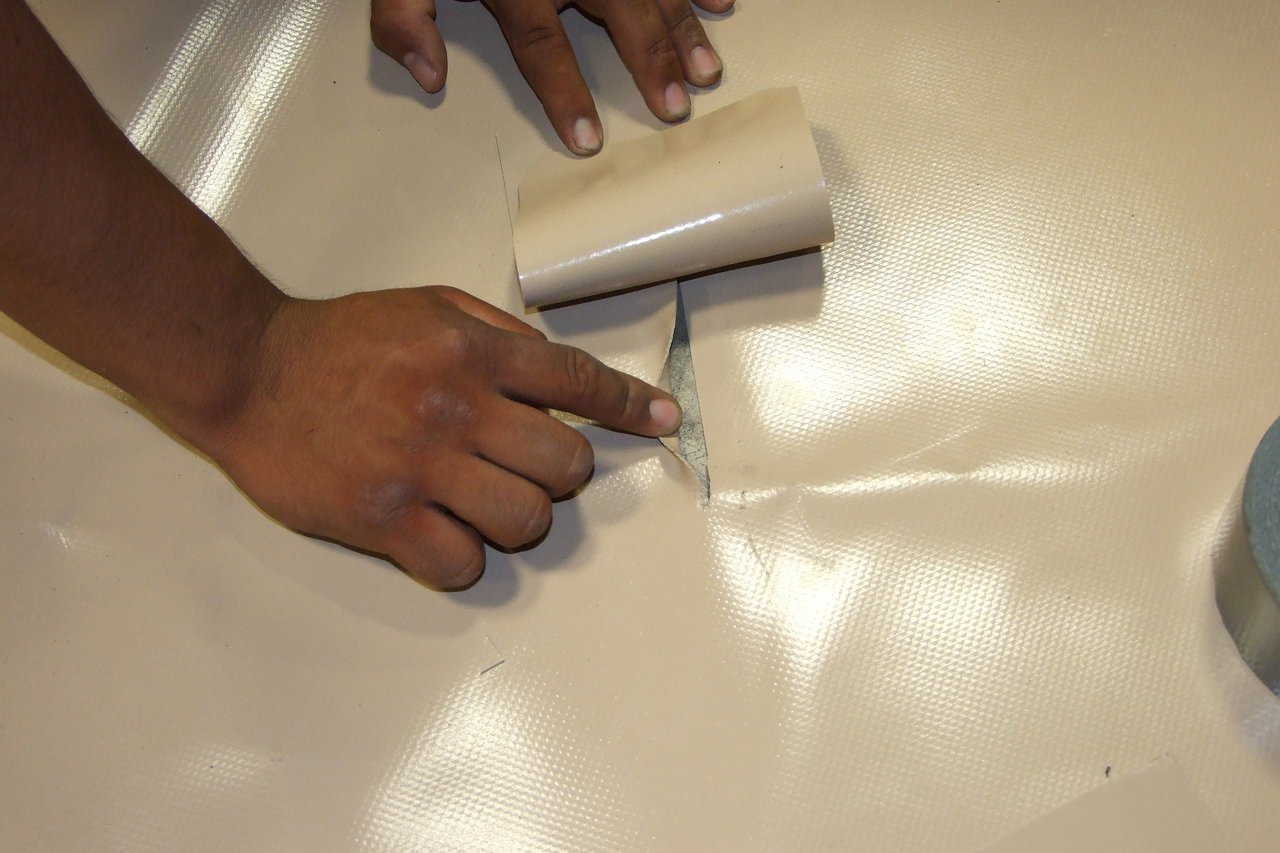
A Tear in an Airform — This is an example a patch being glued onto a tear in an Airform. Cut the patch and prepare the area. (Mario Ramos)
Patching Airforms
When dealing with something as “delicate” as an Airform (Airforms are as tough as a boot but because of their weight they seem delicate), rips and holes will happen. The best way to deal with these problems is to be prepared for them. This article reviews a few of the things you can do to fix such problems.
General Rules for Patching
It’s usually better to patch from the inside, where the patch can’t be seen. Most common holes occur while inflating or unrolling the Airform. Small holes can been patched after the Airform has been inflated to very low pressure.
Clean the surface. For all of these methods, a clean dry surface is a must. Without proper preparation you cannot expect an acceptable outcome.
HH-66 Vinyl Cement
HH-66 is a contact cement that has been designed specifically for the Airform’s type of vinyl, and it is the simplest way to fix small holes or tears.
Begin by cutting a patch with circular edges. (Square edges are harder to glue down.) Once you have the patch cut, clean the fabric. You can clean the fabric and the patch with paper towels and water, if needed. Once both surfaces are clean and dry, apply the cement to both surfaces, but don’t apply the patch yet. Let the cement dry just until its tacky and then apply the patch. Apply pressure to the area for a few seconds, and the patch will be completed.
Airform Rivets
Fabric rivets are a good alternative. They offer a mechanical bond that comes in handy in areas under high stress, such as door and window augments. Examples of rivet use include riveting on a second airlock tube or connecting an airformed tunnel to an existing dome.
Begin by making a hole through both surfaces. The best way to make holes in Airforms is to melt them. Melting the holes in the Airform keeps the tread from being cut and pulling back into itself. The perfect tool for melting holes in Airforms is a soldering iron. A simple cheap soldering iron can create all the holes you need.
Once you have the hole in place, simply insert the rivet and use a rivet gun to secure the patch. Airform rivets are different than rivets for steel as they open with a star pattern for greater hold.
To create an airtight seal, you can glue a small patch over the riveted area.
Heat Gun
The heat gun is the preferred method of patching Airforms. Heat guns that we use are built specifically for the industry and last far longer than average heat guns carried by most hardware or building materials stores. We recommend buying the tool that matches your needs if you are going into the dome business. Consider buying one of the Lyster brand heat gun if you plan to start a dome building business.
Heat welding a patch is as easy as it looks but making it look good can be challenging. I suggest practicing before you weld your first patch.
Start by cutting and preparing the patch and cleaning the damaged area. Once you have the patch, place it over the damaged area. It is important to have a hard surface under the patch so you can apply a steady pressure to the fabric while welding. We recommend using a piece of plywood or board under the Airform.
Once the area is ready, start at the middle of the patch. Place the roller down and insert the nose of the welder between the two layers. With the roller gently touching the nose of the welder, slowly pull the welder out from between the two layers and follow with the roller. The idea is to melt the vinyl from both sides and to push it together so that it chemically bonds.
This is basically the same way the Airform is welded together, but it’s never exactly the same since hand welds cannot an RF weld.

Area Prepared — Area is cleaned and patch is cut (Mario Ramos)

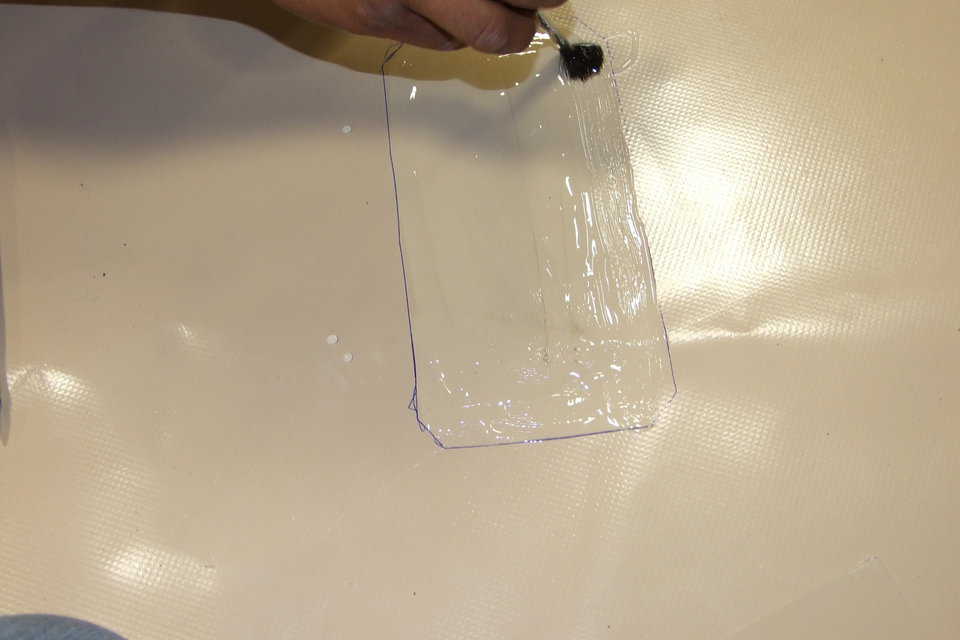
Applying Glue — Glue is applied to the patch area and then to the patch. (Mario Ramos)
Allow Dry Time — Once glue is applied to both the Airform and the patch, wait a few minutes for the glue to become tacky. (Mario Ramos)
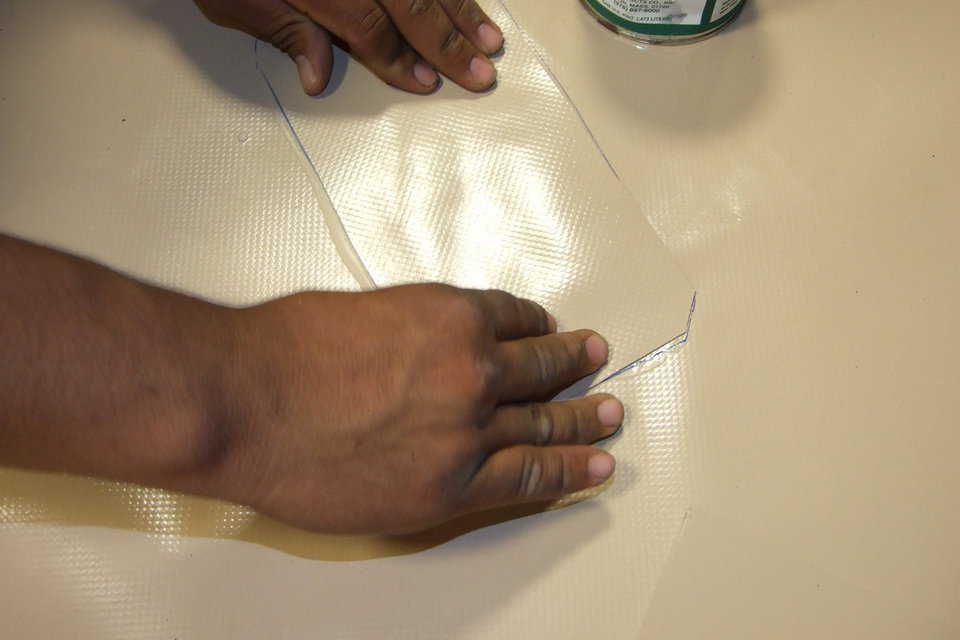
Apply Patch — Apply the patch to the affected area. (Mario Ramos)
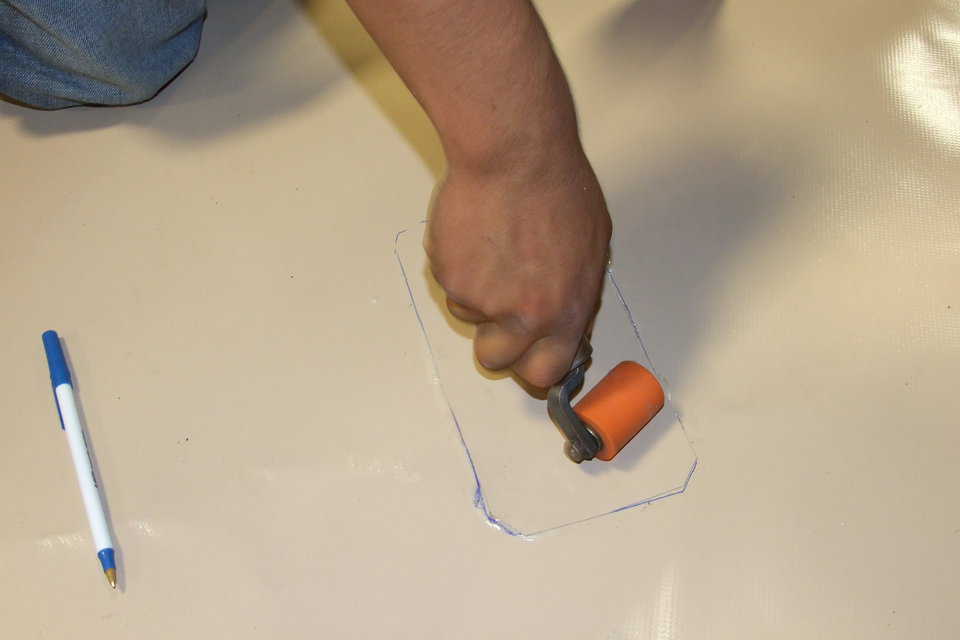
Apply Pressure — Apply pressure to the patch and squeeze out any excess glue. Remember to clean up. (Mario Ramos)
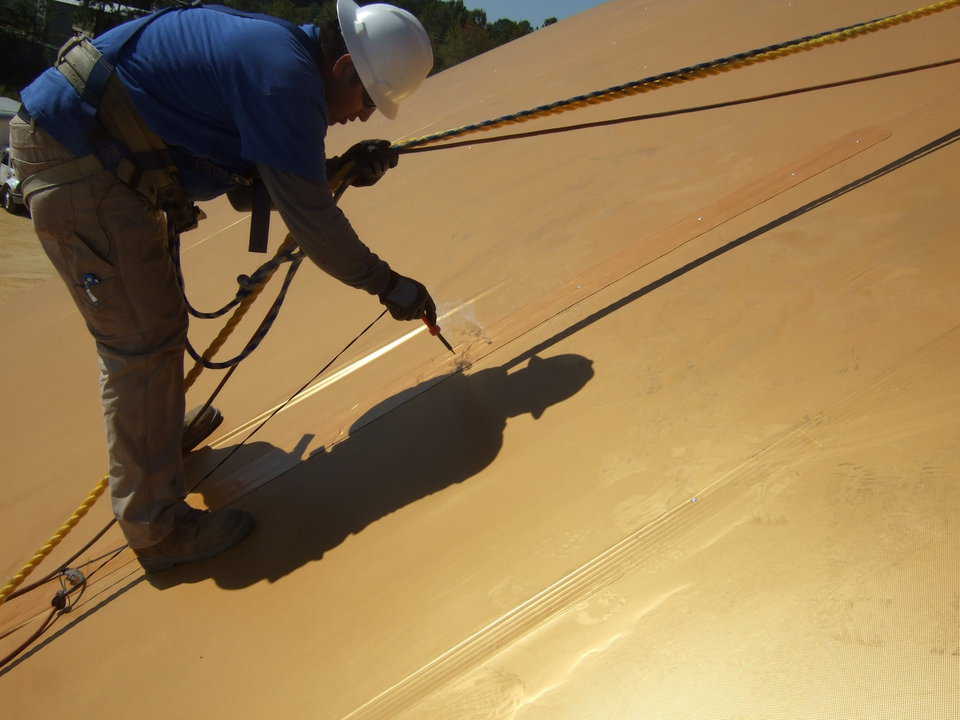
Melt Hole — This is an example of installing an Airform rivet. Begin by melting a hole in the fabric. The easiest way to melt a hole is with a soldering iron. (Javier Figueroa)
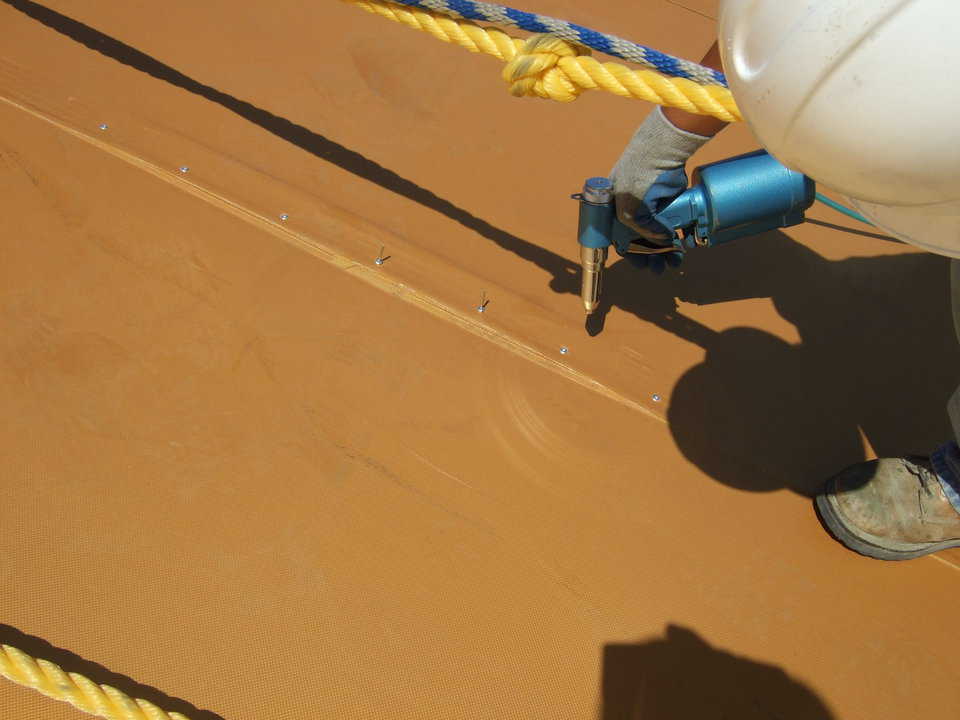
Install Rivet — Once the hole is melted, simply install the Airform rivet using a rivet gun. (Javier Figueroa)
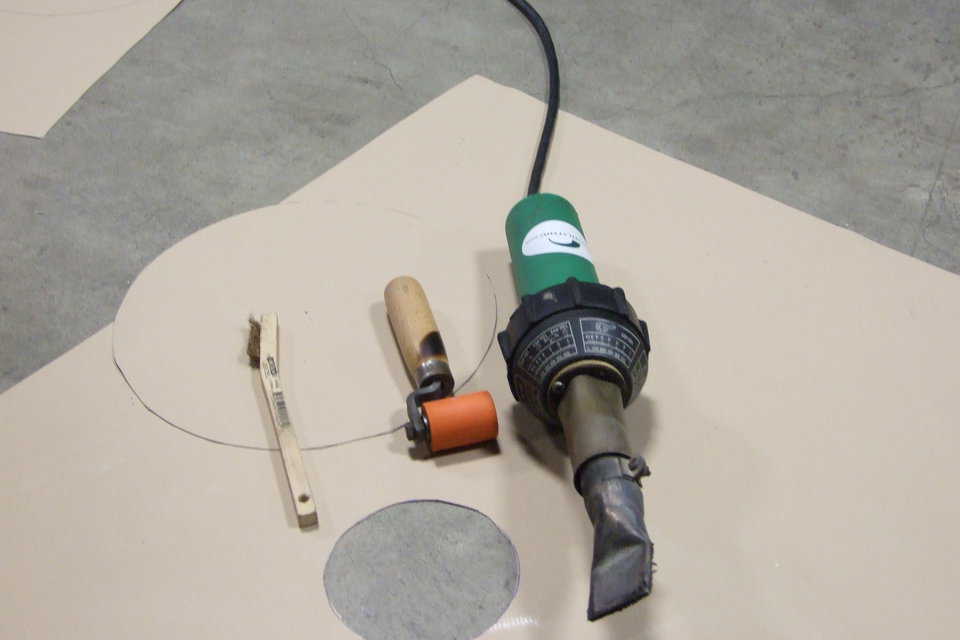
Welding Tools — Here are the tools needed to install a patch using a heat gun. From left to right, we have the industrial heat gun, the hand roller, and a wire brush for cleaning the gun tip. (Mario Ramos)
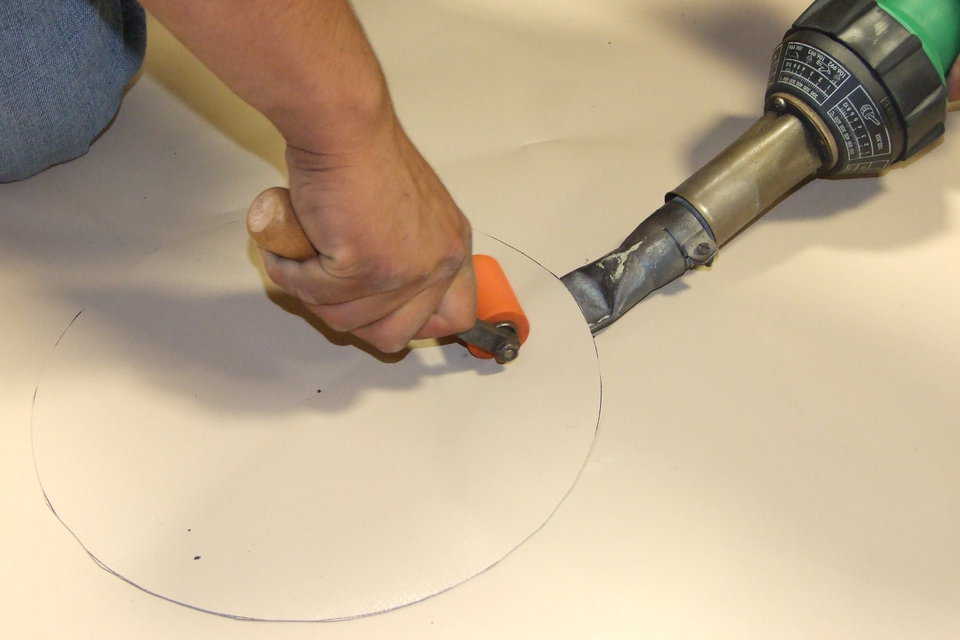
Start in the Center — Begin in the center and work your way out. (Mario Ramos)

Apply Pressure — Applying the proper amount of pressure is important. Make sure you have the proper amount of heat to melt the vinyl. (Mario Ramos)

Practice — Making a smooth patch takes a lot of practice. For your first time, use a small test area in which to practice. (Mario Ramos)
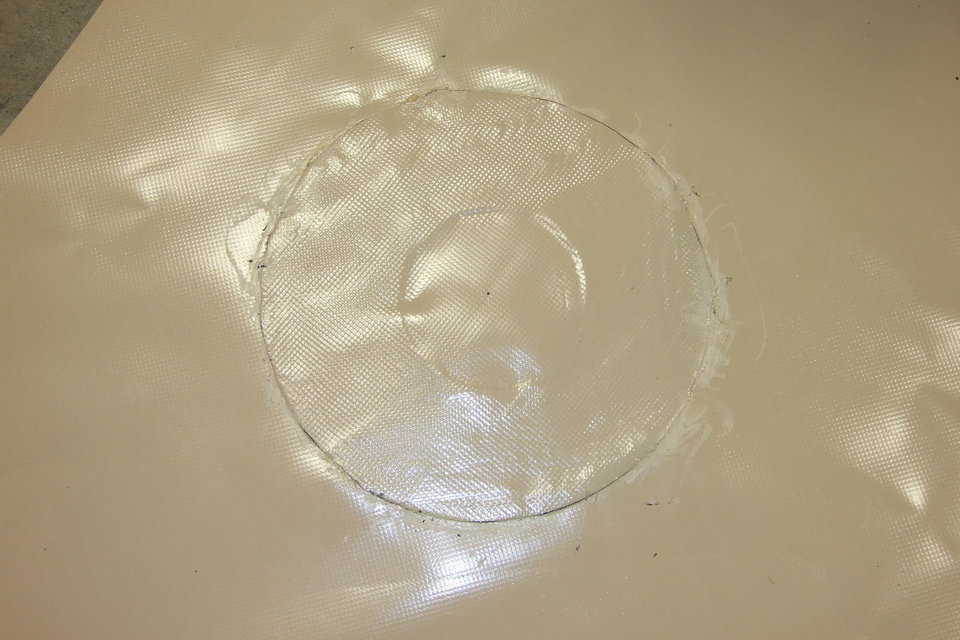
Finished Patch — Here is a finished patch made by using a heat gun. (Mario Ramos)