Patching Airforms
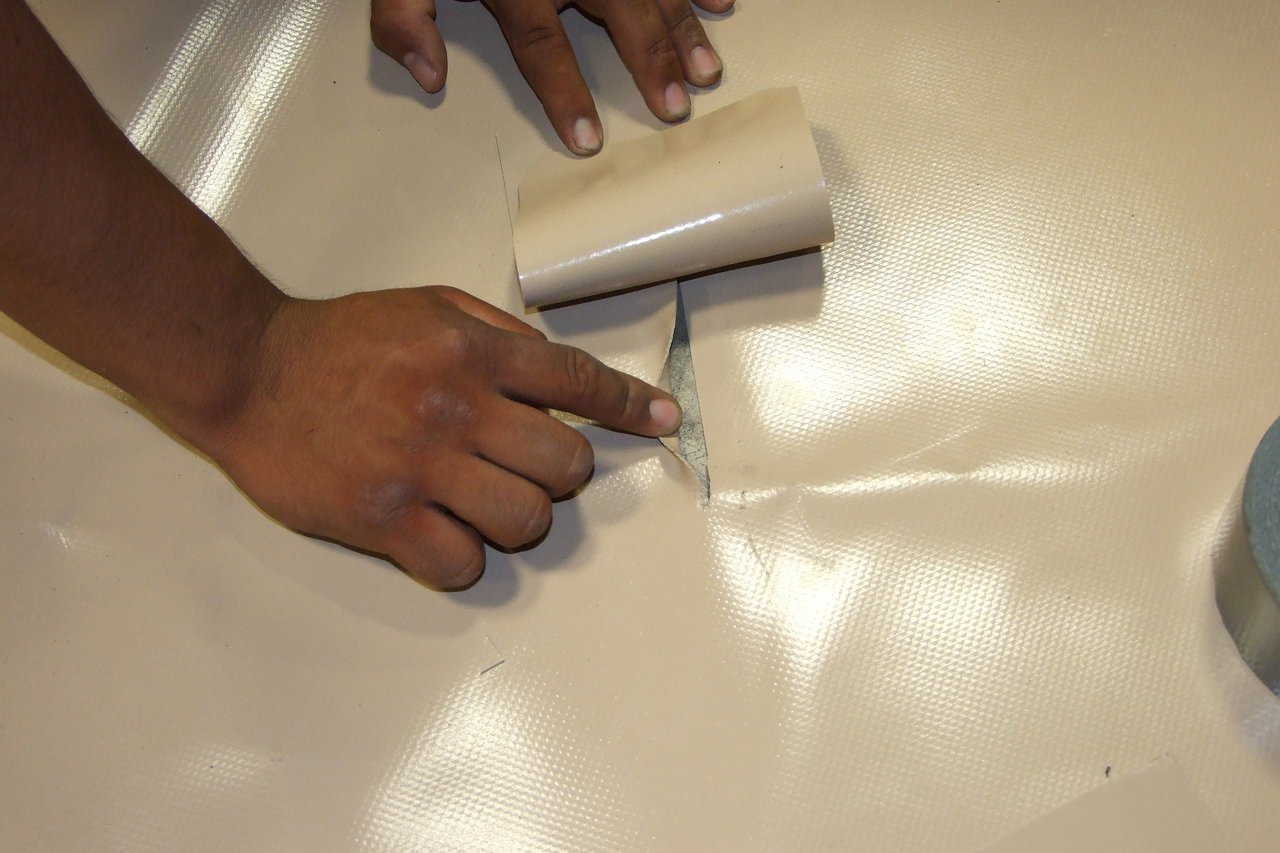
A Tear in an Airform — This is an example a patch being glued onto a tear in an Airform. Cut the patch and prepare the area. (Mario Ramos)
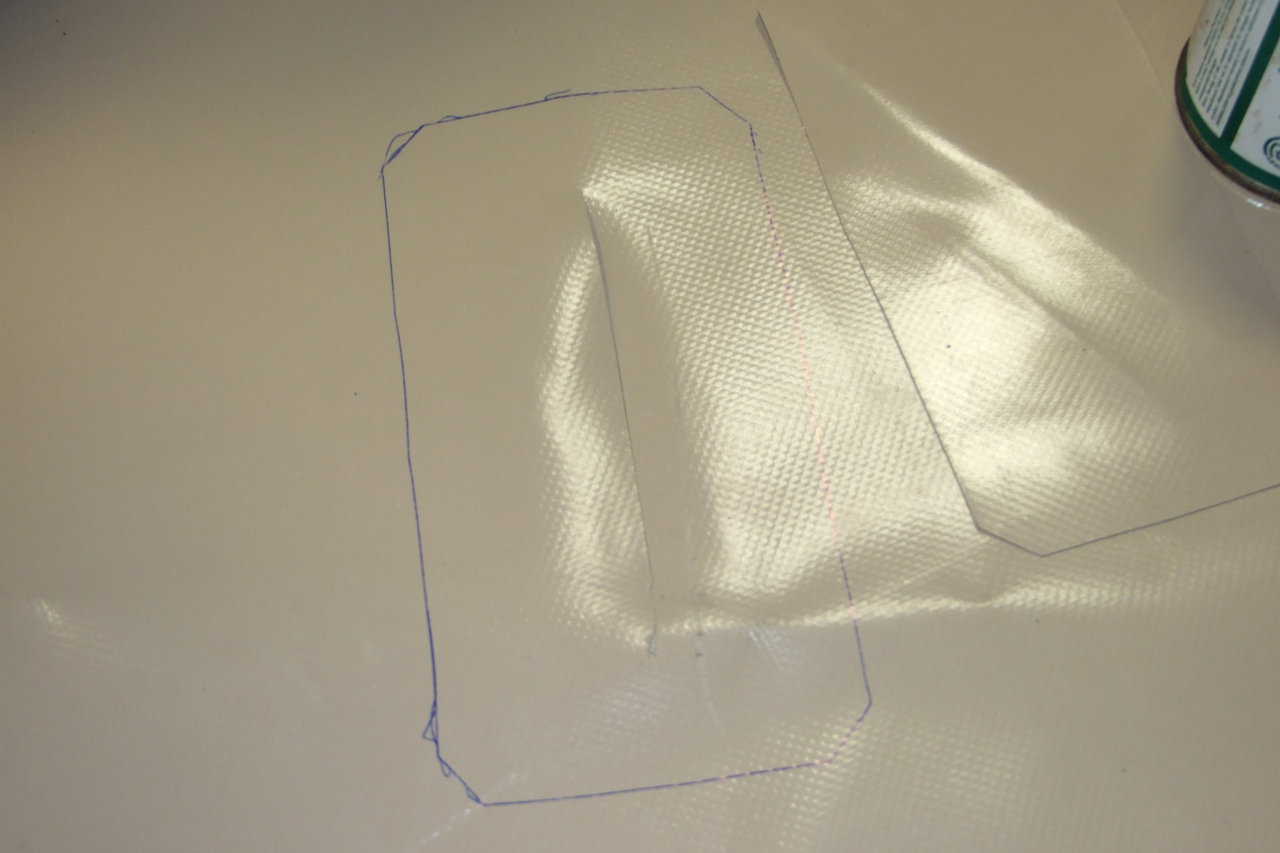
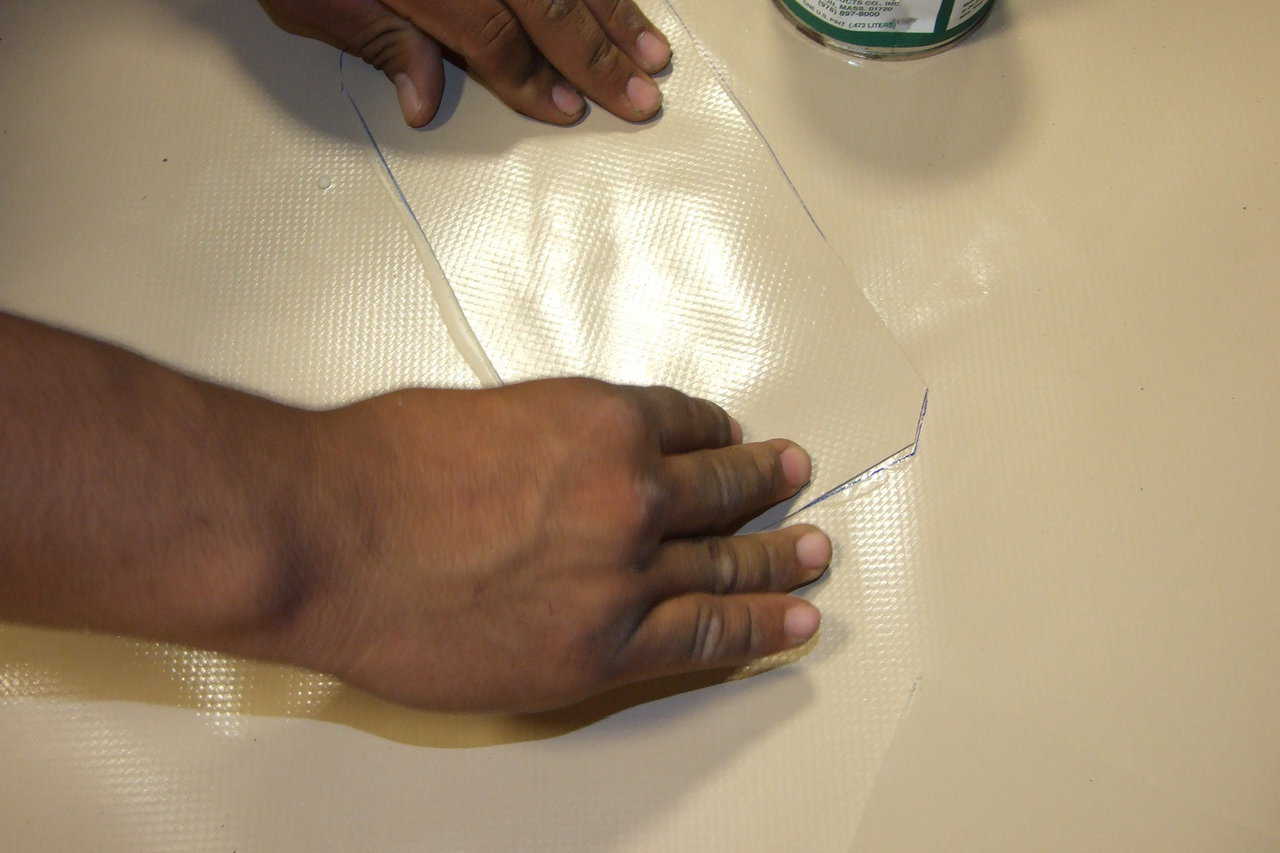
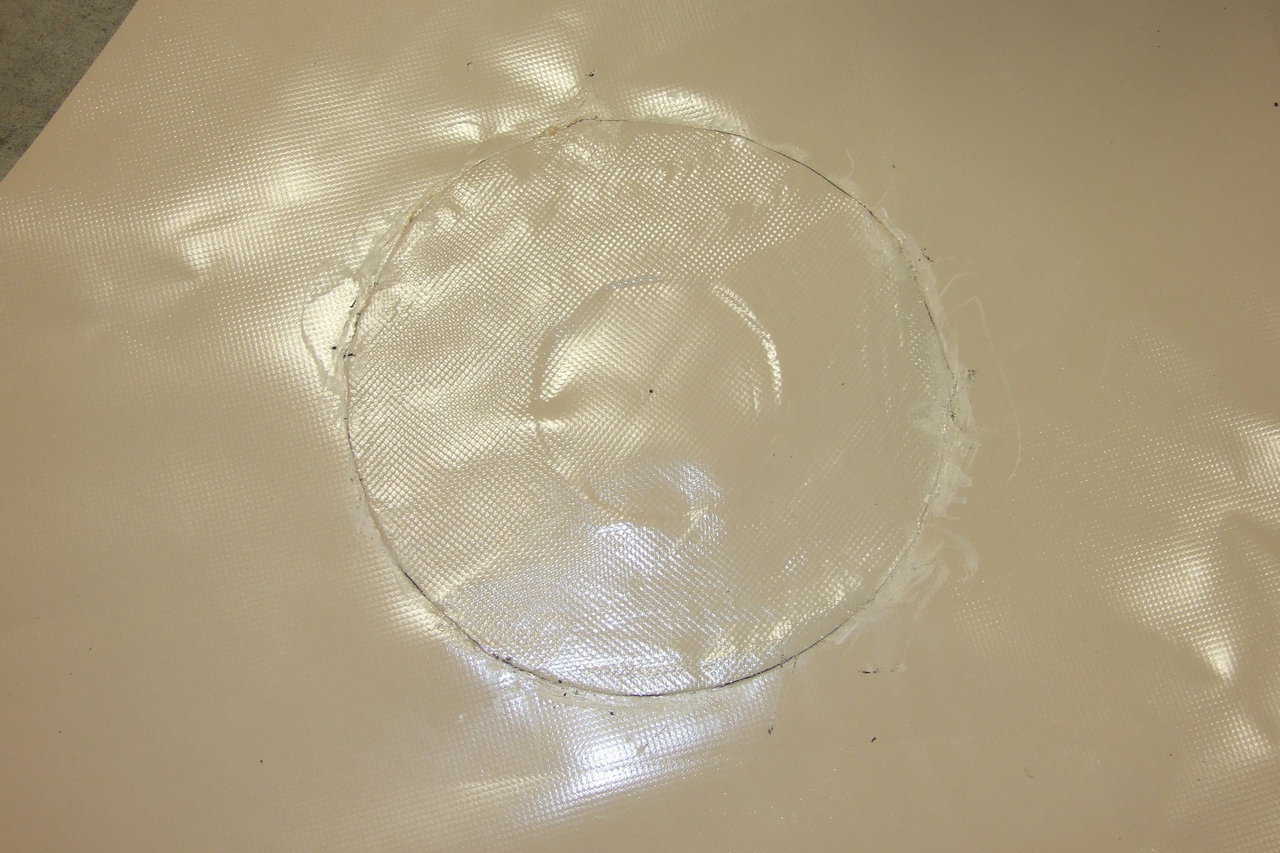
Area Prepared — Area is cleaned and patch is cut (Mario Ramos)
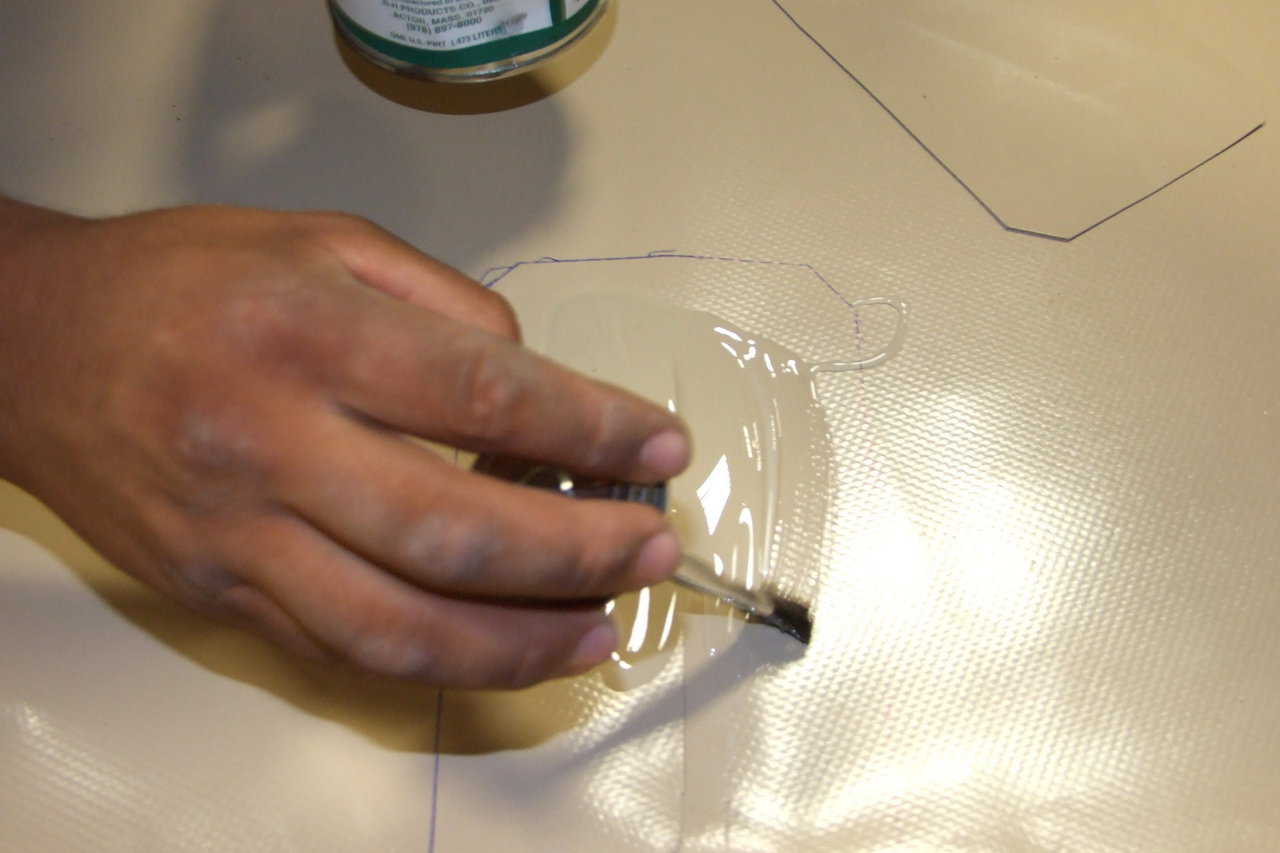
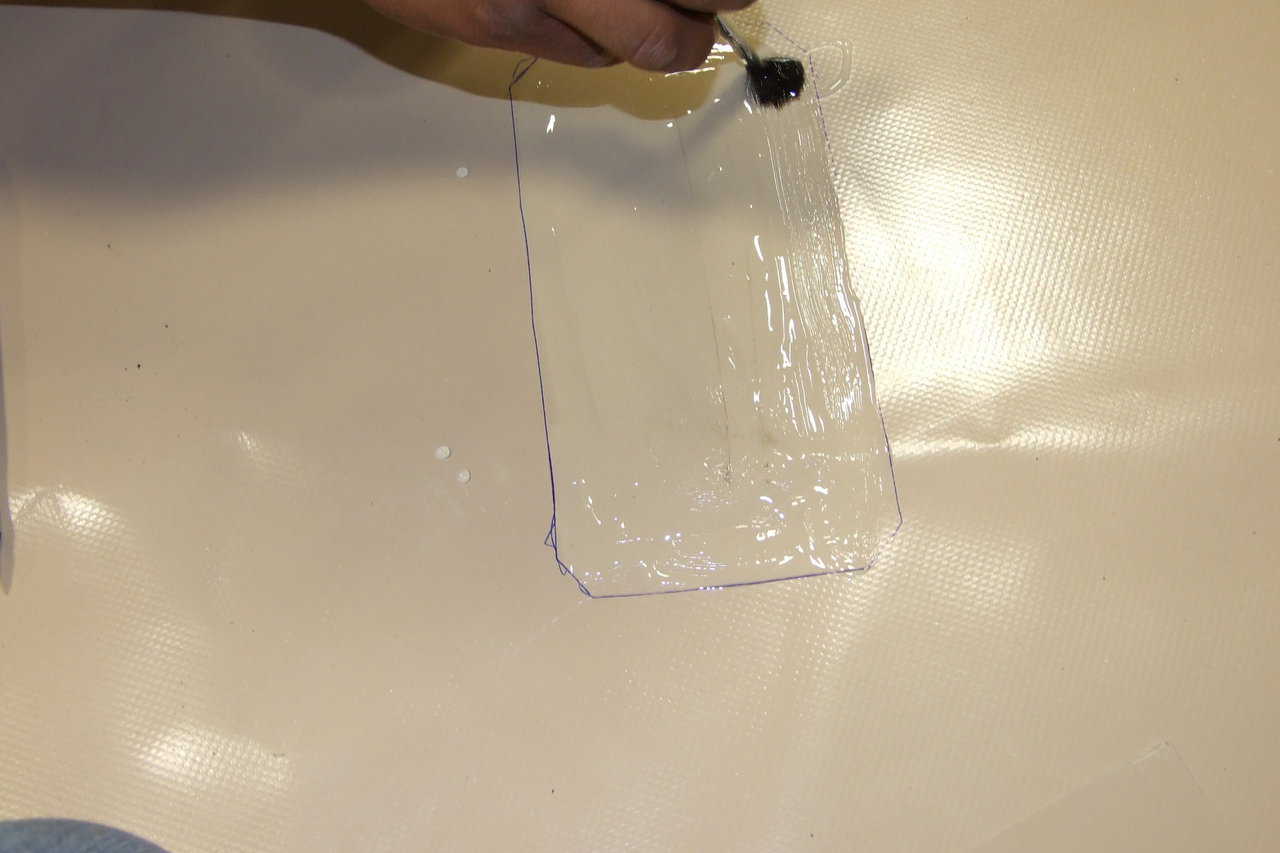
Applying Glue — Glue is applied to the patch area and then to the patch. (Mario Ramos)
Allow Dry Time — Once glue is applied to both the Airform and the patch, wait a few minutes for the glue to become tacky. (Mario Ramos)
Apply Patch — Apply the patch to the affected area. (Mario Ramos)
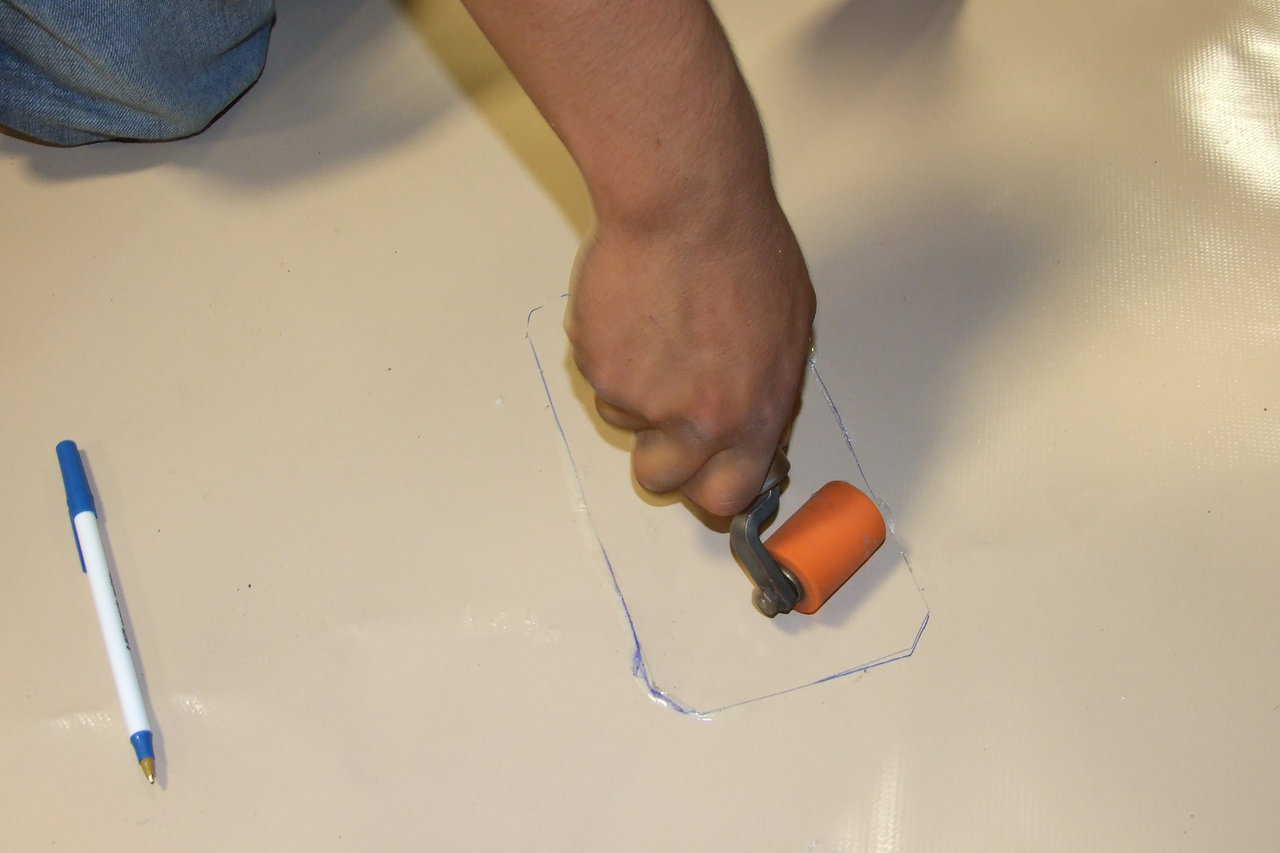
Apply Pressure — Apply pressure to the patch and squeeze out any excess glue. Remember to clean up. (Mario Ramos)
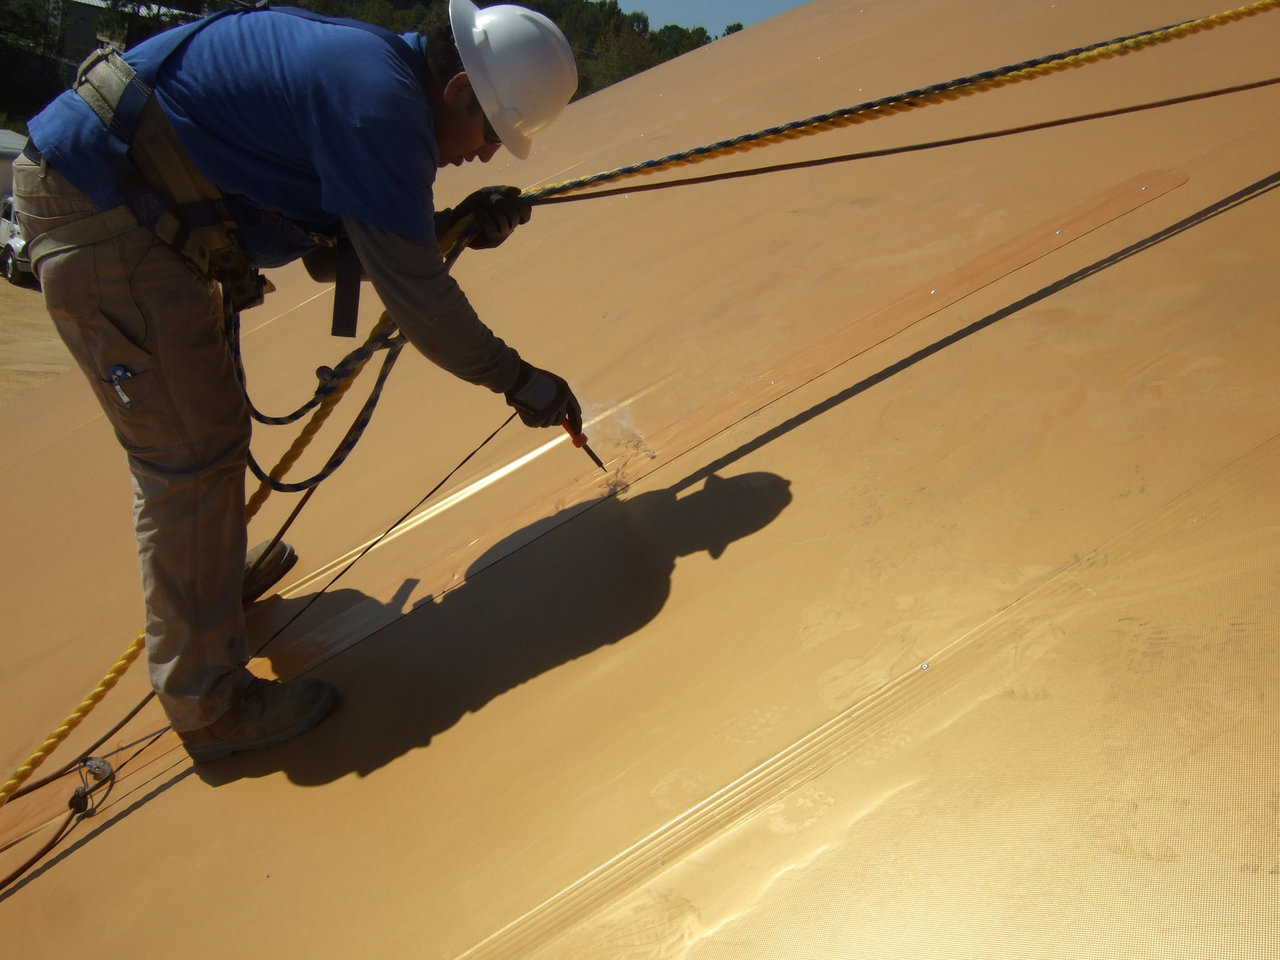
Melt Hole — This is an example of installing an Airform rivet. Begin by melting a hole in the fabric. The easiest way to melt a hole is with a soldering iron. (Javier Figueroa)
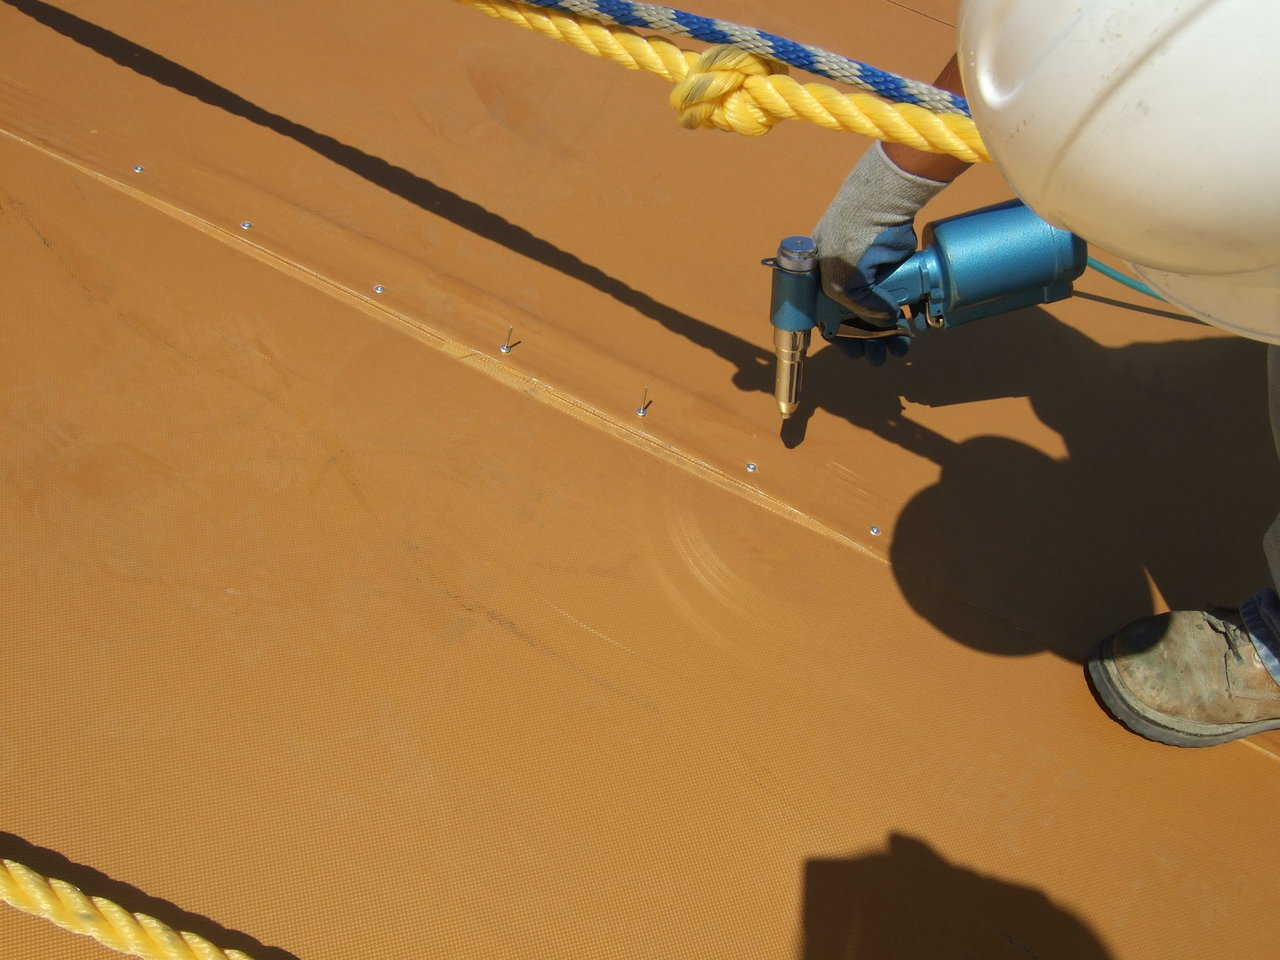
Install Rivet — Once the hole is melted, simply install the Airform rivet using a rivet gun. (Javier Figueroa)
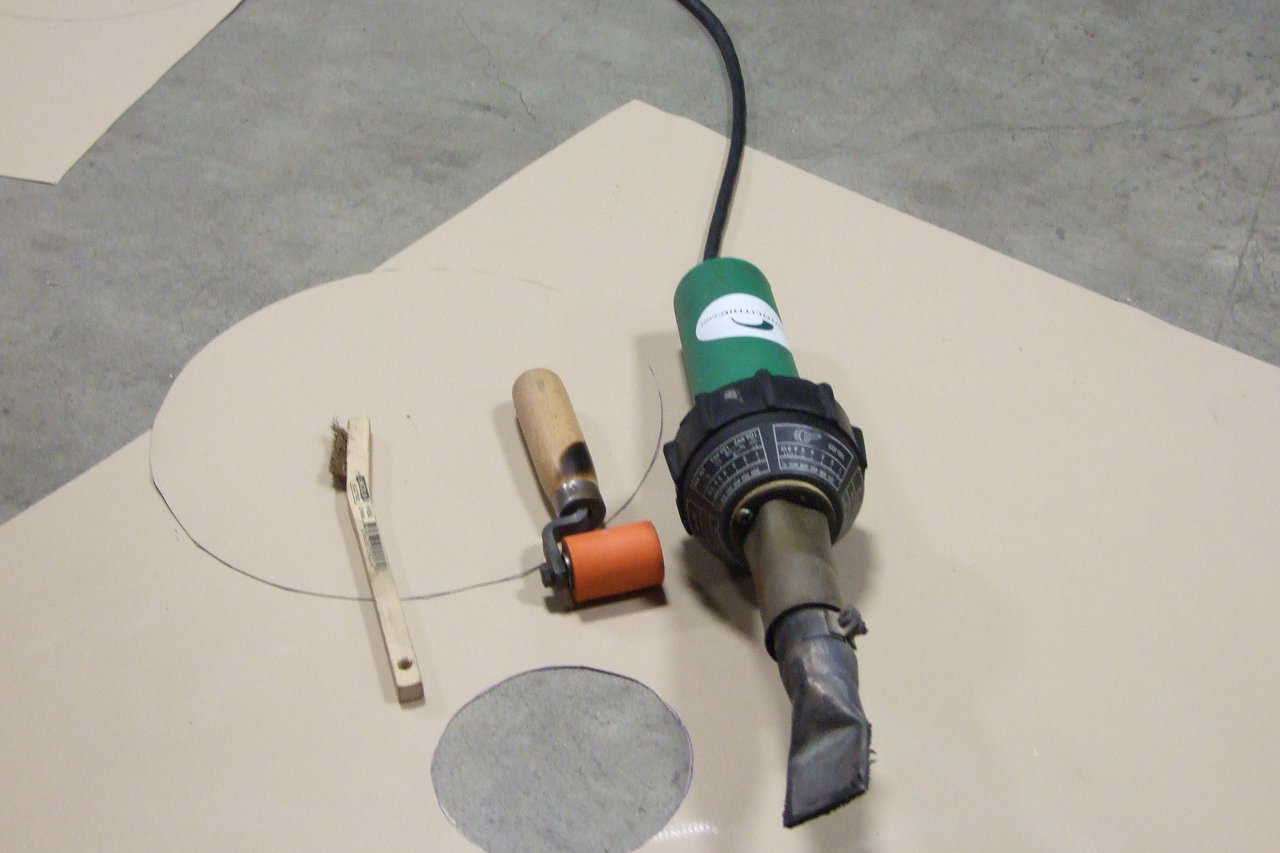
Welding Tools — Here are the tools needed to install a patch using a heat gun. From left to right, we have the industrial heat gun, the hand roller, and a wire brush for cleaning the gun tip. (Mario Ramos)
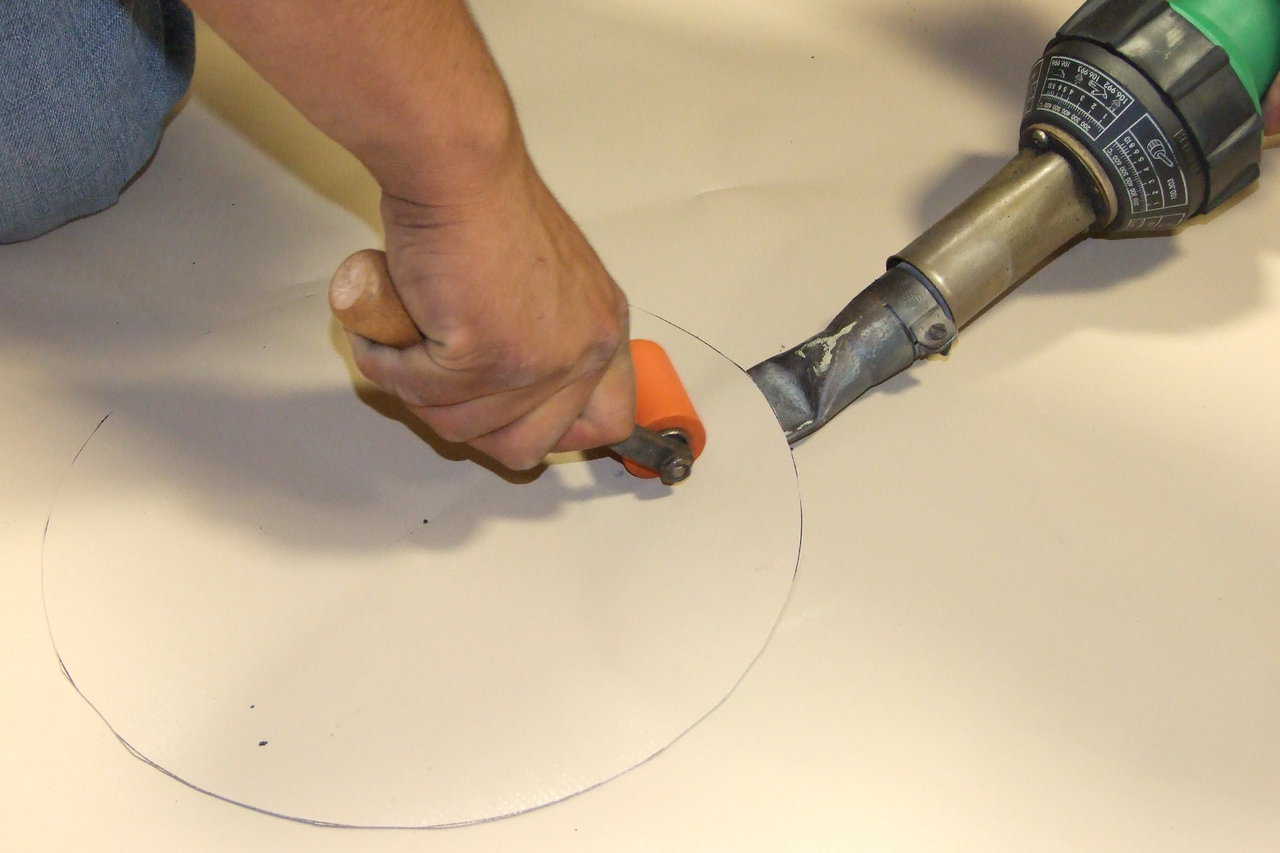
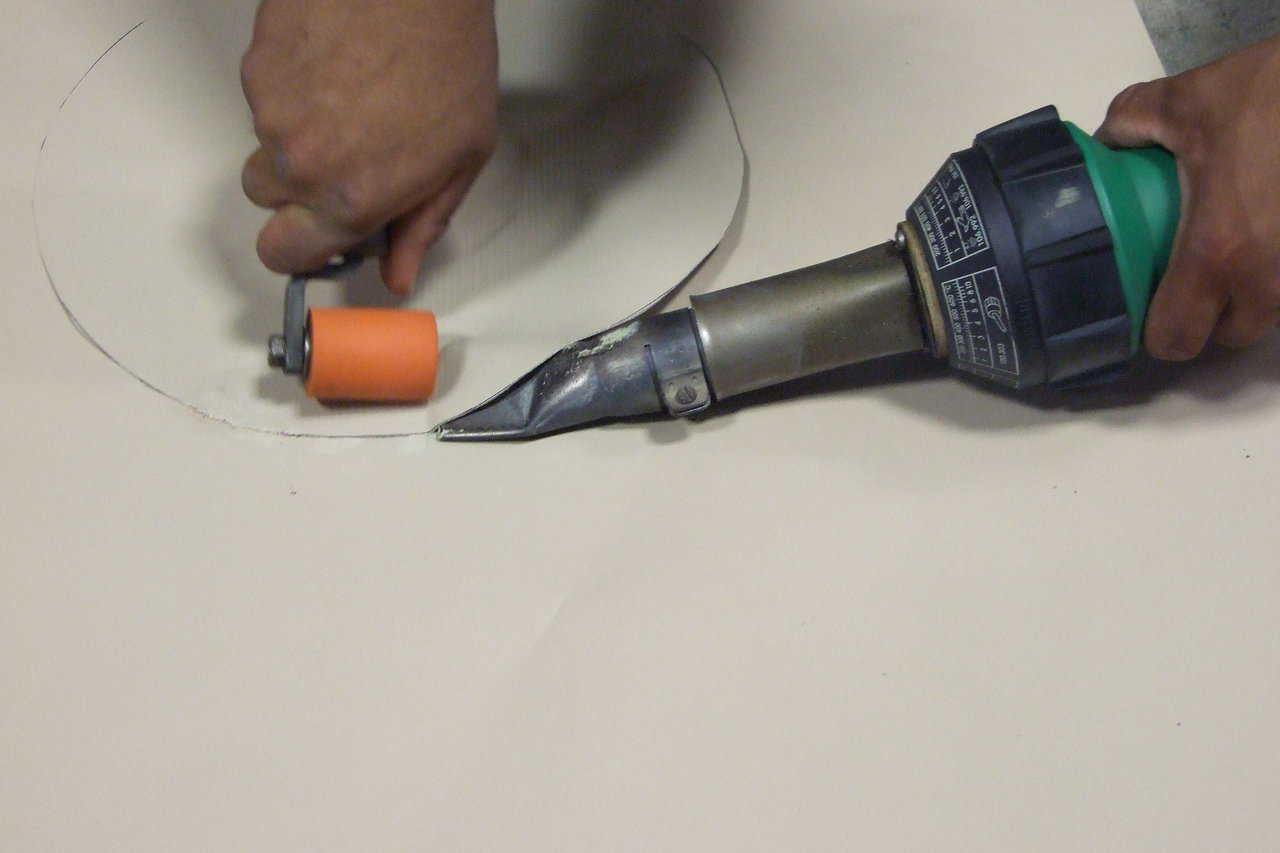
Start in the Center — Begin in the center and work your way out. (Mario Ramos)
Apply Pressure — Applying the proper amount of pressure is important. Make sure you have the proper amount of heat to melt the vinyl. (Mario Ramos)
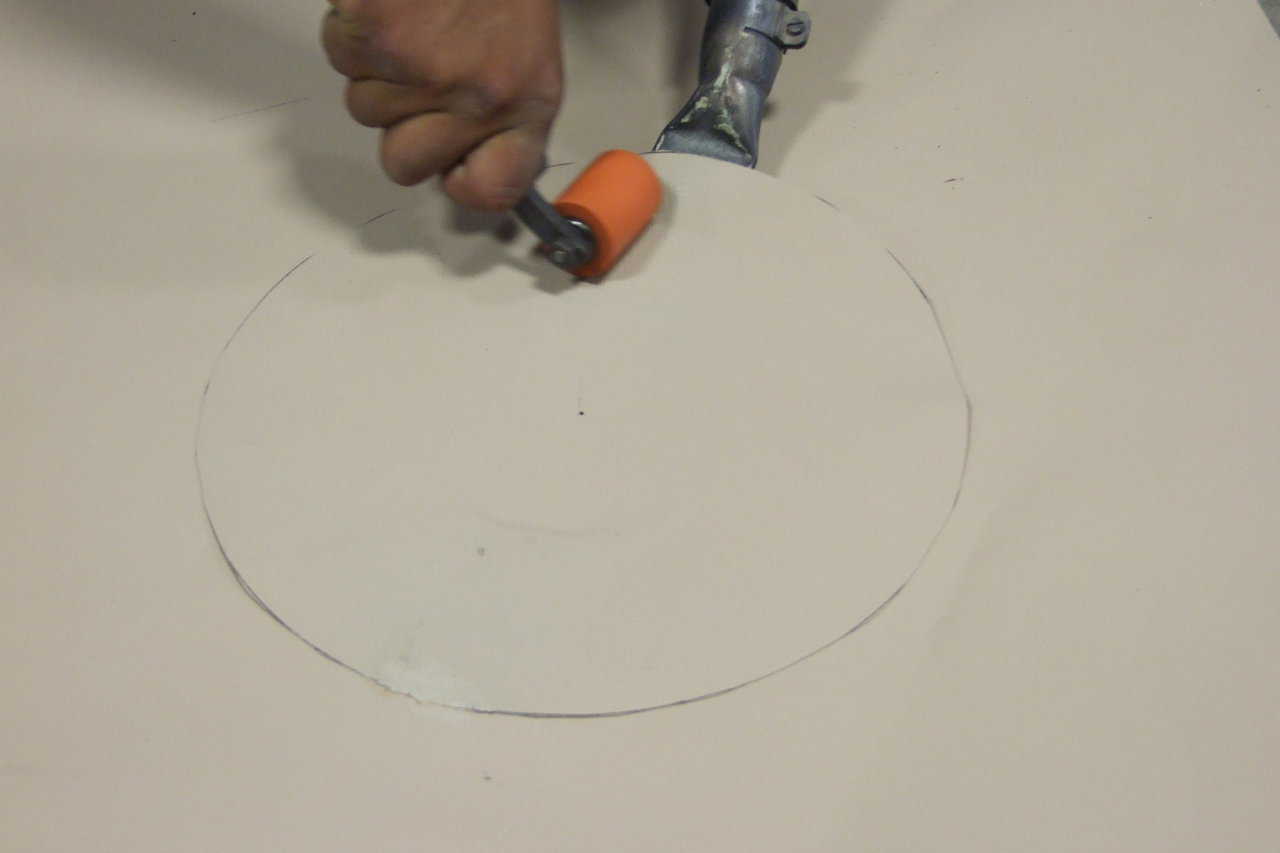
Practice — Making a smooth patch takes a lot of practice. For your first time, use a small test area in which to practice. (Mario Ramos)
Finished Patch — Here is a finished patch made by using a heat gun. (Mario Ramos)