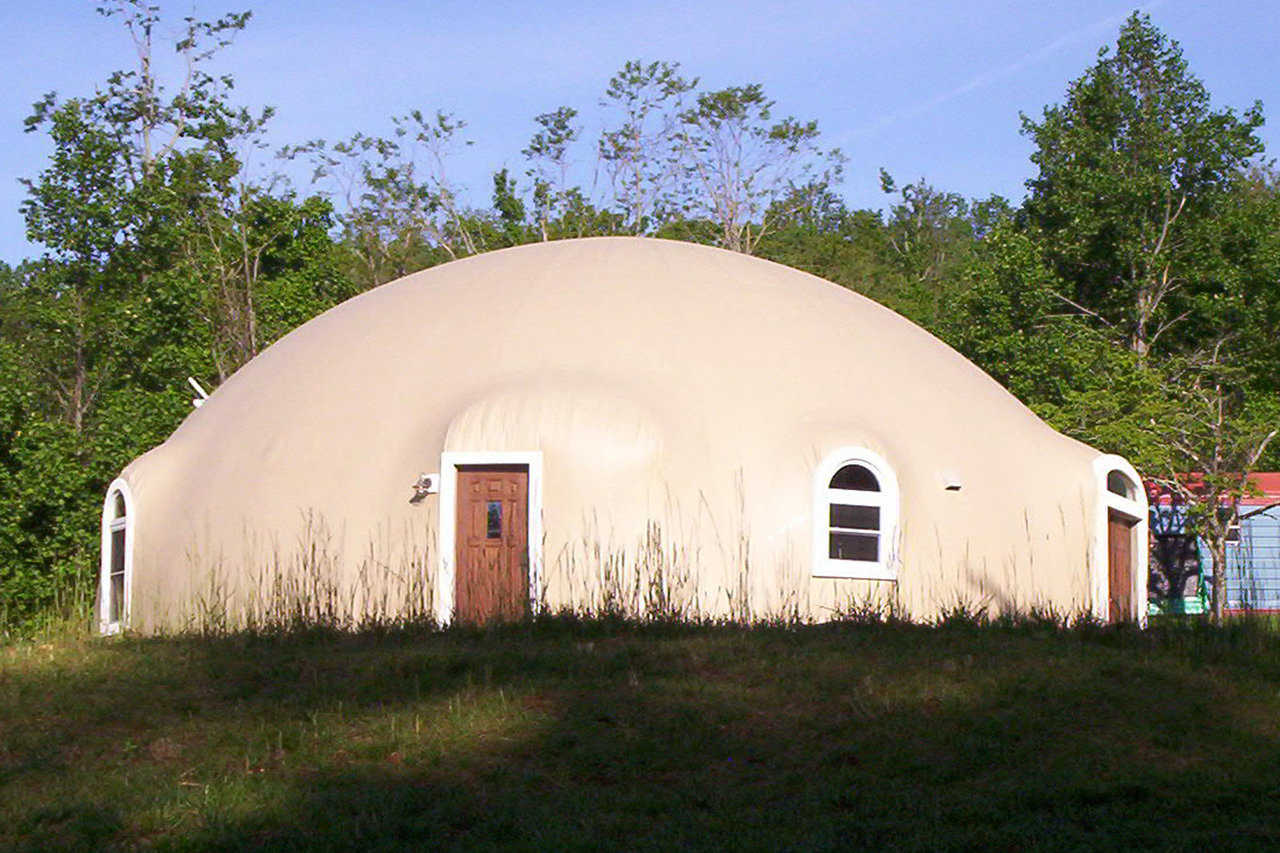
Ecker Dome Home (Chris Ecker)
Practical Universal Design Ideas for the Dome Home Builder
Editor’s Note: The term universal design refers to homes that can be practically and comfortably lived in by anyone at any stage of life. Like many planners of a Monolithic Dome home, Maddy and Chris Ecker invested much time, energy and thought into the design of their new Monolithic Dome home, especially when it came to including universal design products. They researched the Internet with terms such as: universal design, handicapped accessible, elder friendly design, American Disabilities Act. The Eckers also visited home improvement and reclaim stores, where they noted that universal design products usually displayed the universal handicapped symbol (stick figure in wheelchair).
Planning for longevity
How long are you planning to stay in your dream-dome? Probably decades and well into your elder years. With this in mind and a need for some practical, low- or no-cost universal design elements to handle physical needs, we offer these practical ideas that we incorporated into our dome.
Several of these ideas might not impact your blueprints, but by considering universal design options in the planning stages of your dome, you’ll probably avoid contractor consternation and minimize your labor costs.
Initial planning will likely include maximizing your daily living activities onto one main floor and minimizing stairways and steps. You may want integral ramp access to your dome.
An upper floor level was fine for us, but only as a storage loft that can be transformed into usable space by future residents. We really don’t want to climb stairs when we’re in our 70s and beyond.
Other considerations might include 36" doorways and hallways to accommodate walkers or wheelchairs. We chose pocket doors as much as possible to allow plenty of maneuvering space on both sides of doorways. Open floor plans in the kitchen and bath areas, as well as a walk-in shower provide ample space also.
Framing is usually the first major step after your dome shell and main floor are ready. That is a great time to reinforce between wall studs beside your toilets, shower or bathtubs. This provides extra support for handholds, whether installed immediately or added later.
Taller than normal toilets are more comfortable and are easier to stand up from.
Other early decisions to accommodate decreased manual dexterity include easy-grasp lever handles and larger knobs or loop handles on doors, cabinets, tub and sink fixtures and appliances throughout the home.
Some electrical ideas for us included installing wall receptacles 30" off the floor to avoid bending, flat rocker switches instead of toggles to assist trembling fingers, and leaving the cover plates white for easy visualization.
Consider something as easy as an enlarged legible printout of your numbered fuses posted beside or on the door of your fuse box. Sure saves time and squinting when you need to cut off a fuse for electrical work.
We also opted for on-demand water heaters which will be set to safe, non-scalding temperatures.
A few visual contrast strategies include avoiding glossy surfaces, leaving door and kick trim white or painted a contrasting color apart from the walls and flooring. If you use tile, contrasted but matching edge colors or patterns will aid anyone with poor eyesight to better identify step-offs and corners.
Our initial planning included plenty of natural light by not installing walls in our loft and planning half-rounds of glass on our standard windows. Besides increased overall light and visibility, this design will save money on our lighting and definitely add to the dome’s appeal. Everyone who visits comments on how big and airy the dome interior looks with an open loft and naturally backlit ceiling from our south facing glass slider.
Another easy technique that will chase away dark corners is to paint your closets a light, bright color. We decided on white, easy-to-see-through, wire shelves on bright yellow walls.
For the kitchen, we found a great buy on a slide-in glass stovetop with front mounted controls. (However, this is not the first nor best choice for young families with kids.) This stovetop prevents debris build-up and lessens the chance of burns caused by reaching over hot pots and pans.
An oversized walk-in pantry accommodates shelves that aren’t too tall, avoiding falls from footstools. Also, there are no upper cabinets over the contrasting counter top. This omission will help avoid over-stretching and, again, tumbling off footstools. An auto slide bottom freezer drawer on our refrigerator prevents over reaching at low levels.
Some other universal design ideas for our dome included phone jacks installed in each living space. These should keep us from attempting to dash to another room to take a call (or whatever future technology may be installed.)
A peep hole in the front door might be replaced with a camera and monitor later but will suffice for now.
Low VOC (volatile organic compounds) paint reduces itchy eyes and runny noses. (Low VOC paints have less odor and impact on air quality.) Besides paint, many household goods such as linens, drapes and upholstery are widely available in low allergy materials.
Finally, we carried universal design concepts to the master closet by making it a walk-in with shallow drawers, low shelves and low hanging rods.
We certainly didn’t utilize every possible universal design element in our dome. To do so would have been cost prohibitive. But we were able to research, identify and incorporate several ideas that fit our foreseeable needs. Your needs and tastes will differ, but a little planning before and as you design your dome will avoid future regrets.

Universal Design Elements — Contrasting colors and trim work, full hand grip door handles, rocker switches on contrasted switch plates and wall receptacles 30" off the floor can be easily seen and manipulated. (Chris Ecker)
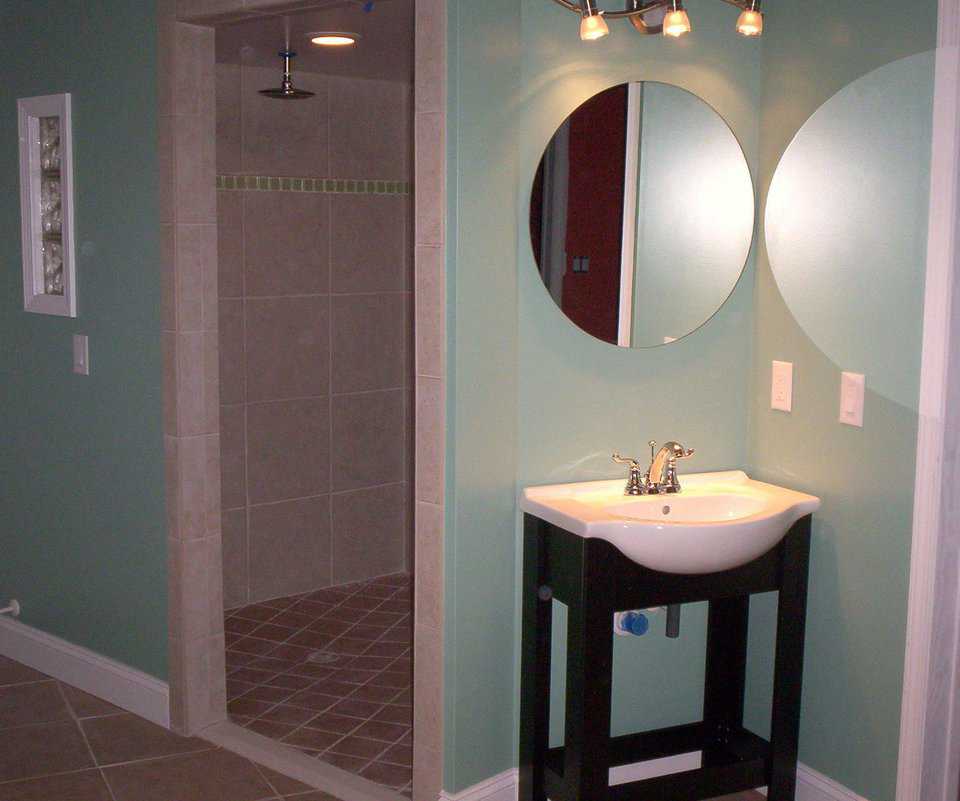
Master Bathroom — Bold tile and tile trim. Receptacles 30” off the floor. Tiles separated by a bright, non-slip threshold, turned 90 degrees on its axis to help see different spaces. (Not pictured: anti-scald valves with large grip handles for no water burns and easier handling.) (Chris Ecker)
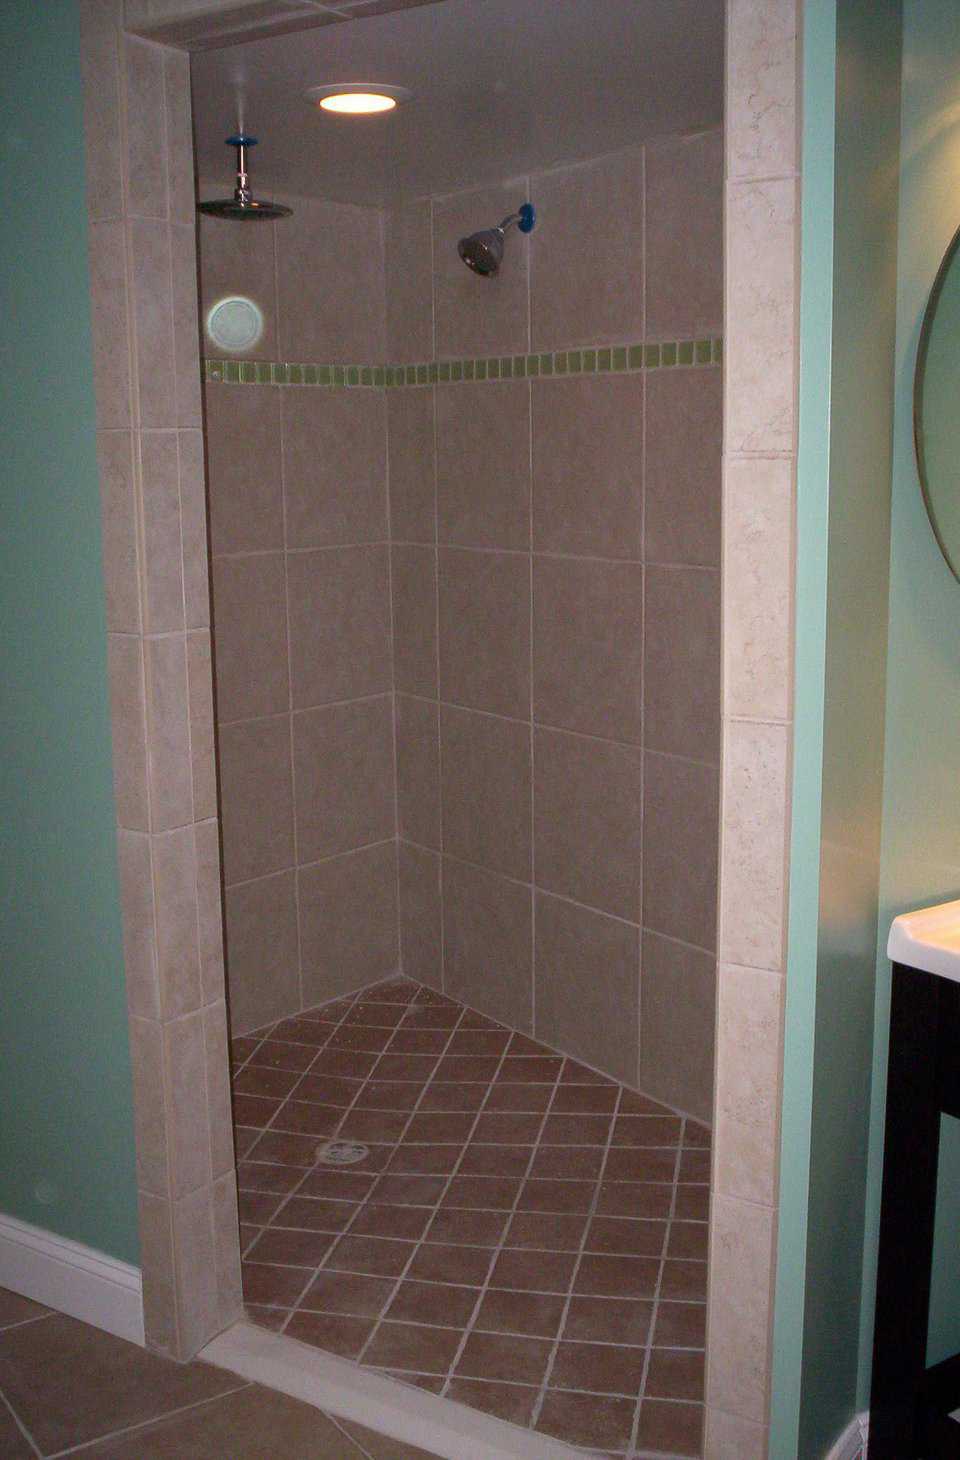
Roomy and Easily Maintained — Walk-in shower sports tile in bold, contrasting colors and space for a shower chair. (Chris Ecker)
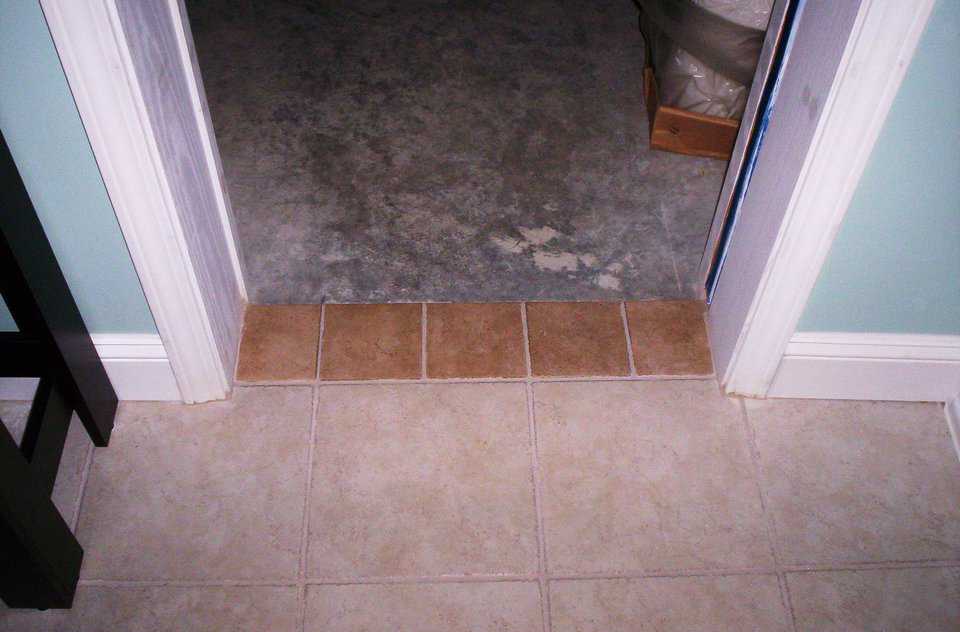
Obvious Floor Changes — Chance of tripping is decreased with contrasting size and color of floor border tile in doorways. (Chris Ecker)
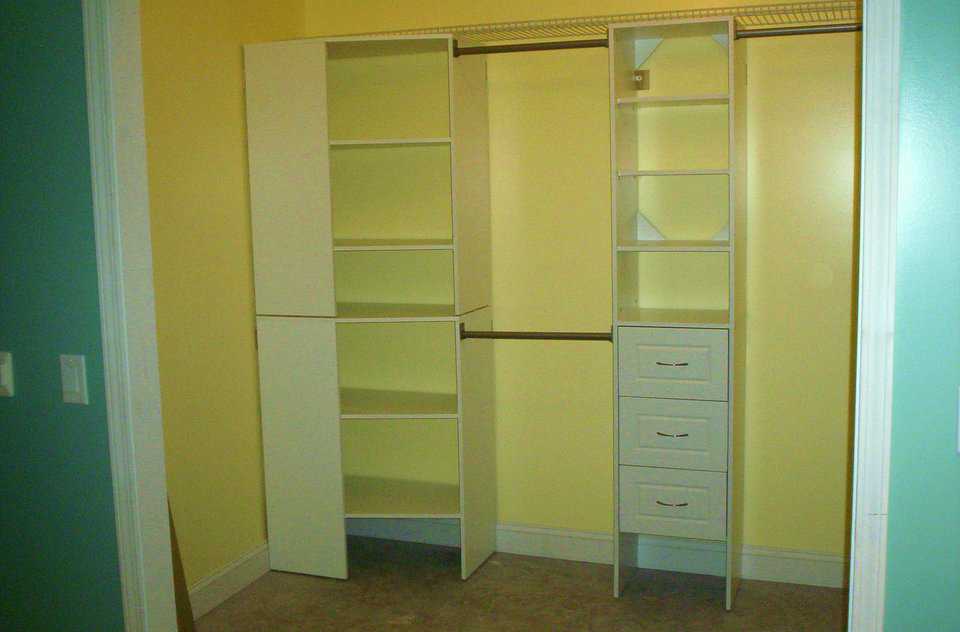
Large Closet Next to Master Bath — Pass-through closet allows room for walker and wheelchair entry, turnaround and staging during bathing. Bright colors provide contrast between clothes, shelves and walls. Wire top rack permits seeing items stored higher. Open cabinets allow easy access. (Chris Ecker)
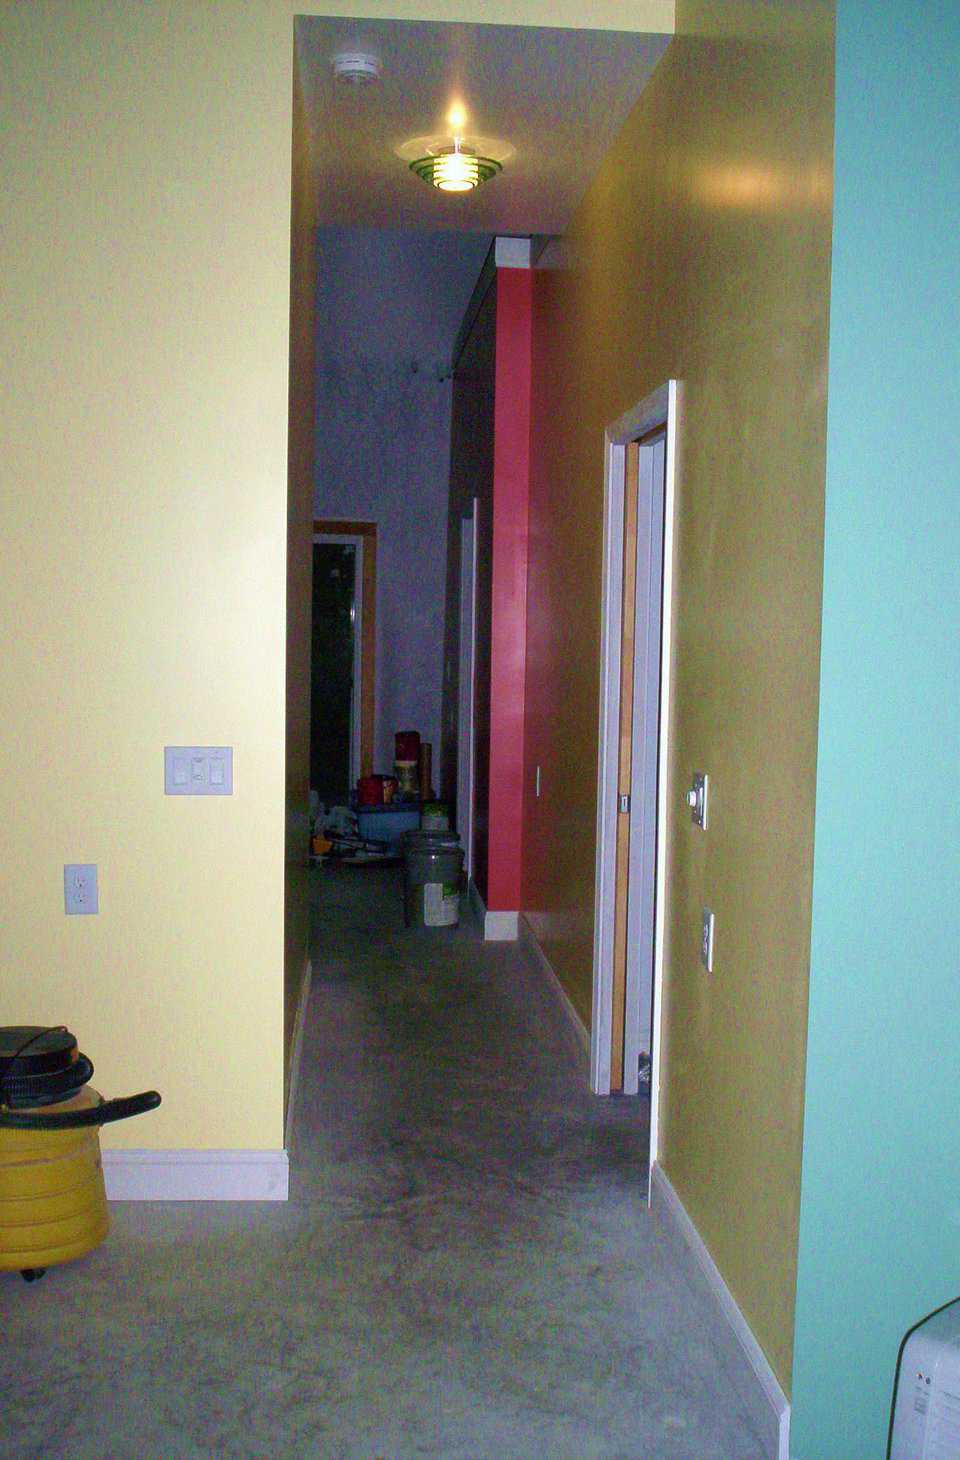
Wide Hallway — Bold colors break up spaces and identify corners and outcroppings. A 36" wide hallway allows safe passage for persons with a cane, walker or wheelchair. (Ceilings are 9’ tall, which makes the hall width appear less than 36".) (Chris Ecker)