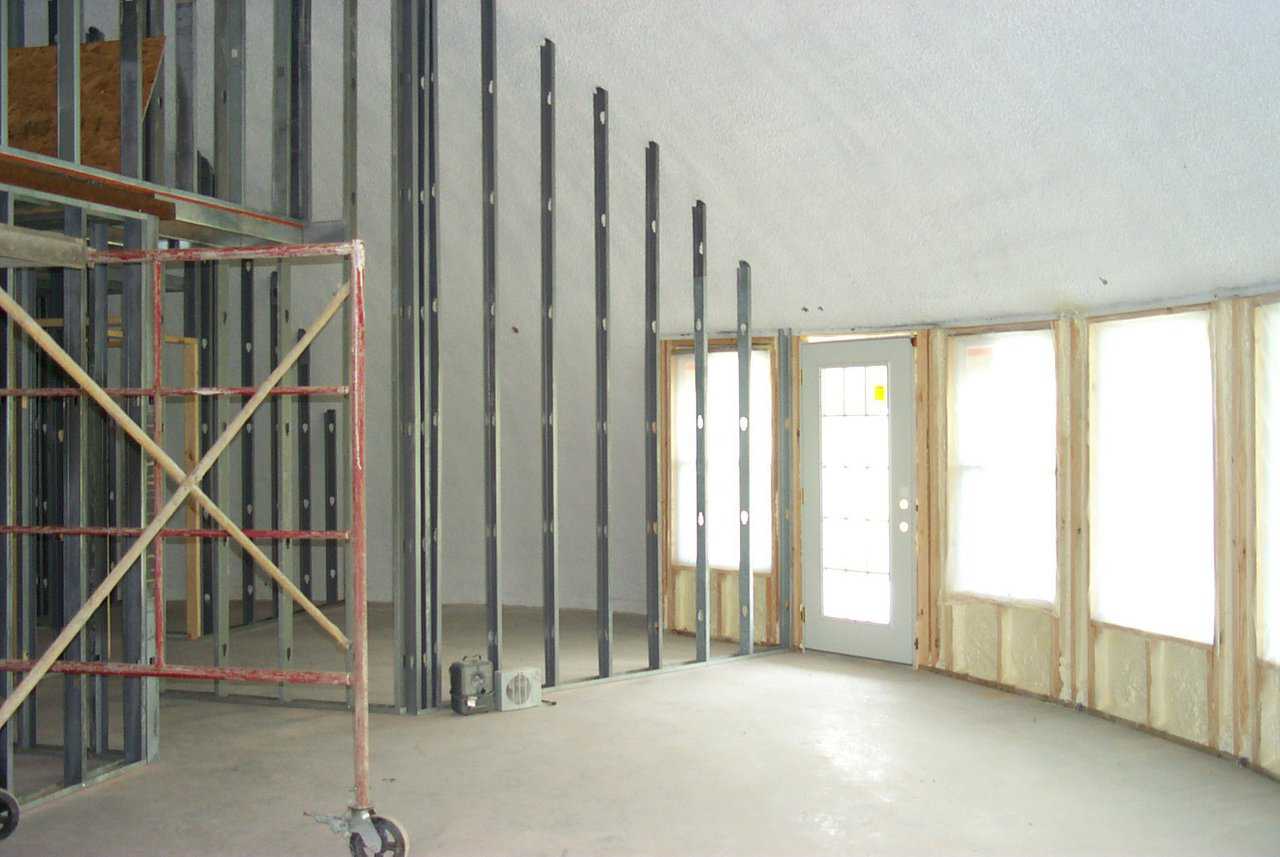
Interior Framing — Interior framing in a Monolithic Domes is not that much different than in conventional buildings. We have wood studs for the exterior that have been insulated with polyurethane foam, and metal studs for the interior walls. (David South Jr.)
Interior Framing
Dividing the interior into rooms
Once the Monolithic Dome shell is in place, we need to divide the interior into rooms. Our suggested method for this is to use steel studs and sheetrock. You can use wood studs but that interjects a material that is flammable and subject to termite damage. If the walls of the house are simply separators, you can use light gage steel studs and simply put them in place.
Studding a dome
For some, the idea of studding out a dome building seems daunting. In reality, the dome is no more difficult than any other building. You start by fastening a track (metal piece designed to fit at the bottom of a steel stud wall) to the floor. The track can be fastened to the floor by hand driving concrete nails, by power actuated concrete nails, or by using a small drill and a tapcon.
I prefer using the tapcon which is a screw designed for screwing into concrete. Generally, tapcons come in two grades, one for standard concrete and one for ultra hard concrete. The floor is standard concrete. For the dome shell, use tapcons designed for ultra strong concrete or you will find yourself twisting them off.
Next, mark on the track where the studs are to go. Cut a stud about 4 inches longer than the space from the ceiling to the floor. Generally, start with a stud on or near each end of the wall you are working on. Then trim the top of the stud to fit against the dome, drill a single tapcon into the dome, and set the top of the stud as illustrated.
After you have the two end studs for the wall in place, temporarily attach another stud crossways to use as a guide for lining-up the rest of the studs. Then stand up the remaining studs, using a level to keep them plumb.
In general, we do not use a track at the top. It is not necessary and it is very difficult to make it fit the compound curves of a dome. Steel studs will always seem flimsy, but once the sheetrock is on and in place, you have a very good structure for a wall. In fact, if you want to make the wall even stronger, you can use five/eights inch thick sheetrock. But we find the half-inch variety very satisfactory.
Standard construction techniques
We suggest using standard construction techniques. In other words, put some two-by-four framing or blocking wherever you are going to want to fasten in a door. You will want to put blocking to hang a cabinet. This is standard stuff that is done on every structure, so please don’t forget it. For attaching a toilet paper holder to the wall, it is really nice to know you have a wall to screw into.
For a second floor
If the decision is made to have a second floor supported off the first floor, you will need to use wood or heavier gage steel studs. The heavier gage steel studs are available in most places where you buy steel studs.
We can’t tell you in advance what size of stud. The engineer determines sizes depending on the span of the ceiling and the load on it. In any case, it is elementary, and many of the suppliers can furnish you the sizes. You can then use wood or steel or TGI joist. Make this decision with the floor engineer.
My favorite second floor has a 1 1/2 to 2 inch layer of concrete on it. The concrete will have a layer of 8×8×10x10 steel mesh in it for reinforcement. It will be over a layer of roofing felt if over wood or directly on the metal if a metal floor is used. The load is not enough to get excited about and the sound attenuation is great.
Obviously, there are places for second floors. But always consider, as an option, not using a second floor. In general, they dictate locations for stairs that take up a lot of space, and as the years go by get harder to navigate.
February 6, 2009
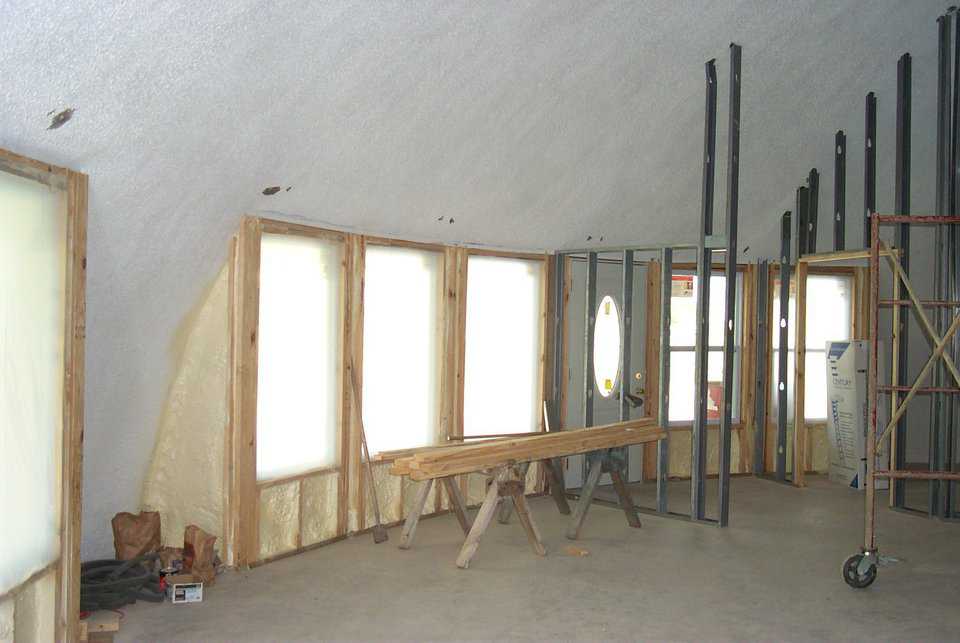
Inset openings — This is dome was designed with inset openings that were framed in after the dome was built. (David South Jr.)
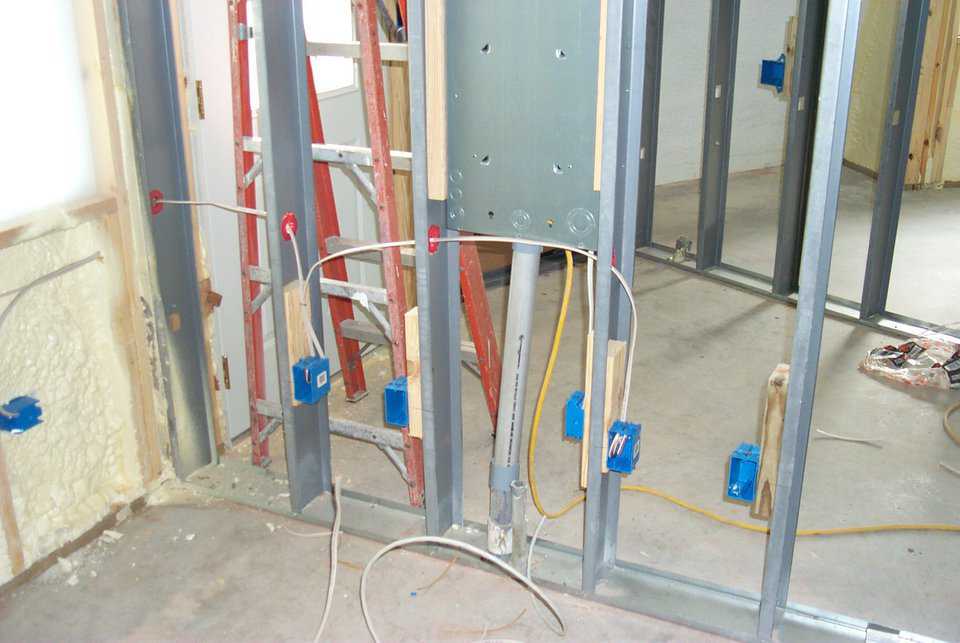
Electrical — Electric lines are run throughout the interior walls just like standard construction. (David South Jr.)
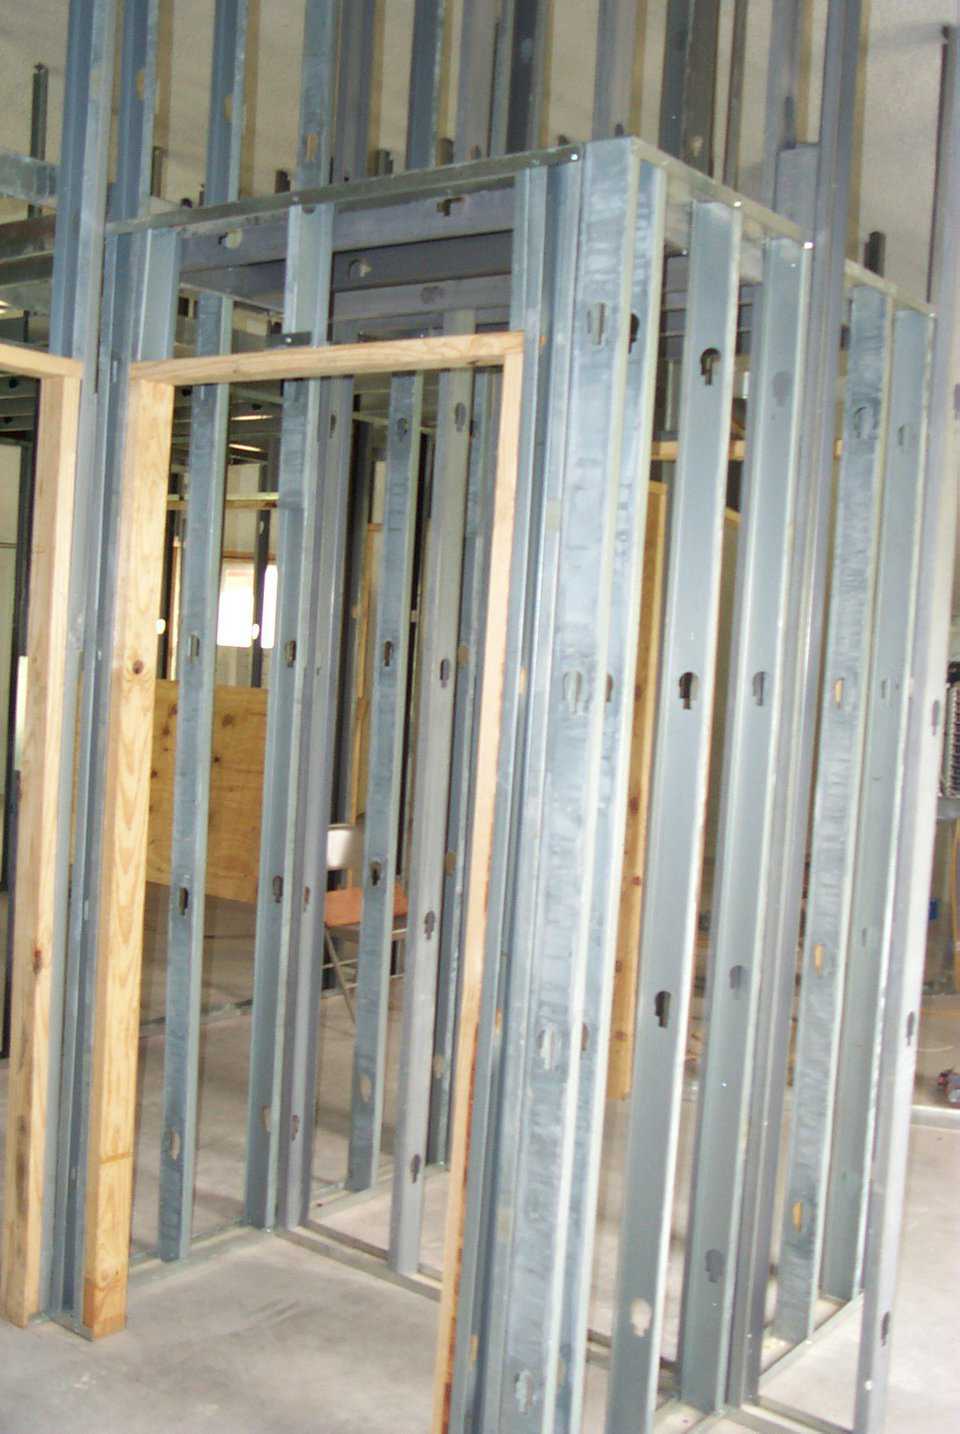
Extra studs around doors — Wherever we are going to mount an interior door, we line that with wood studs. The wood studs give us a sturdy area to screw to. (David South Jr.)
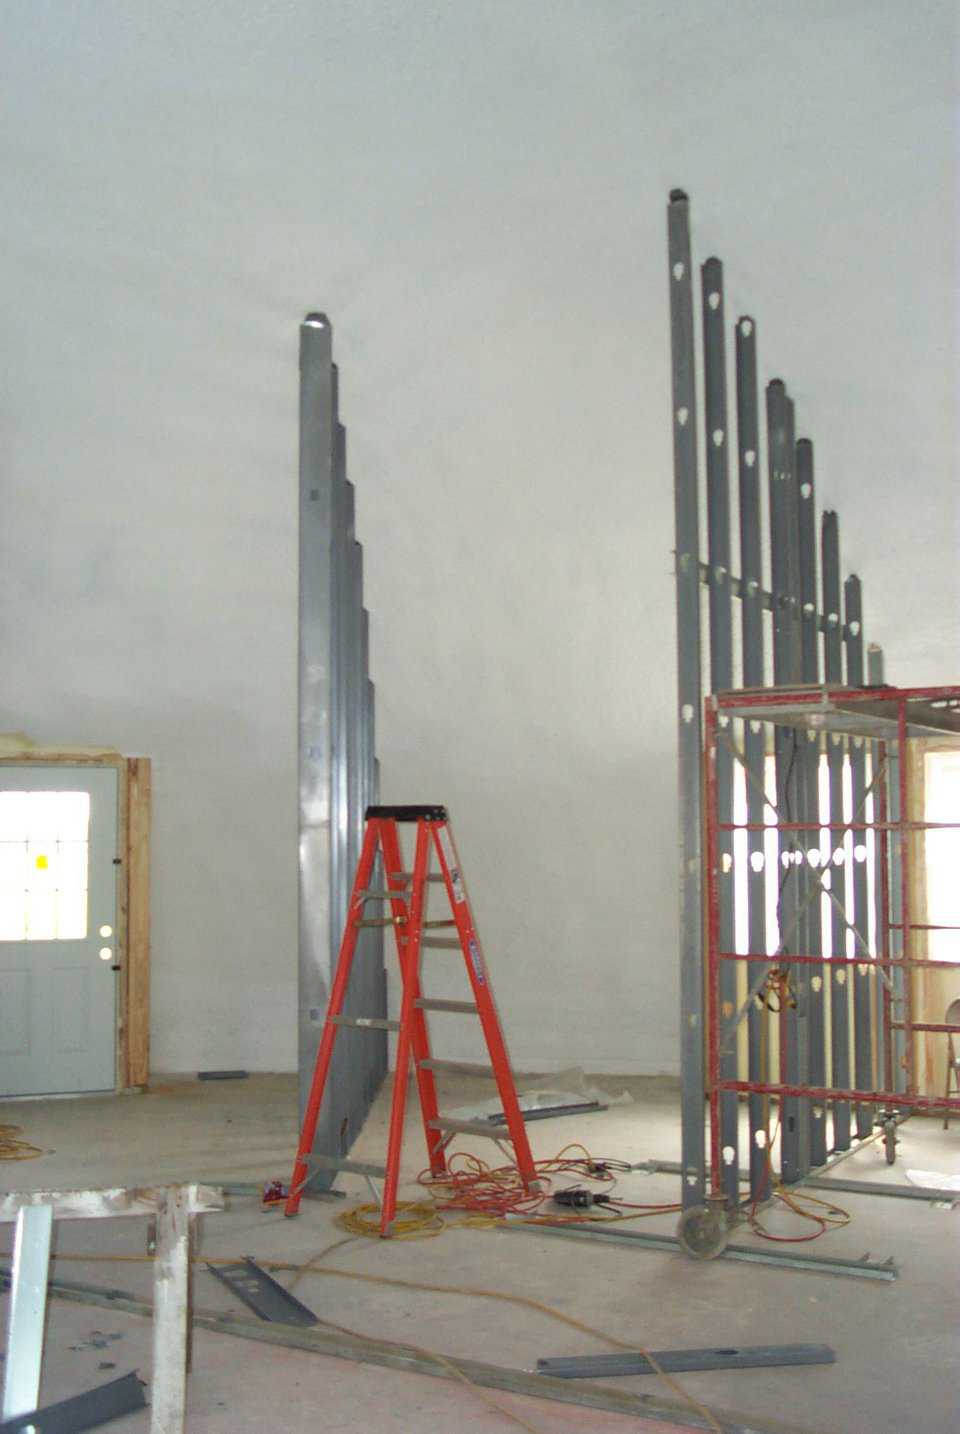
Steel stud — We prefer steel studs inside the dome since they are so easy to install. They can be easily cut with scissors, then screwed into the concrete shell. (David South Jr.)
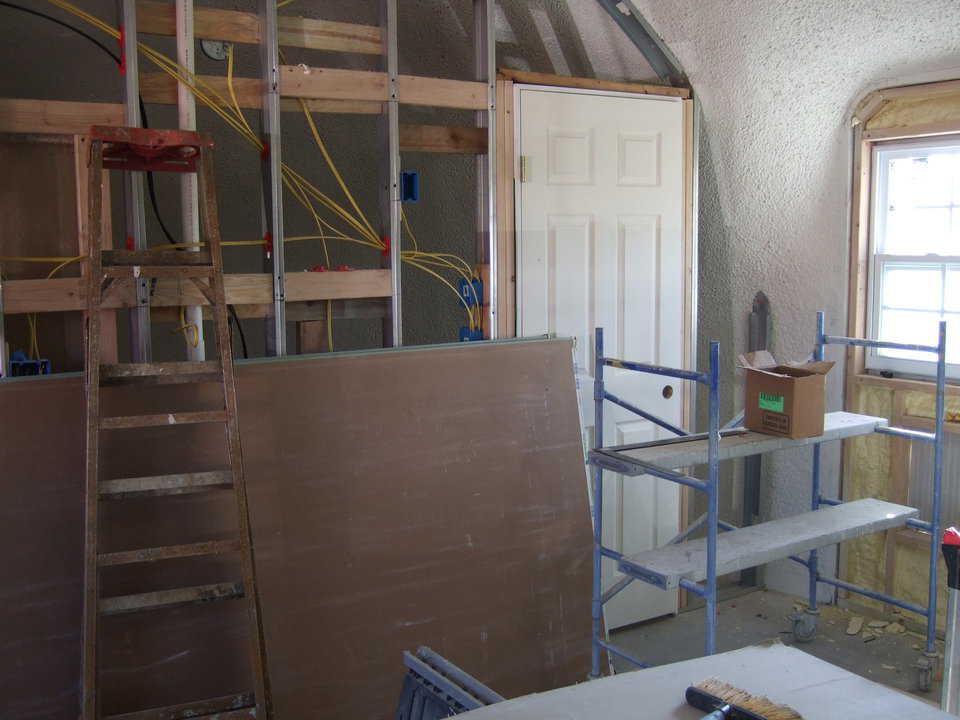
Just before sheetrock — Here’s the wall after all the studs, wire, plumbing, etc. (David South Jr.)