The New Paxis 10 Scaffold System — These images show the building of the first Paxis 10 Scaffold (Michael South)
The New Paxis Scaffold
Problem: Scaffold an 88 foot dome that has only 4 36″ standard doors?
Solution: Expand our already proven Polar Scaffold to fit that size of a dome.
We started by expanding the scaffold width to 10′. This has really made the scaffold a lot sturdier. We are still using the same end frames, but different cross pieces and longer planks.
Then we redesigned the beams so that they are interchangeable pieces vs. the other expandable left and right pieces. This makes them easier to carry around, and more versatile. With the shorter universal beams, we could easily make a scaffold for any size dome from a 20′ to 100′.
One of the biggest concerns was the motor. We were concerned that the existing motor would be perfect speed for the outer edge of the scaffold, but when we are spraying in the middle it would be too slow. Also, the motor has a tendency to stop abruptly making long scaffolds hard to stand on. We purchased, with AAA Electrics help, a single phase to three phase inverter that would also double as a controller for the three phase motor. Using three phase allows us to adjust the speed of the motor. The controller does a lot of cool things for us, best of which is it lets us control the accel and decel time so that we have smooth use.
The scaffold is now complete and is going to be on the jobsite Monday. I will post more pictures as they are available.
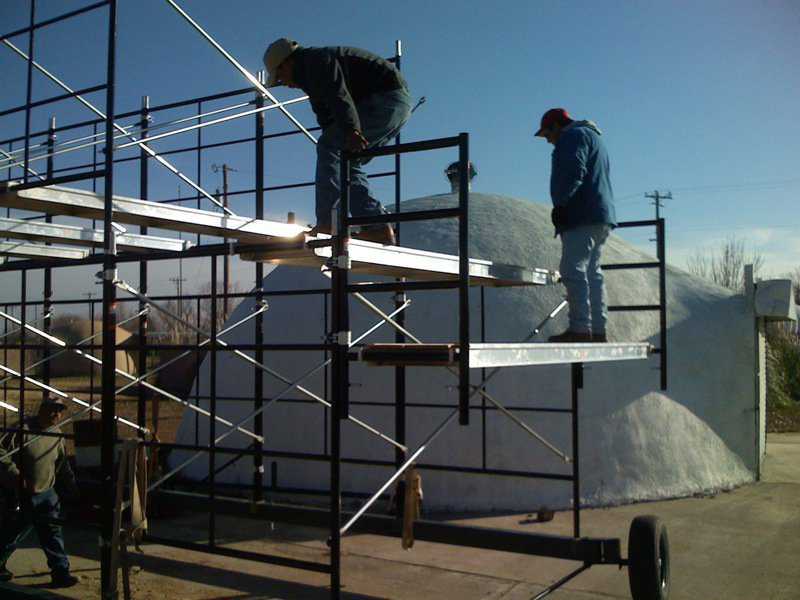
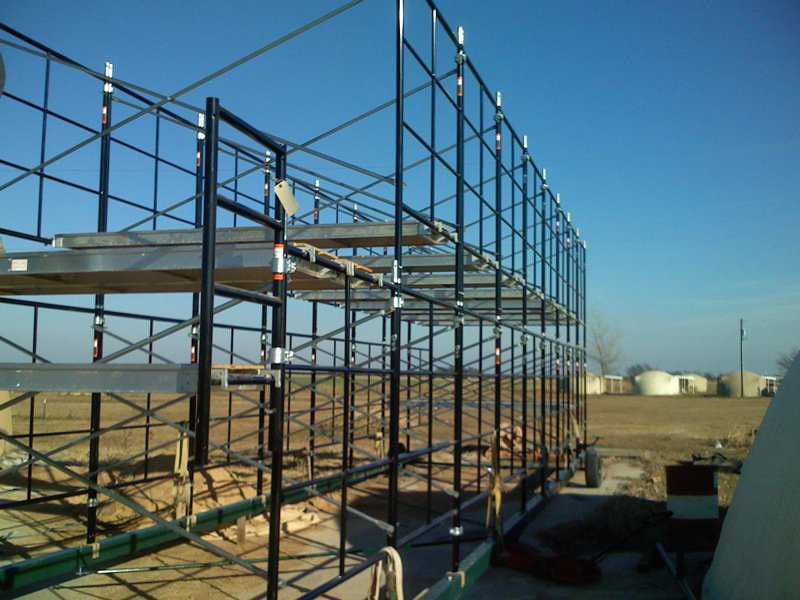
Setting up planks — Here we are putting up the 10’ wide scaffold planks that we will use to add on another level of scaffolding. (Michael South)
Setting up planks — Here we are putting up the 10’ wide scaffold planks that we will use to add on another level of scaffolding. (Michael South)
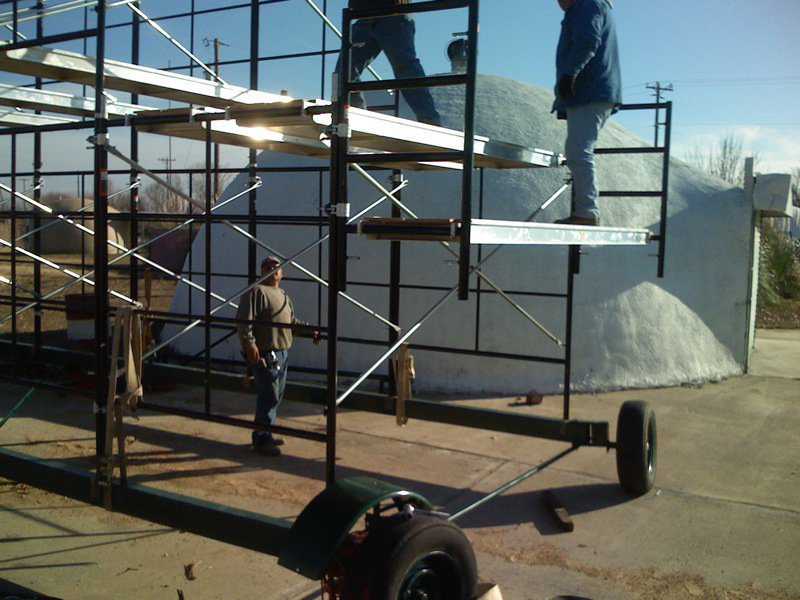
Half piece — Here we have bolted on a half piece of scaffold so that we can stand on top of the wheels. Our next project will be on a 12’ stem wall. (Michael South)
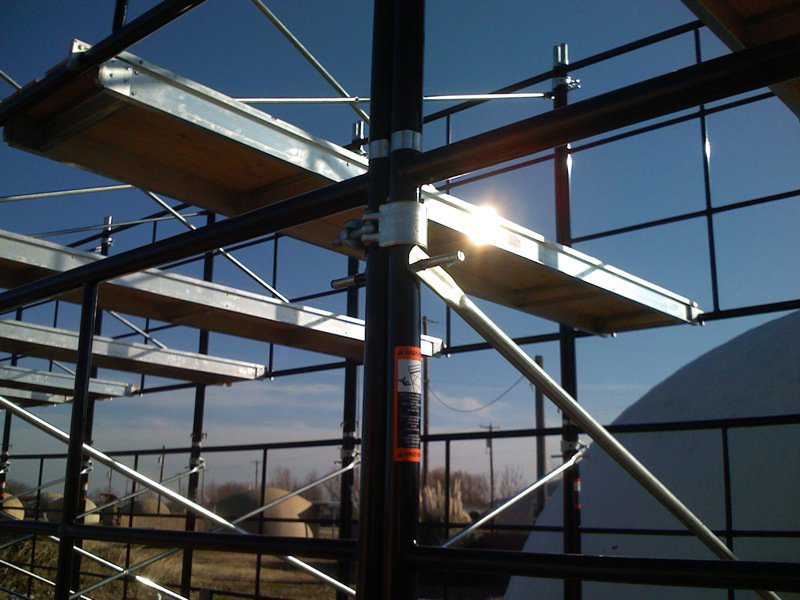
Clamp — We are using scaffold clamps to clamp all the scaffolding together. This makes an extremely strong, solid scaffold. (Michael South)
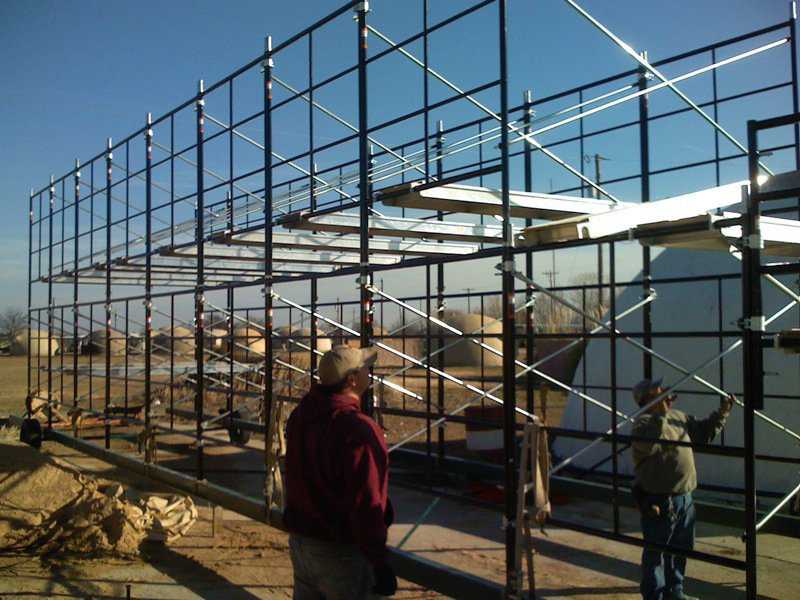
Second level up now — Second level of scaffolding has been installed. (Michael South)
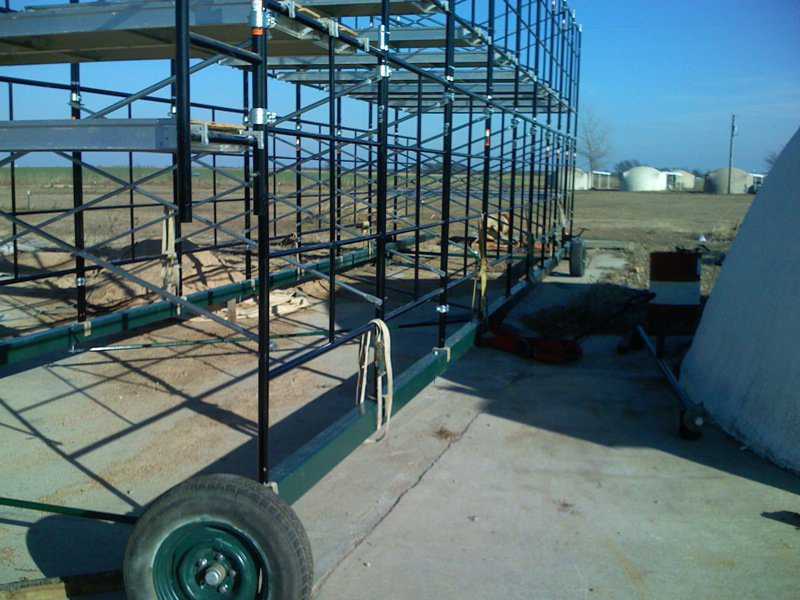
Straps on bottom beams — We used straps to hold the scaffold down to the beams. (Michael South)
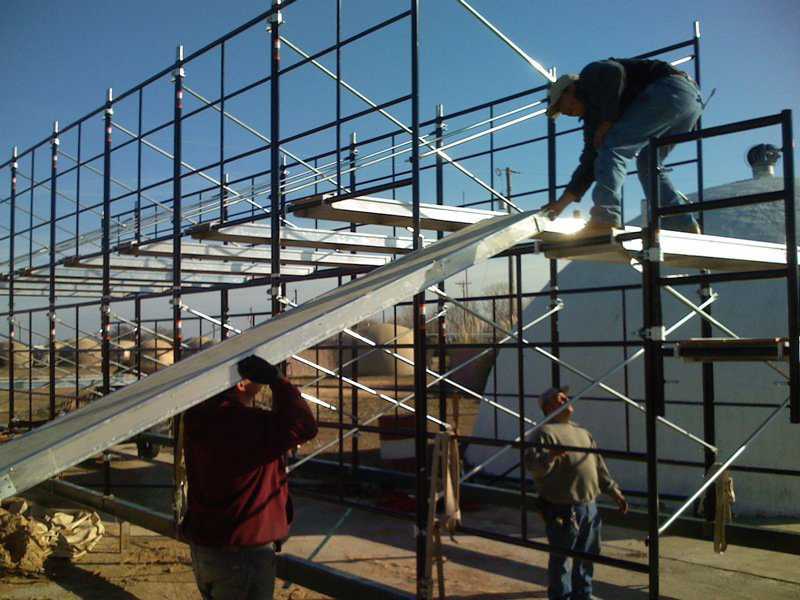
Planks? What Planks — We made sure we had enough scaffold to create a solid continuous work platform for the dome. (Michael South)

Drive motor — This drive motor is completely different than the one for the paxis 7. We will be able to control the speed of the wheel. This will be important on a bigger scaffold, since the working speed will be so different at different areas of the scaffold. (Michael South)
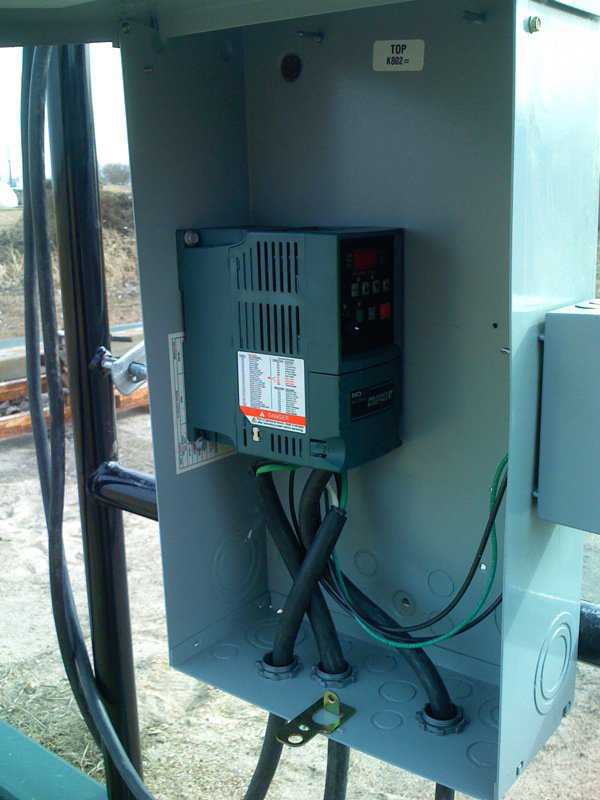
Drive Control — This is the drive control. It gives us the ability to control the speed, and to program start stop times. The start stop times is also important for taller scaffolds. On taller scaffolds, you want the motor to ramp up to speed and ramp down to prevent any sudden movements. (Michael South)

Controller — This is the hand control box. Here you can simply turn it left and right, and adjust the speed. (Michael South)
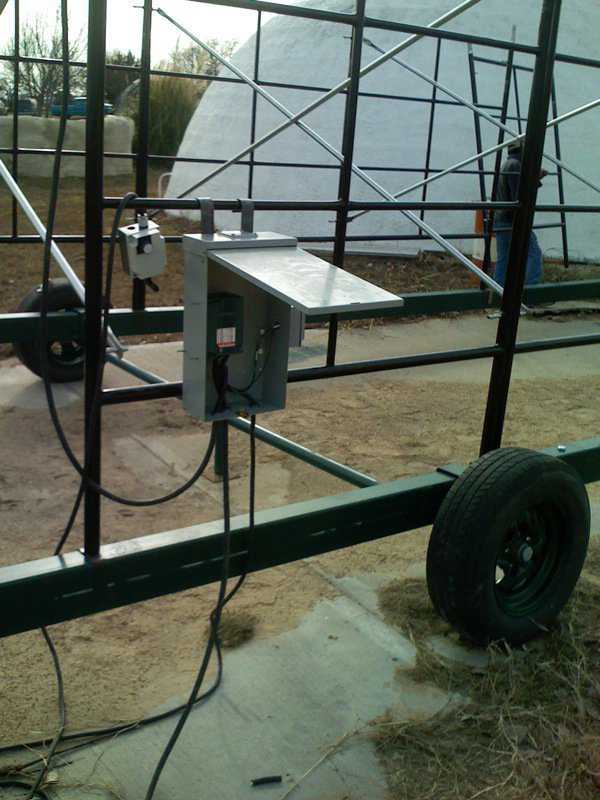
Panel Box — The panel box is 220v and can hang anywhere on the scaffold. It also has plugs on the side that can be used for lights, etc. (Michael South)
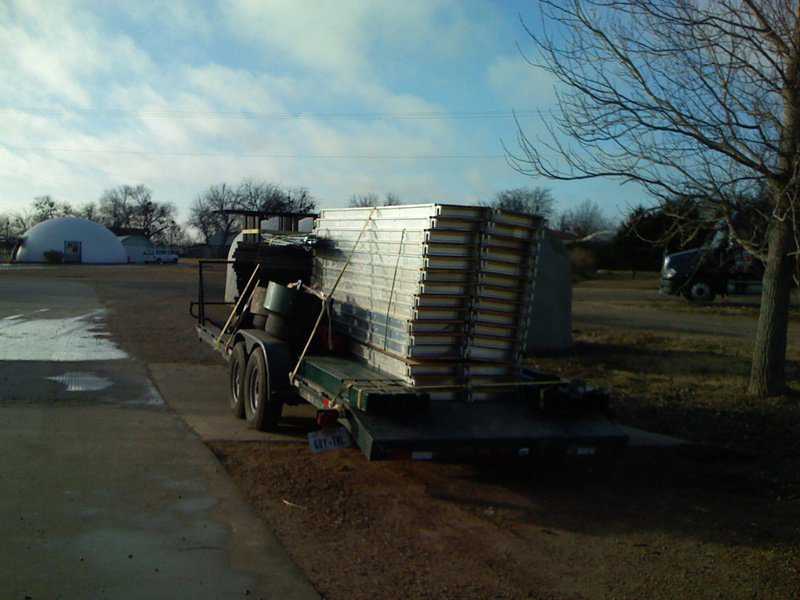
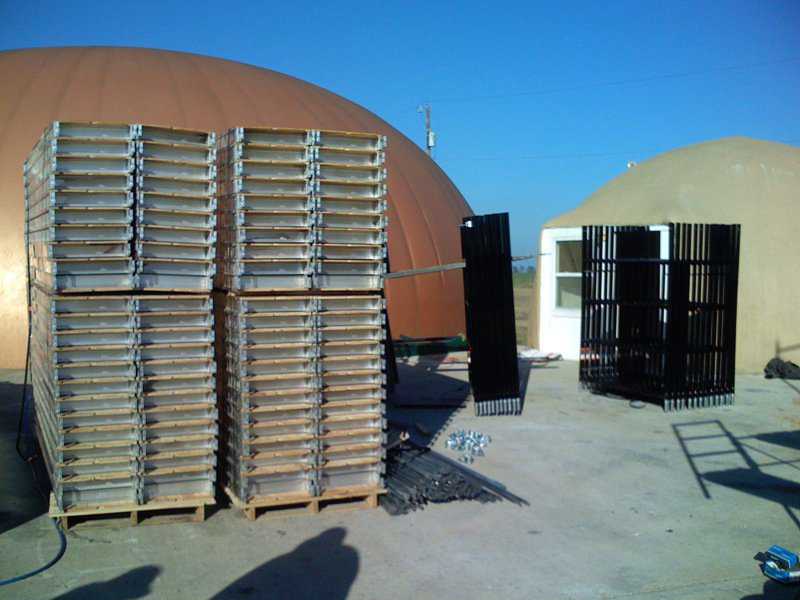
Ready for transport — This is the main advantage of our polar scaffolds. They can be moved easily. There is no other scaffold system that could fit on this small trailer and be used to build such a big structure. It can all be moved and assembled by hand, and walked through a standard man door. (Michael South)

Loaded trailer — Ready to be transported (Michael South)