Spray-in-Place Concrete Fences: How to Get Just the Look You Want
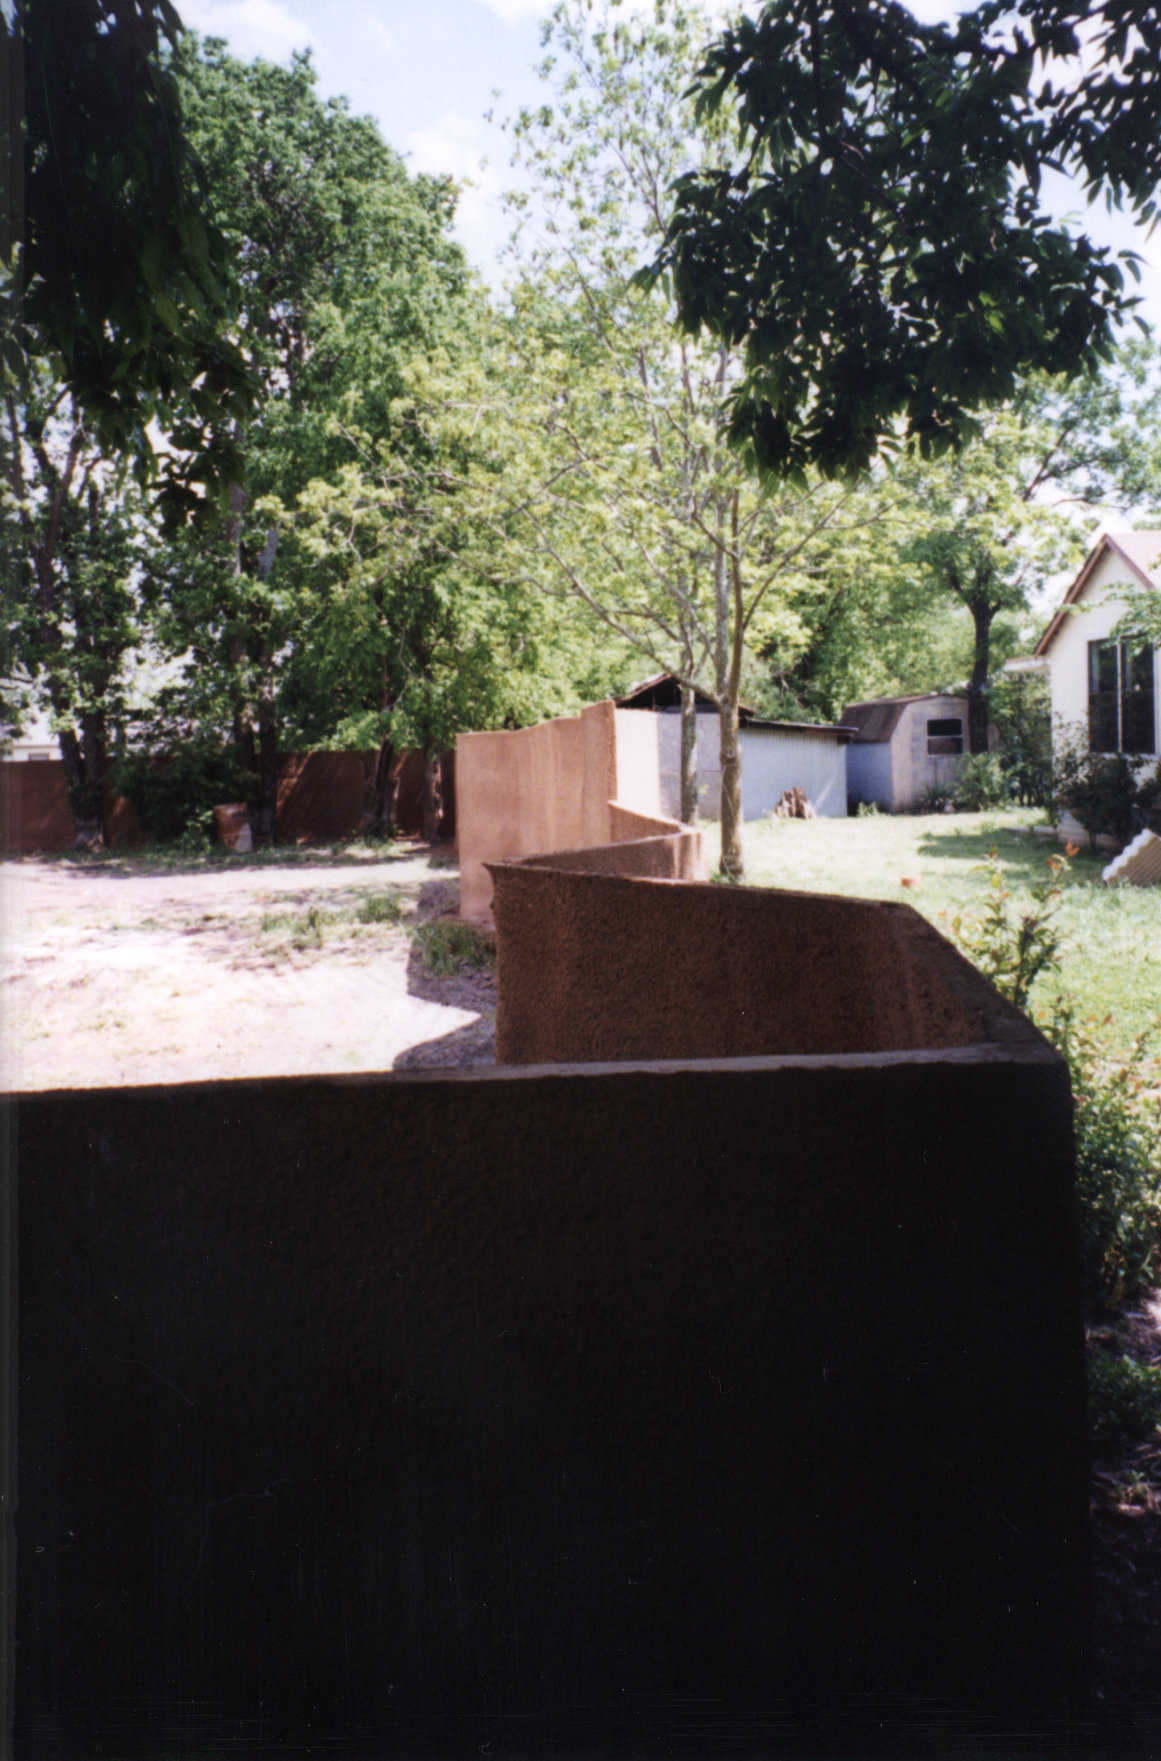
Abstract but sturdy — Here you can see a close-up of our standard zig-zag fence. This fence features multiple heights which adds to its beauty.
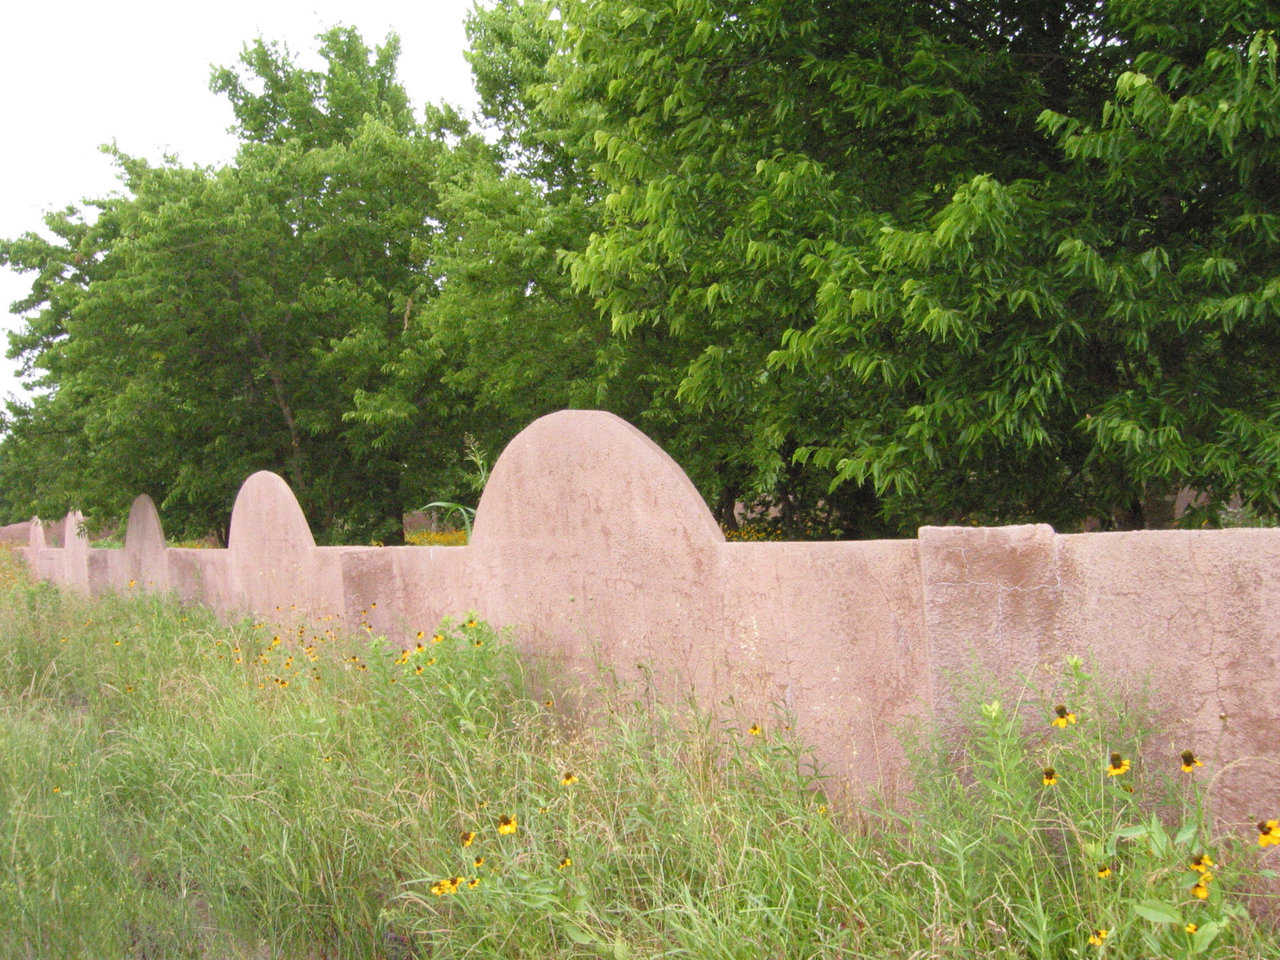
Anything is possible — Any shape or style you can imagine can be created with a spray-in-place concrete fence.
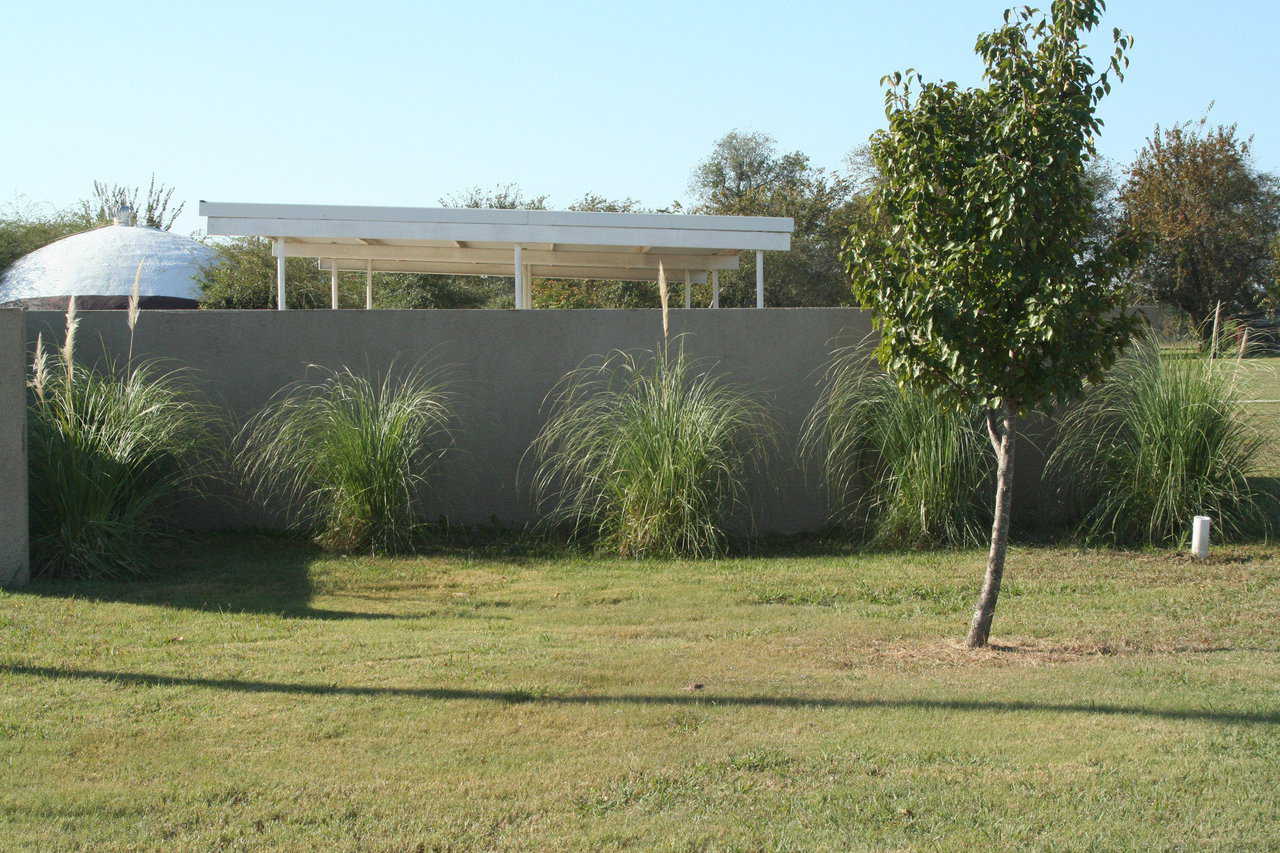
Landscaping aesthetics — Our fences blend in with the aesthetics of the landscaping and make a perfect backdrop for any style of garden.
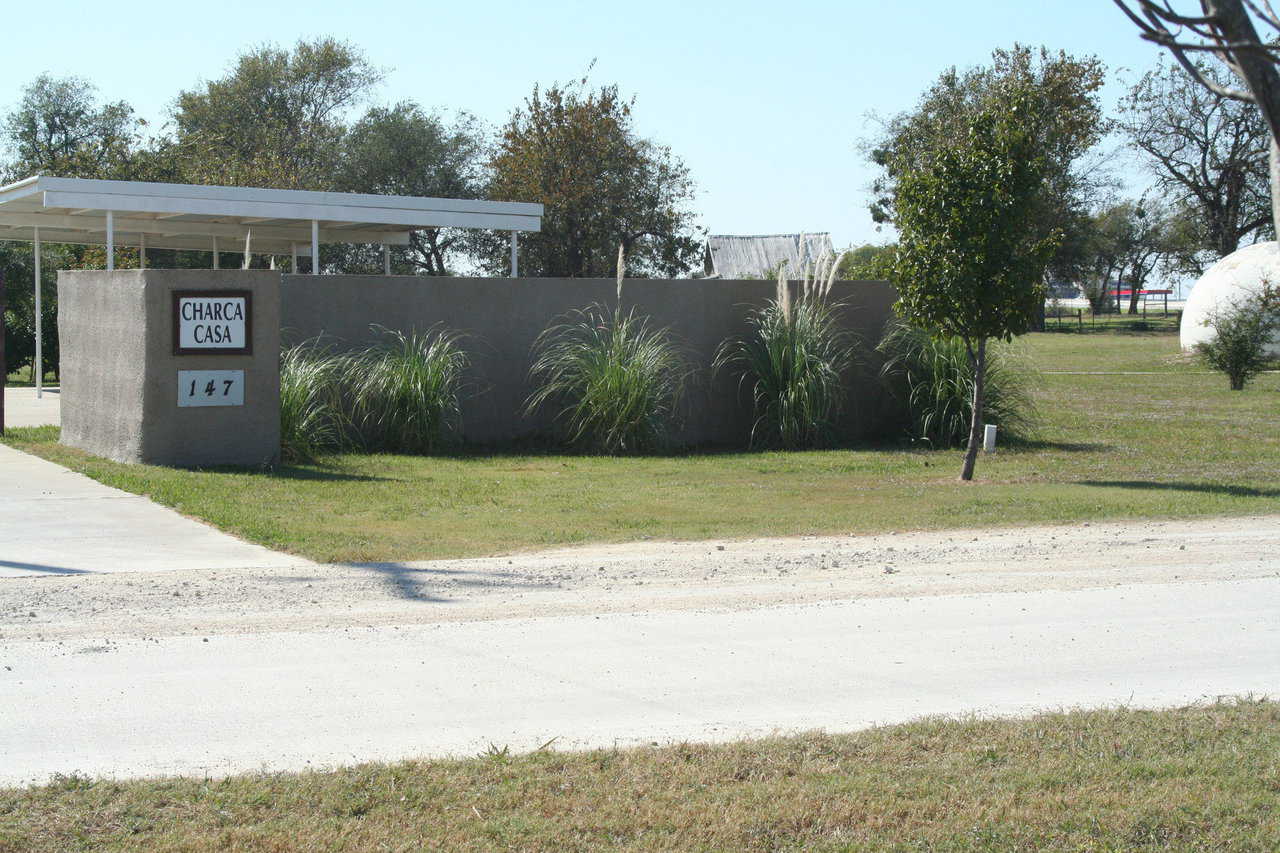
Privacy, durability, and uniqueness. — All for less than traditional stone walls.

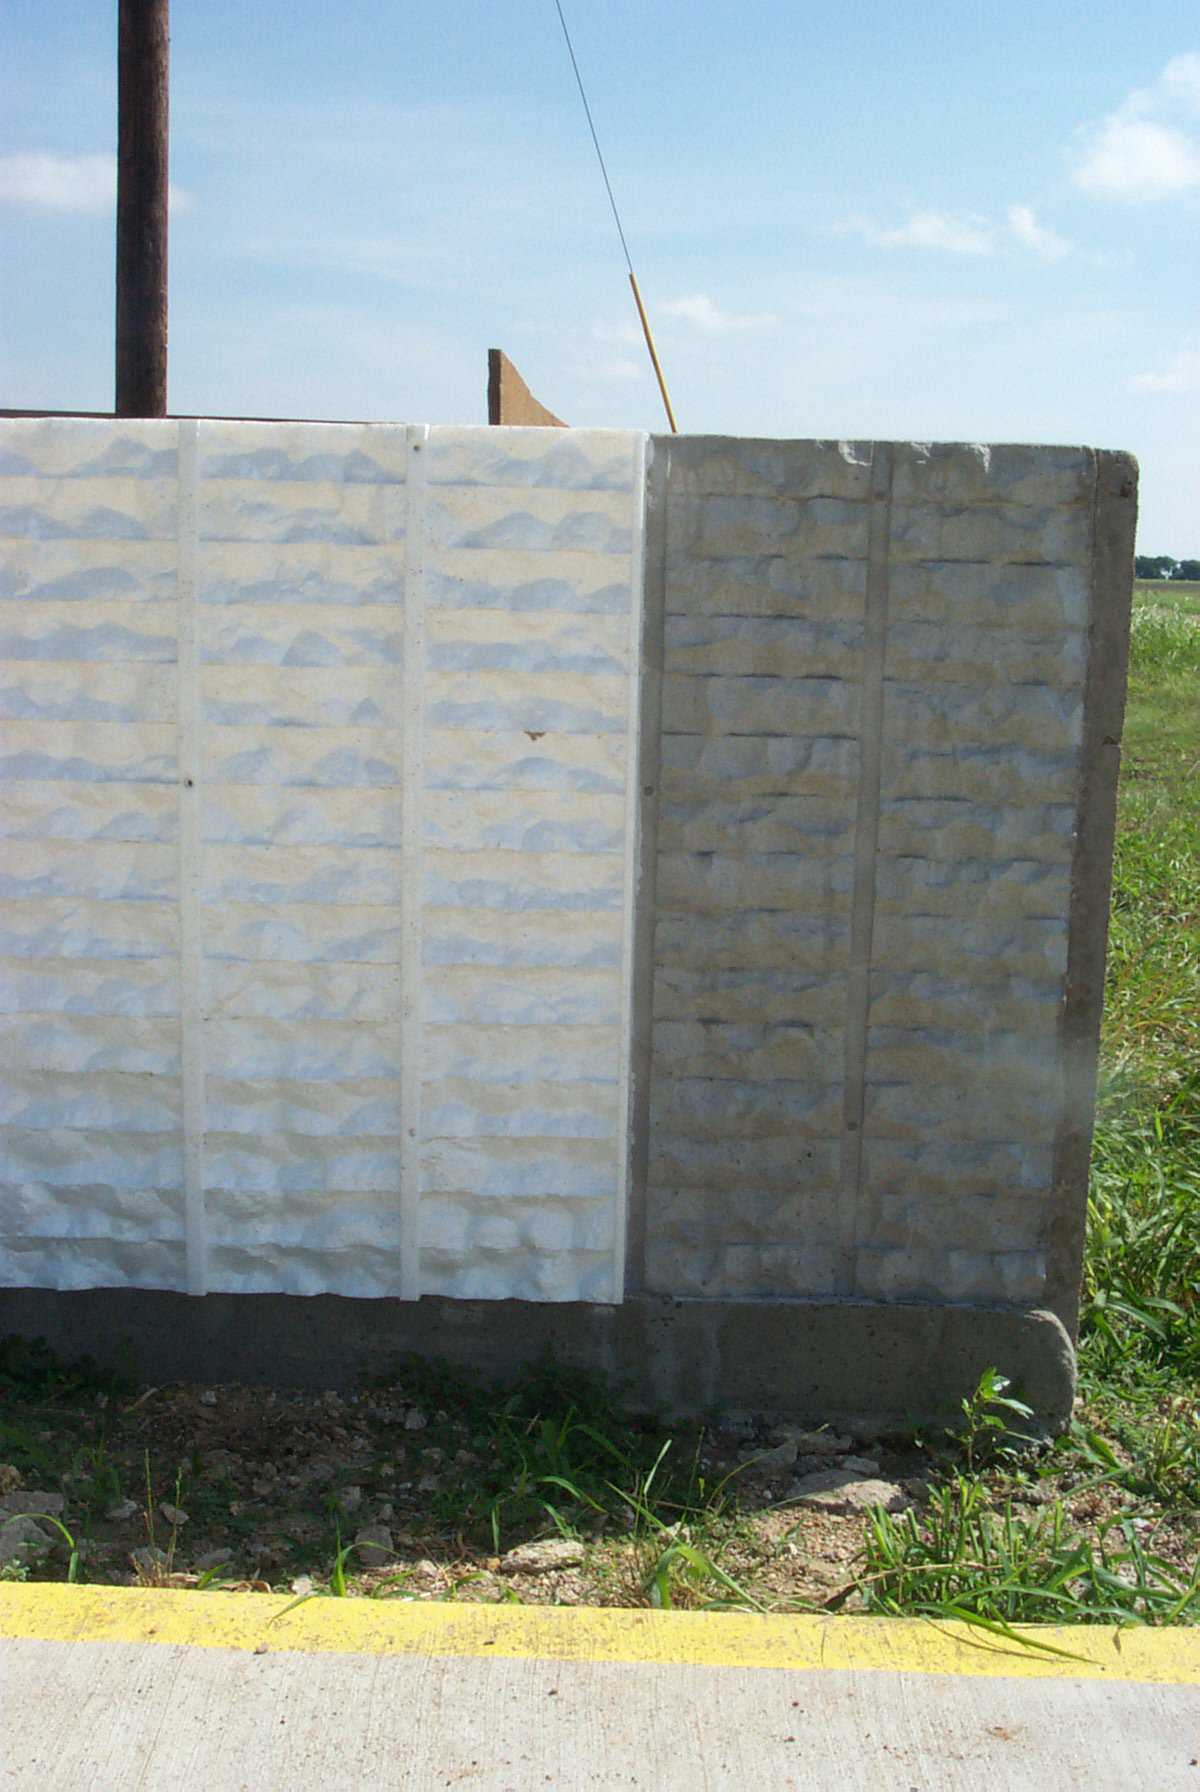
Spray-in-place security — Fence with washed aggregate surface

Hand-drawn texture — This color was achieved by using a concrete stain. The texture was hand-drawn to illustrate the many design possibilities.
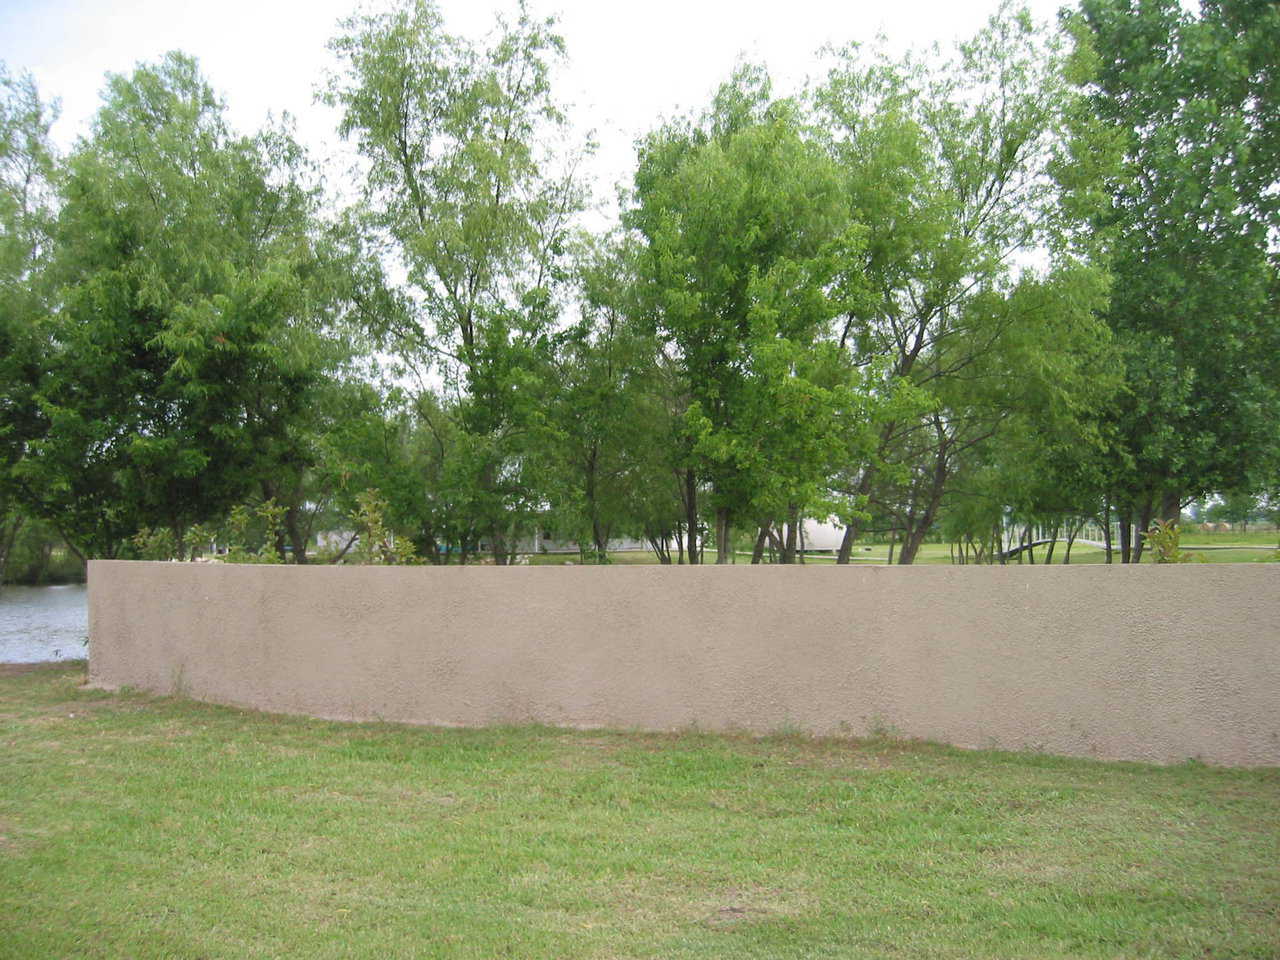
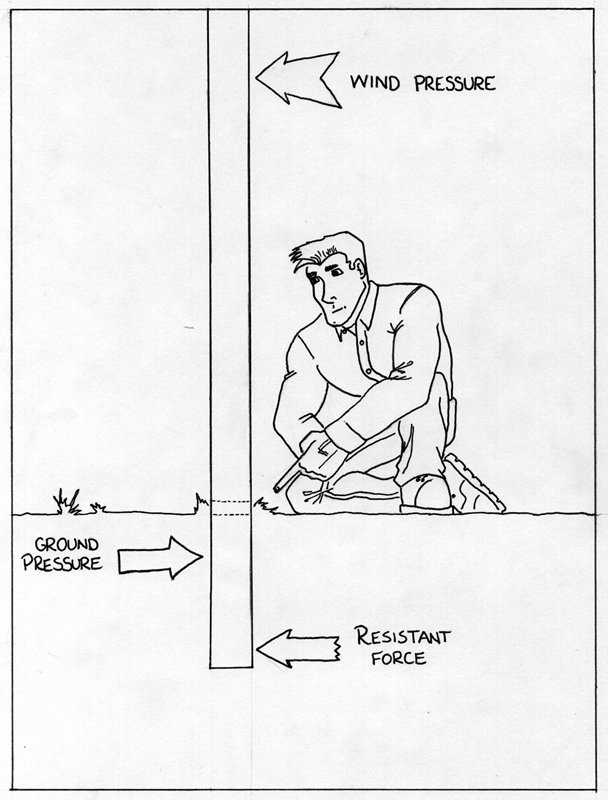
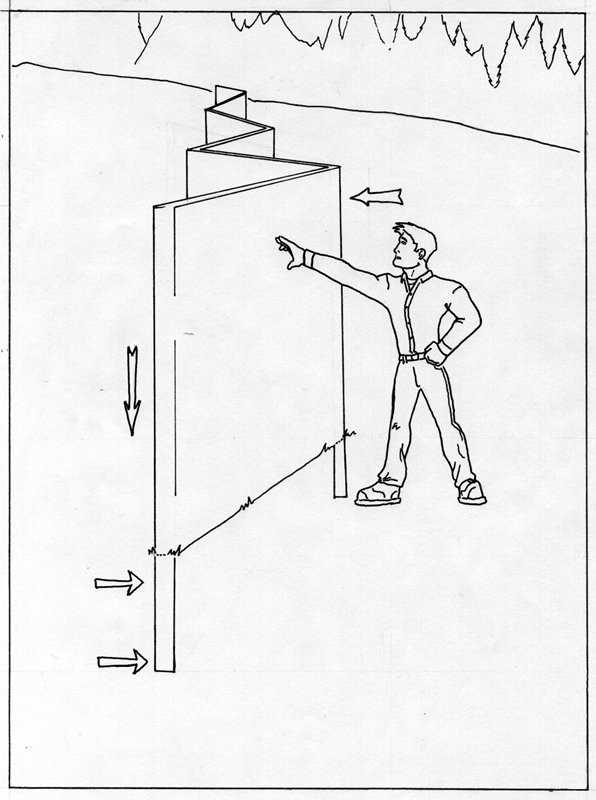
Wind resistant design — Most of our fences are zig-zagged to provide higher resistance to damage from tornadoes and high-winds.
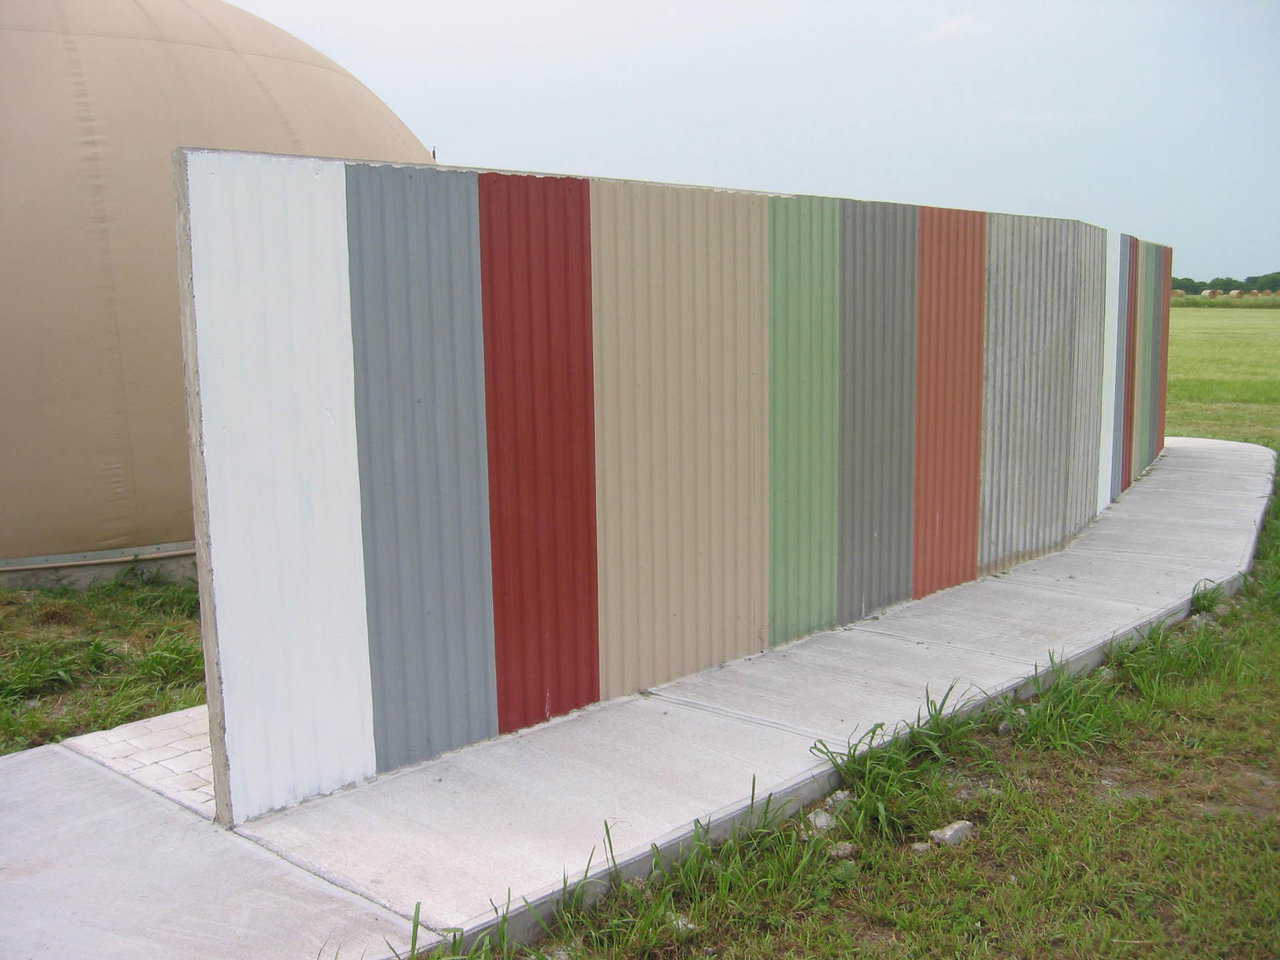
Corrugated steel appearance — The texture on this fence was achieved by using corrugated steel as the form.
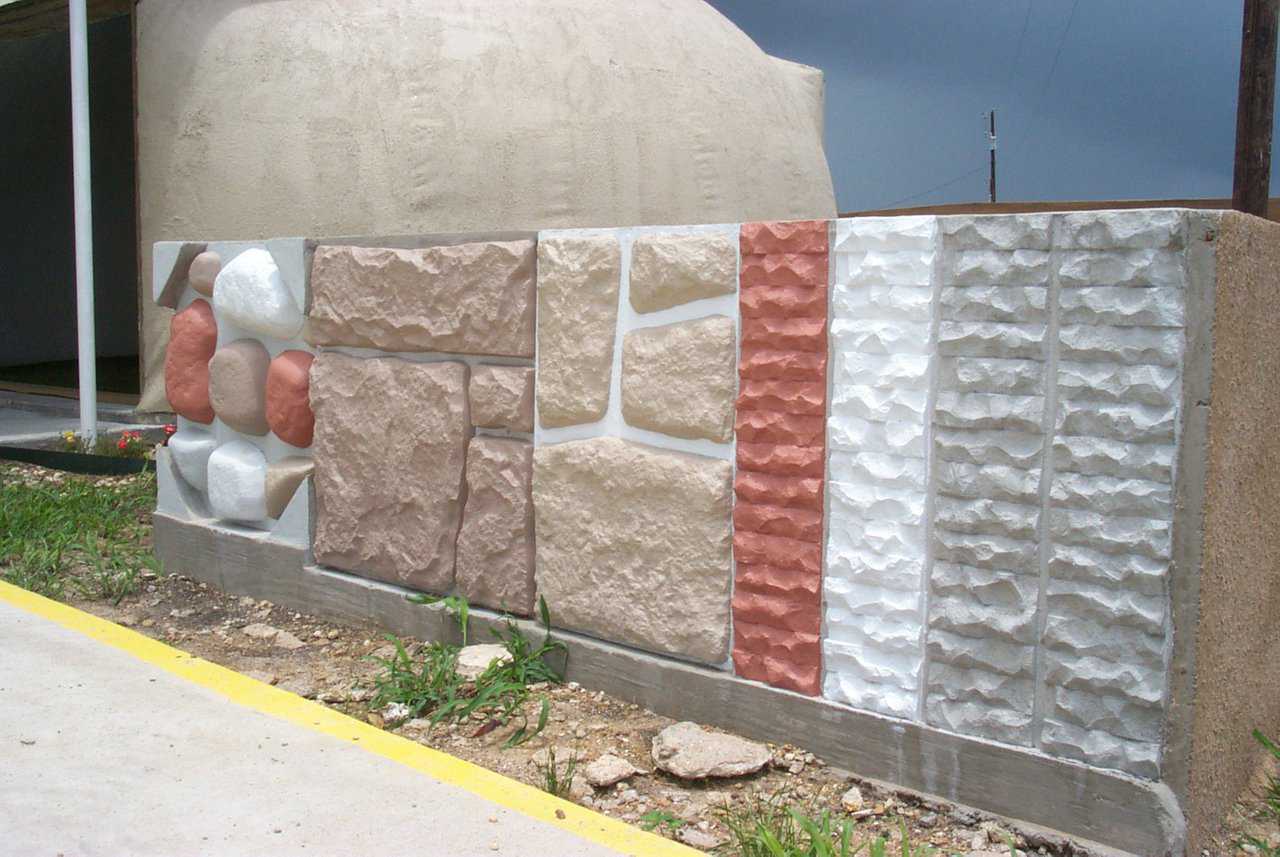
Various options — These finishes were achieved by using foam molds shaped as rocks or bricks.
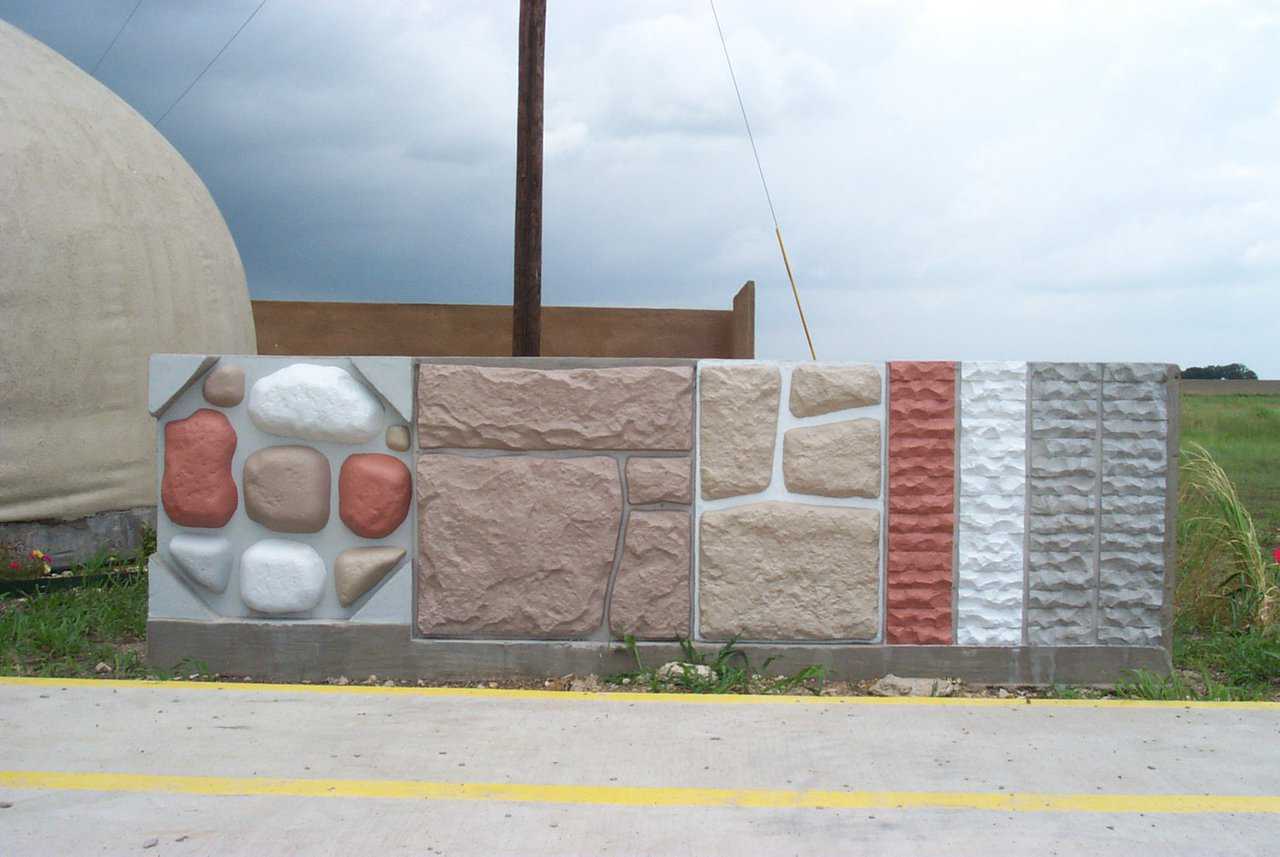
Finish Displays — River rock (left), two types of field stone (center), rock face brick (right). The sprayed-in-place rock was stained. Shown is a pentrating stain. An acid stain or paint could also be applied. These fences are stronger and less expensive to build than a conventional rock fence.
Colored concrete — The form liner for the split face brick is a negative of the finished fence. It is easily removed from the cured concrete and can be used over again – generally 10 times. Colored concrete can be used to provide a base color to the fence
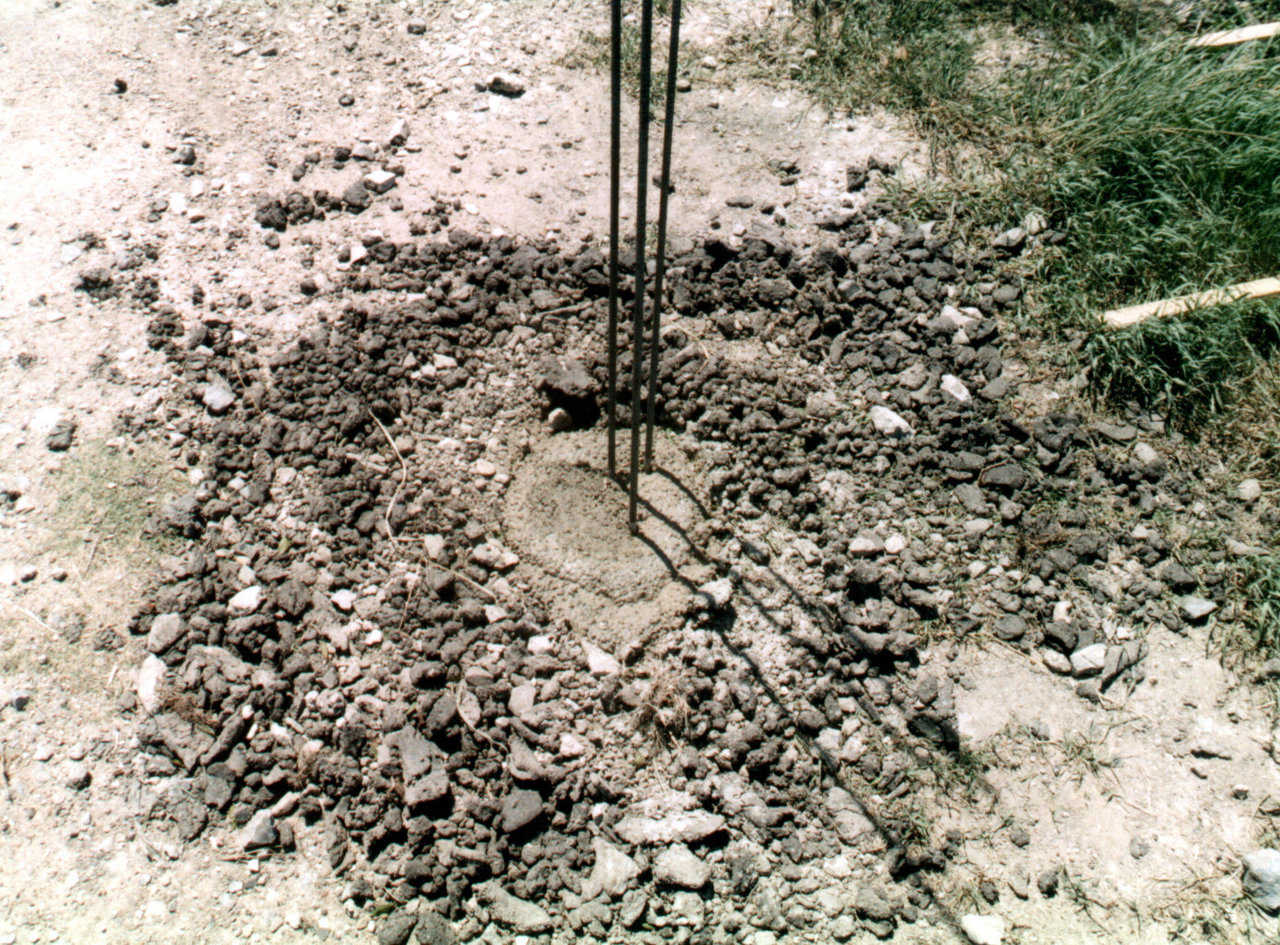
Fence post — This is the spray-in-place concrete fence version of a fence post.

Design the layout of the fence — Measure and mark where the fence posts will be. Decide which side will have the formed rock appearance.
Stand the plywood (the use of 2′ × 4′s, wafer board or plywood provides inexpensive forms).
Spray the concrete — Fasten the form liner to the plywood. Spray the concrete into the form liner until filled. Install the rebar. Let cure for several hours to gain strength.
Apply several layers of concrete until fence is complete.
Finishing touches — Remove the plywood and form liner.
Stain the concrete with a concrete stain or use colored concrete for the first layer of shotcrete.
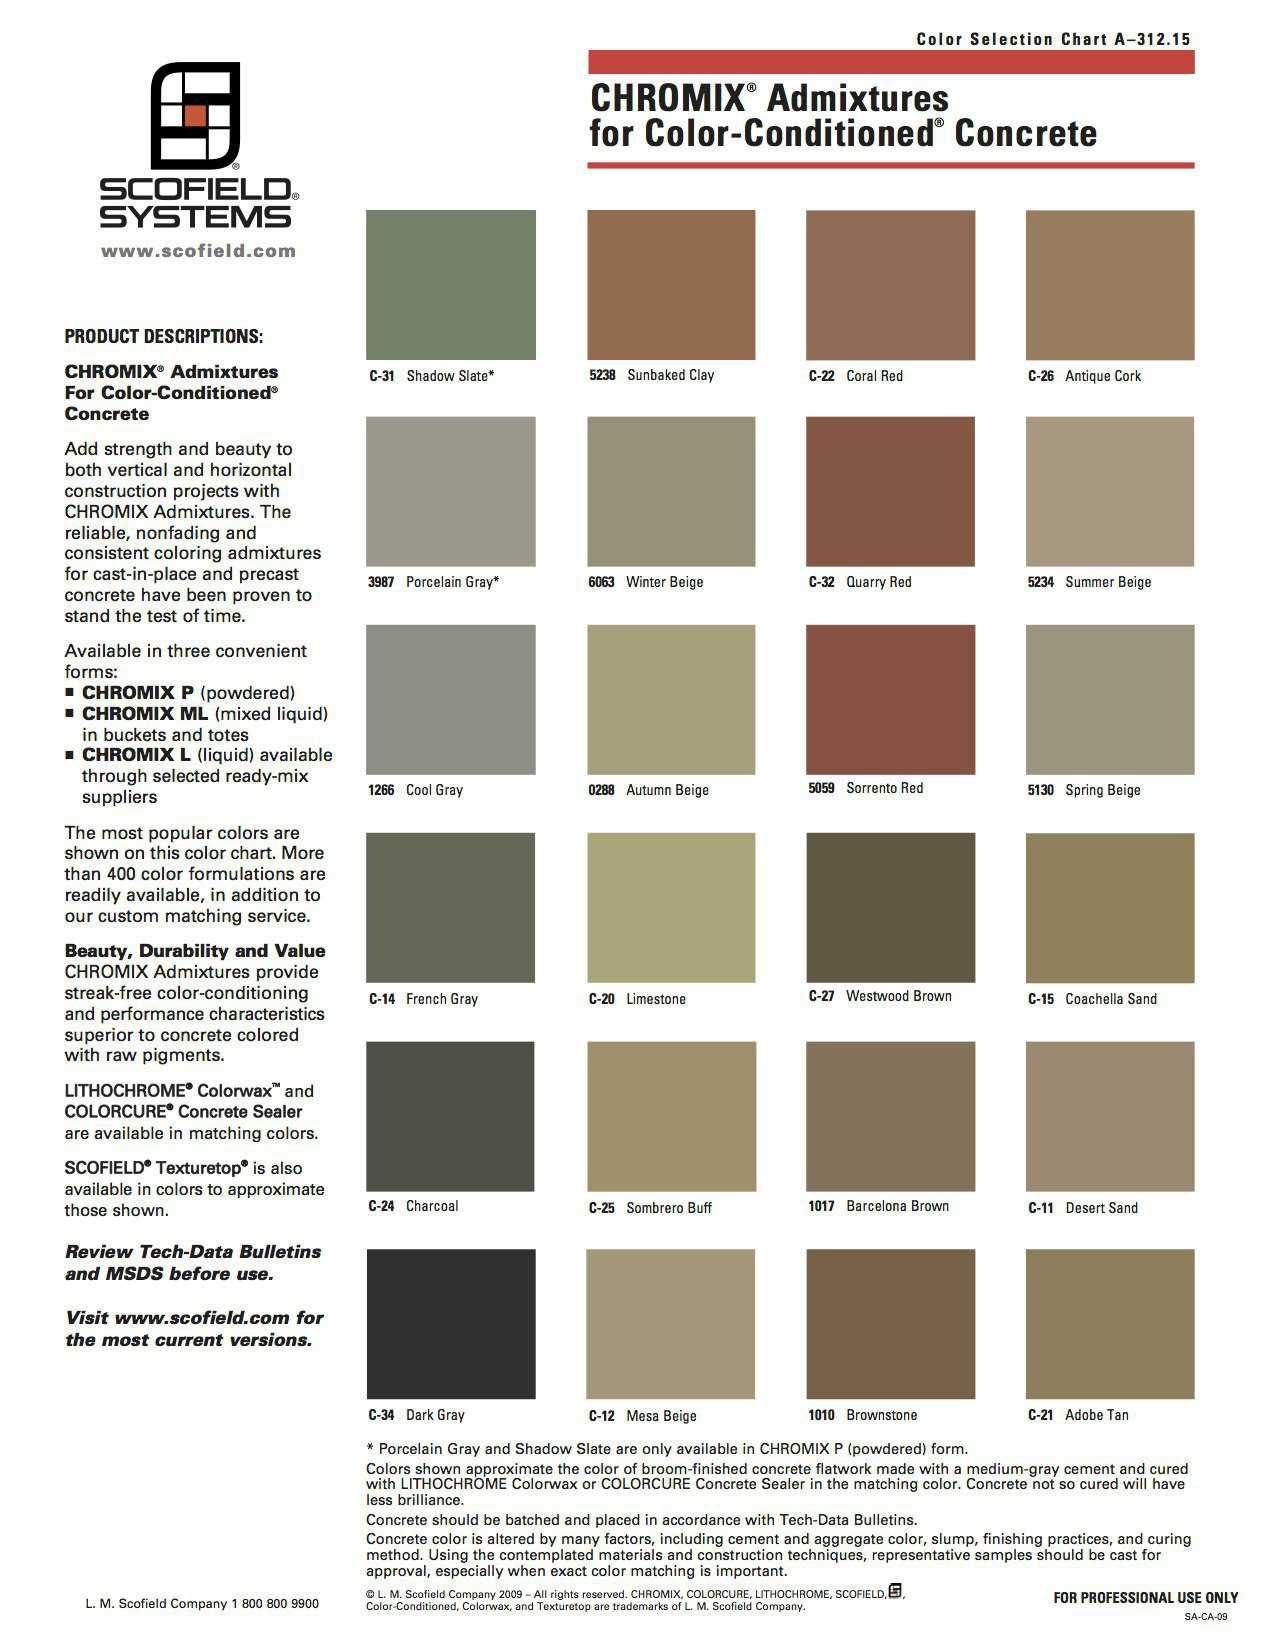
Color Chart – Color-Conditioned Concrete (Scofield Systems)