The Monolithic EcoShell I
The Monolithic EcoShell I — The EcoShell I is a super-strong structure that can withstand hurricanes, tornadoes, earthquakes, fire, termites and rot.
New Oroville, India — These EcoShells are 32 feet in diameter and 26 feet tall. This company plans on building four thousand more structures.
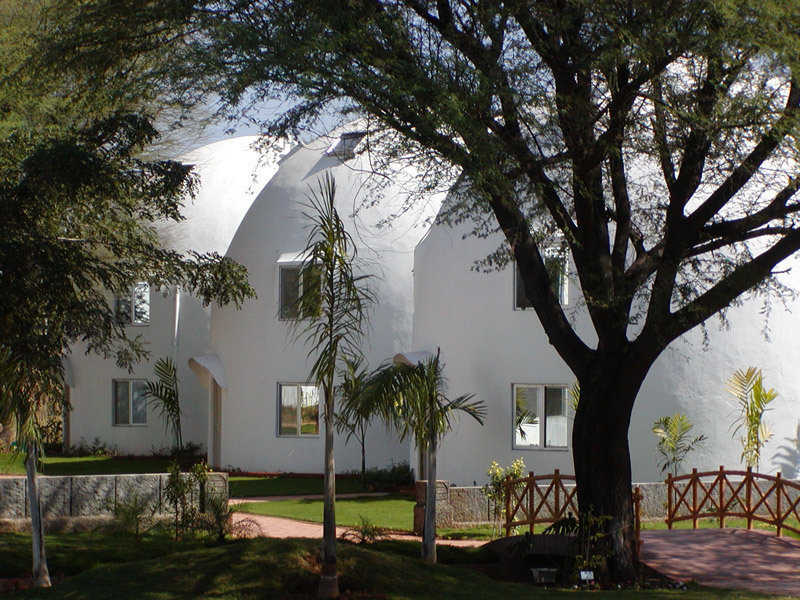
Catalytic Software — This housing complex includes multi-family housing, offices, and recreation areas.
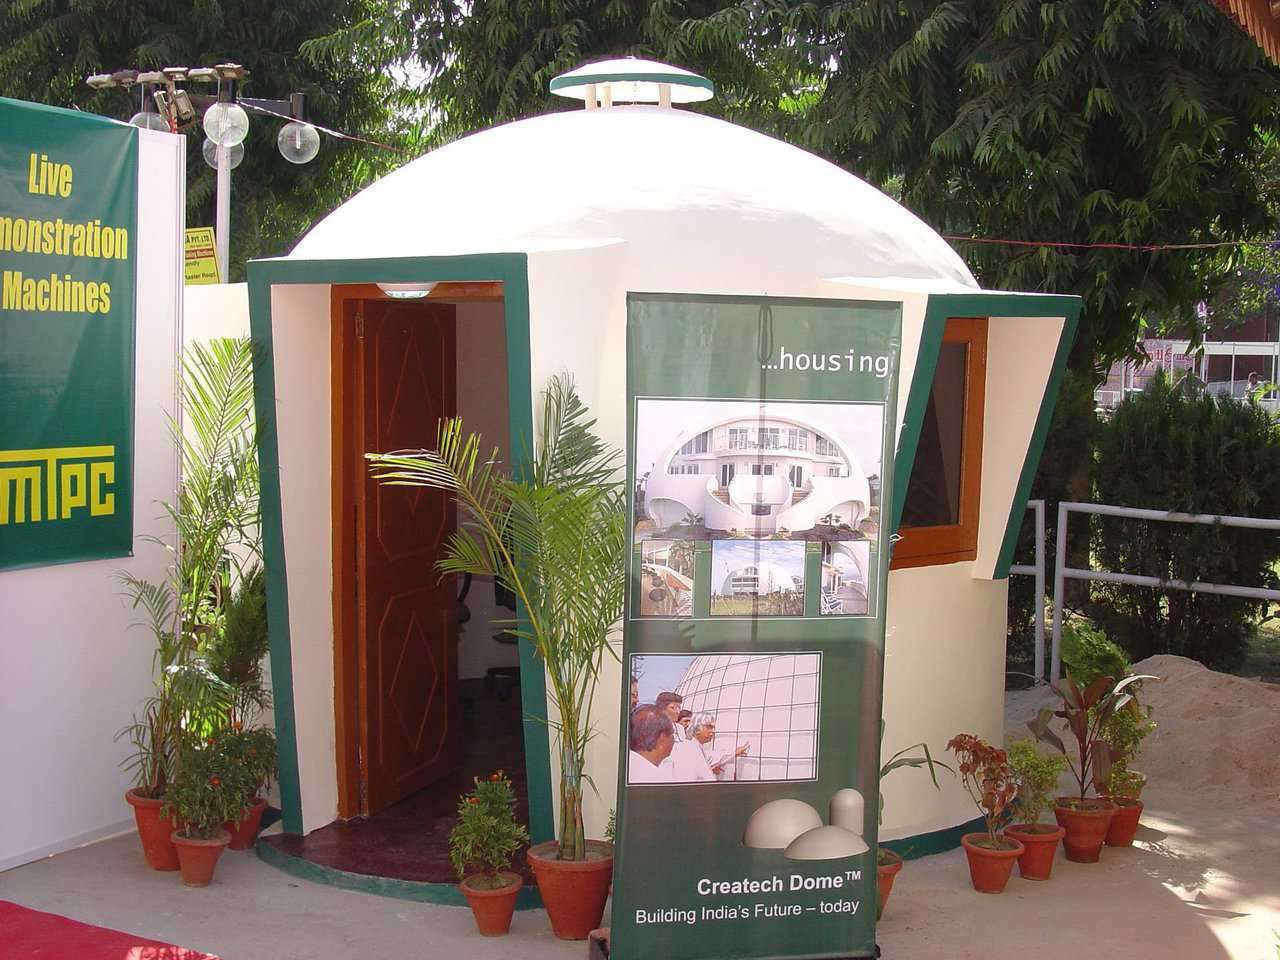
UniShell — Monolithic’s UniShell is the ideal EcoShell I for housing in developing nations. It has a 20-foot diameter and 314 square feet of living space. It is 29.3 square meters in size.
Step 1A
Level Ground — After everything has been removed, level the ground.
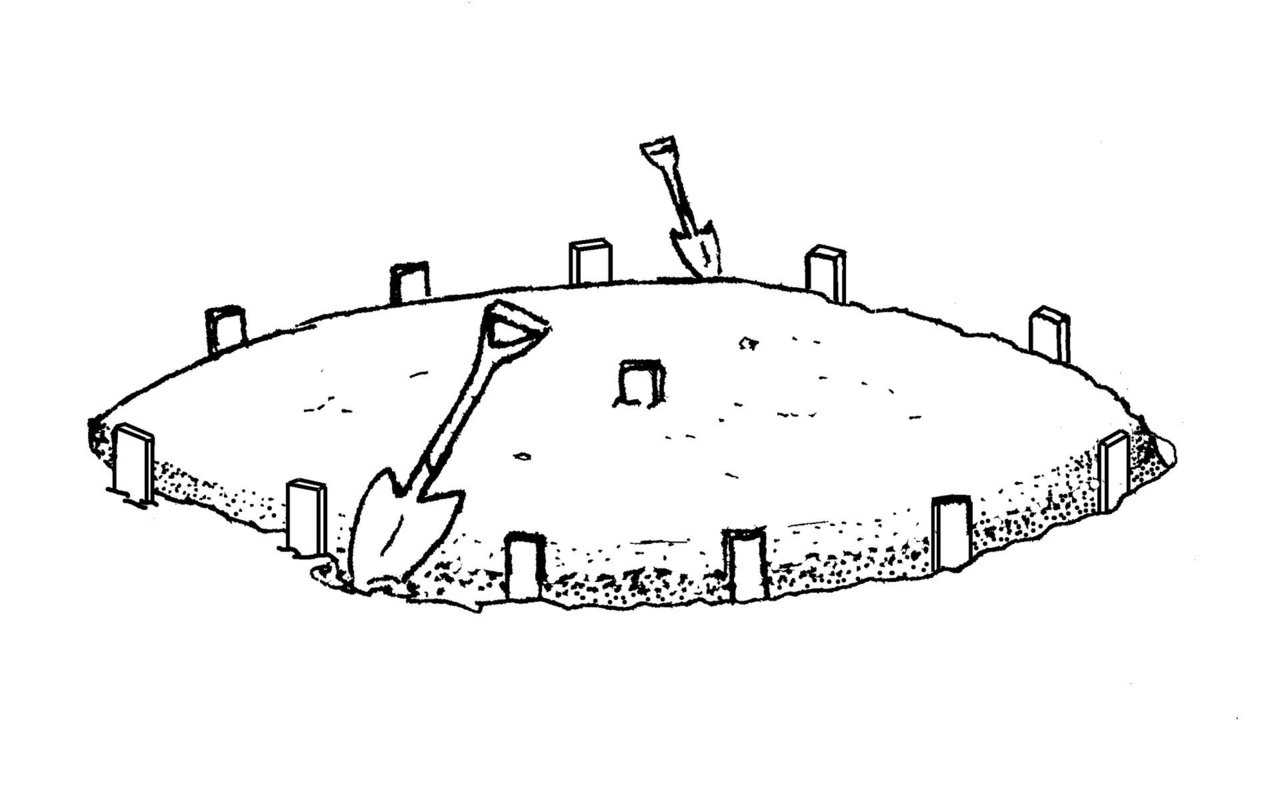
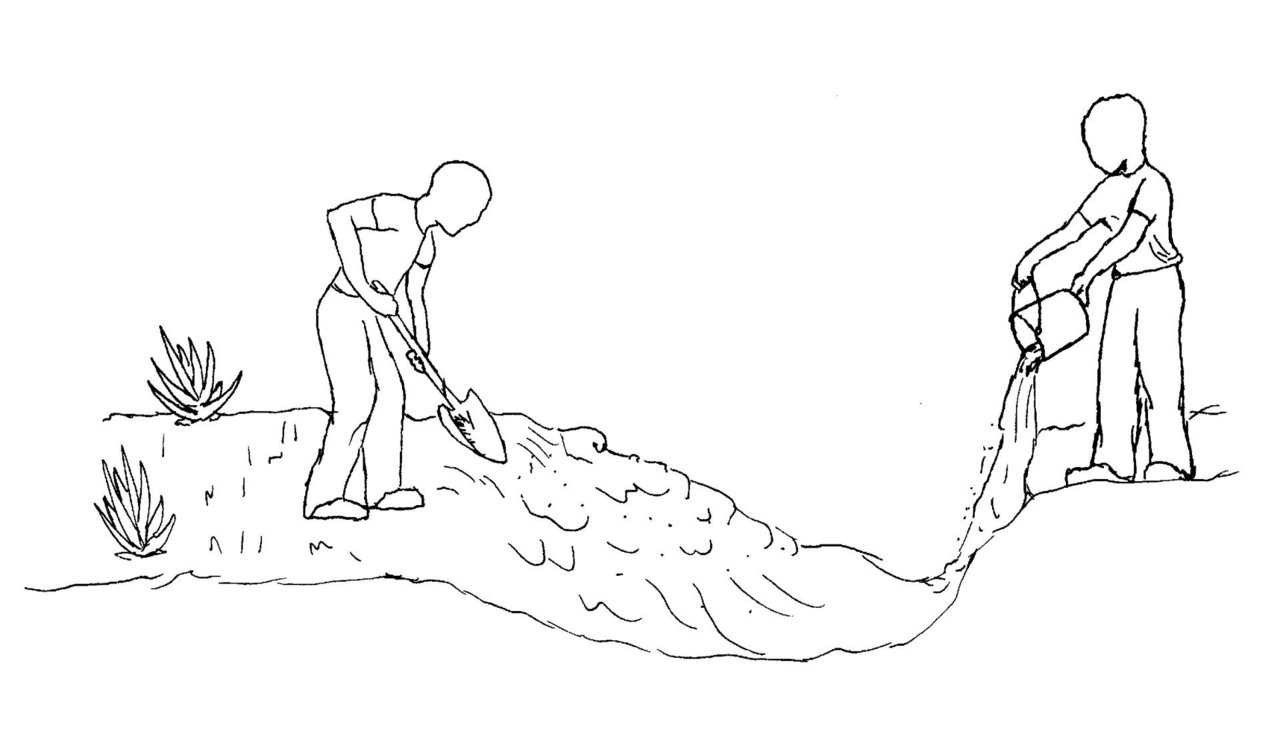
Step 2A – Dig Trench — Dig a footing trench approximately 8” x 8” (20 cm x 20 cm) on the inside of the perimeter stakes.
Step 3A – Clamp Angles — Continue placing clamp angles along the guideline. Fabric must be stretched along the line and kept even. Otherwise, there may not be enough fabric to go around.
Step 4A – Crawl Thru Sleeve — As placement continues, workers placing the clamp angles will end up inside. They will crawl out through the sleeve. Use a saw horse or other bracing device to hold the fabric off the workers.
Step 5A – Concrete Layer — First layer of concrete can be hand applied. Concrete can be troweled or “flipped” on with a small mason trowel. It can also be applied with a Shotcrete pump. Place only what will stick.
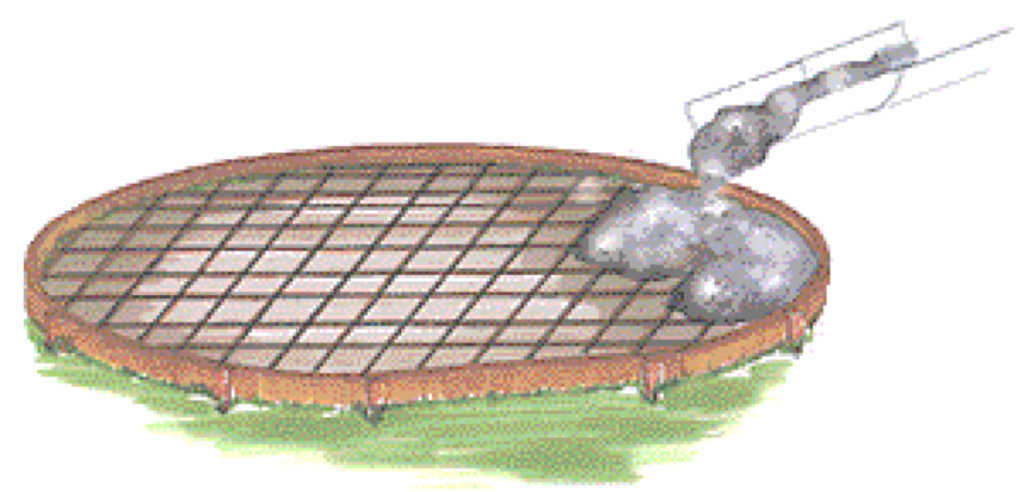
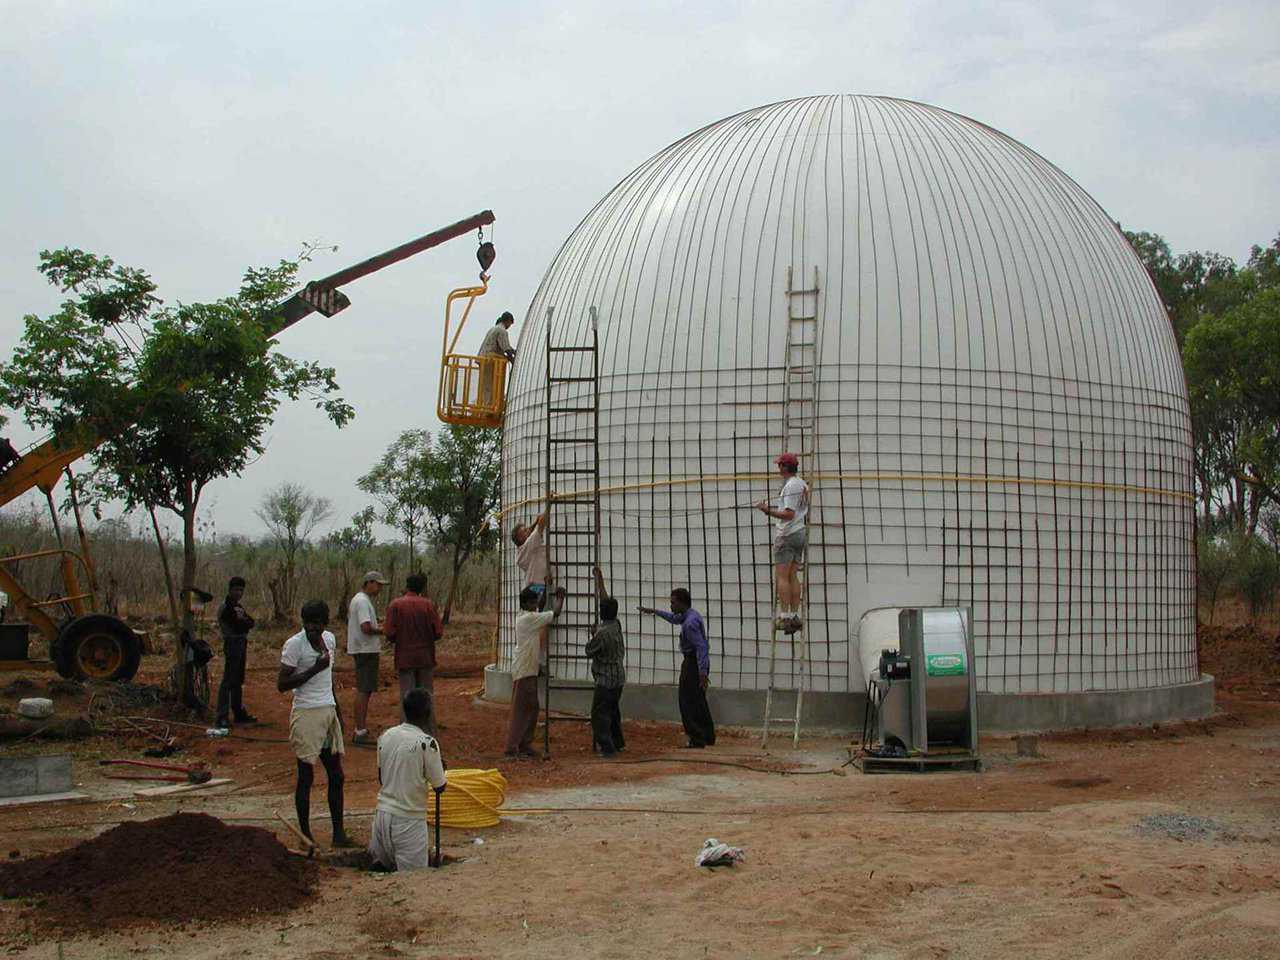
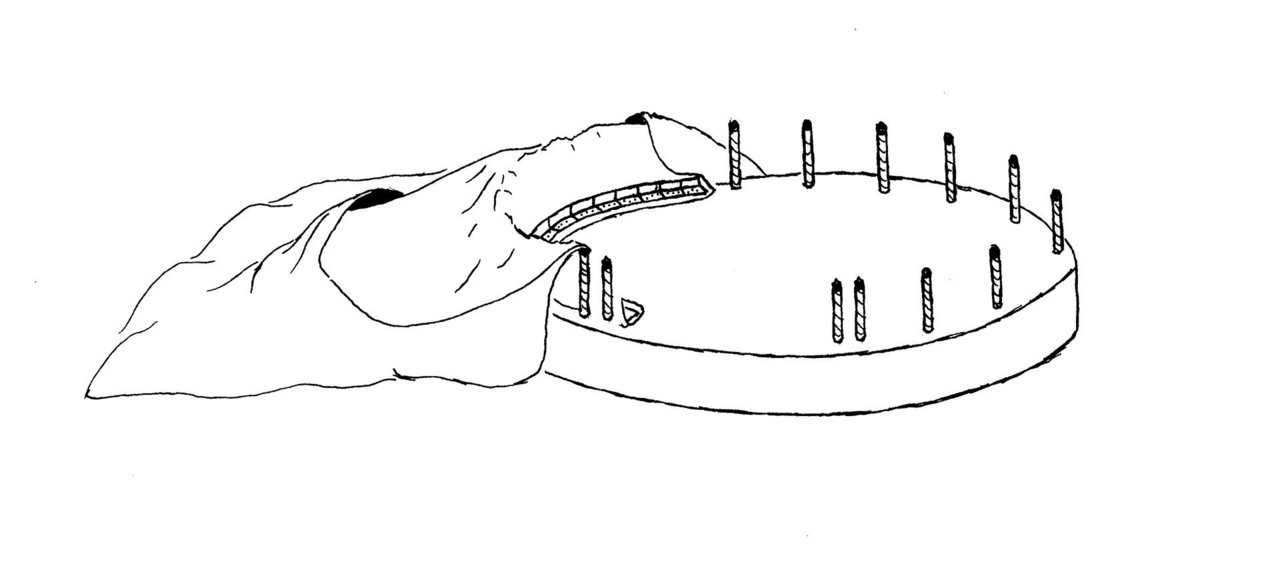
Step 1B – Ring — EcoShell I starts as a steel reinforced concrete ring foundation/floor. Vertical steel bars embedded in the ring are attached to the steel reinforcing of the dome itself.
Step 2B – Airform — After the Airform is spread and fastened to the floor, it must be sealed to prevent air leakage.
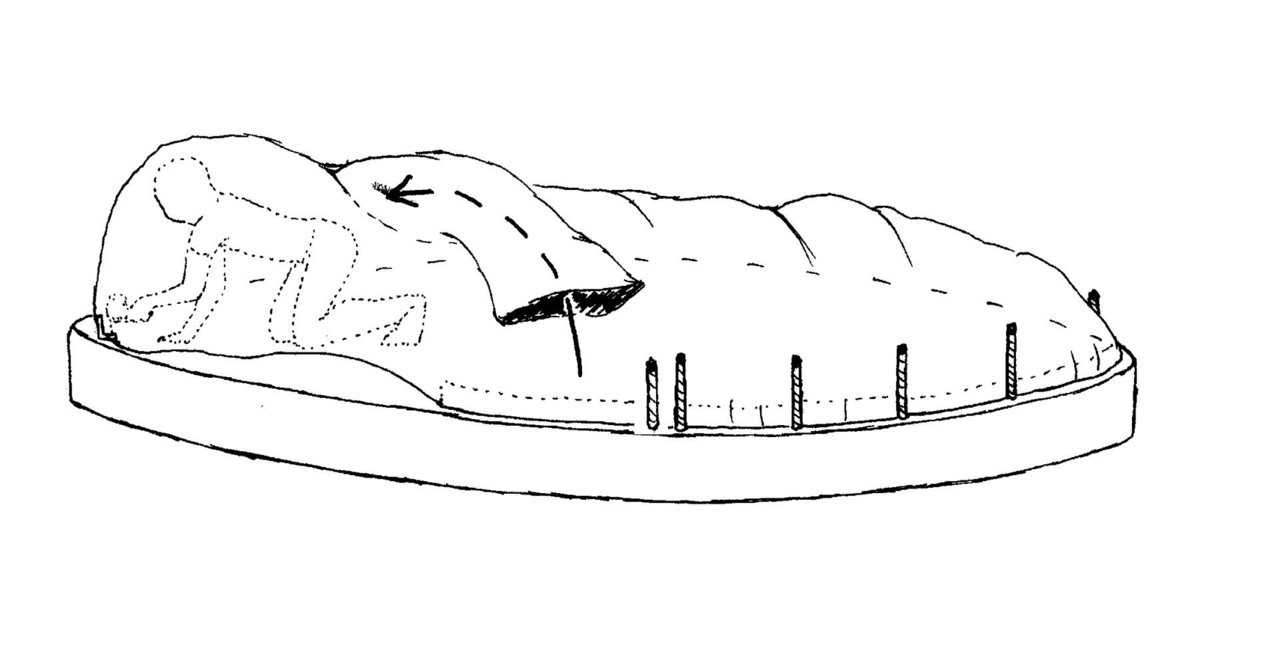
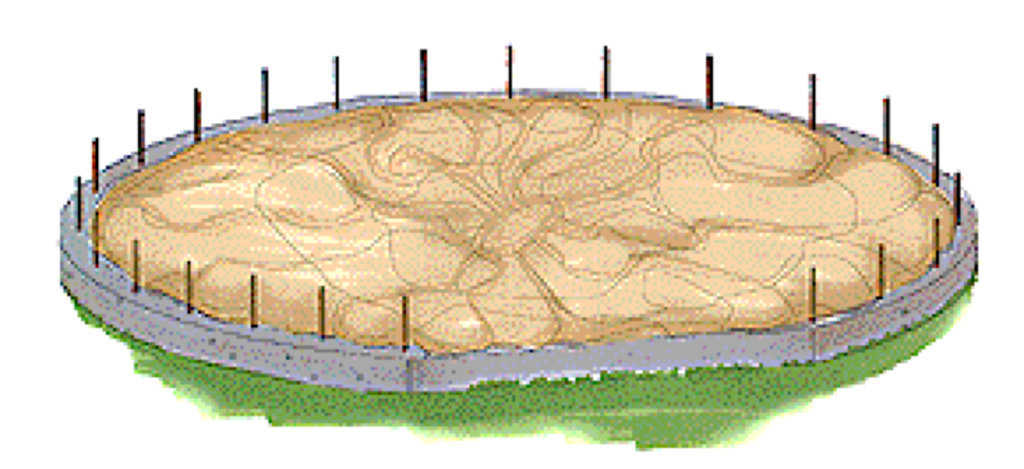
Step 3B – Inflation — Using blower fans, the Airform is inflated. This creates the dome shape of the structure.
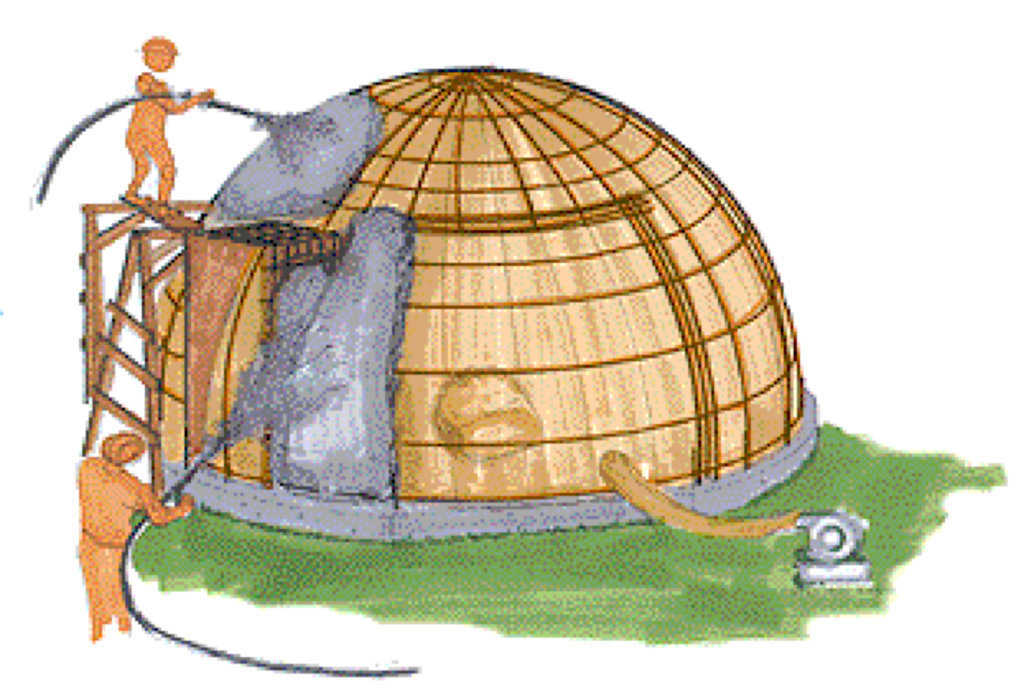
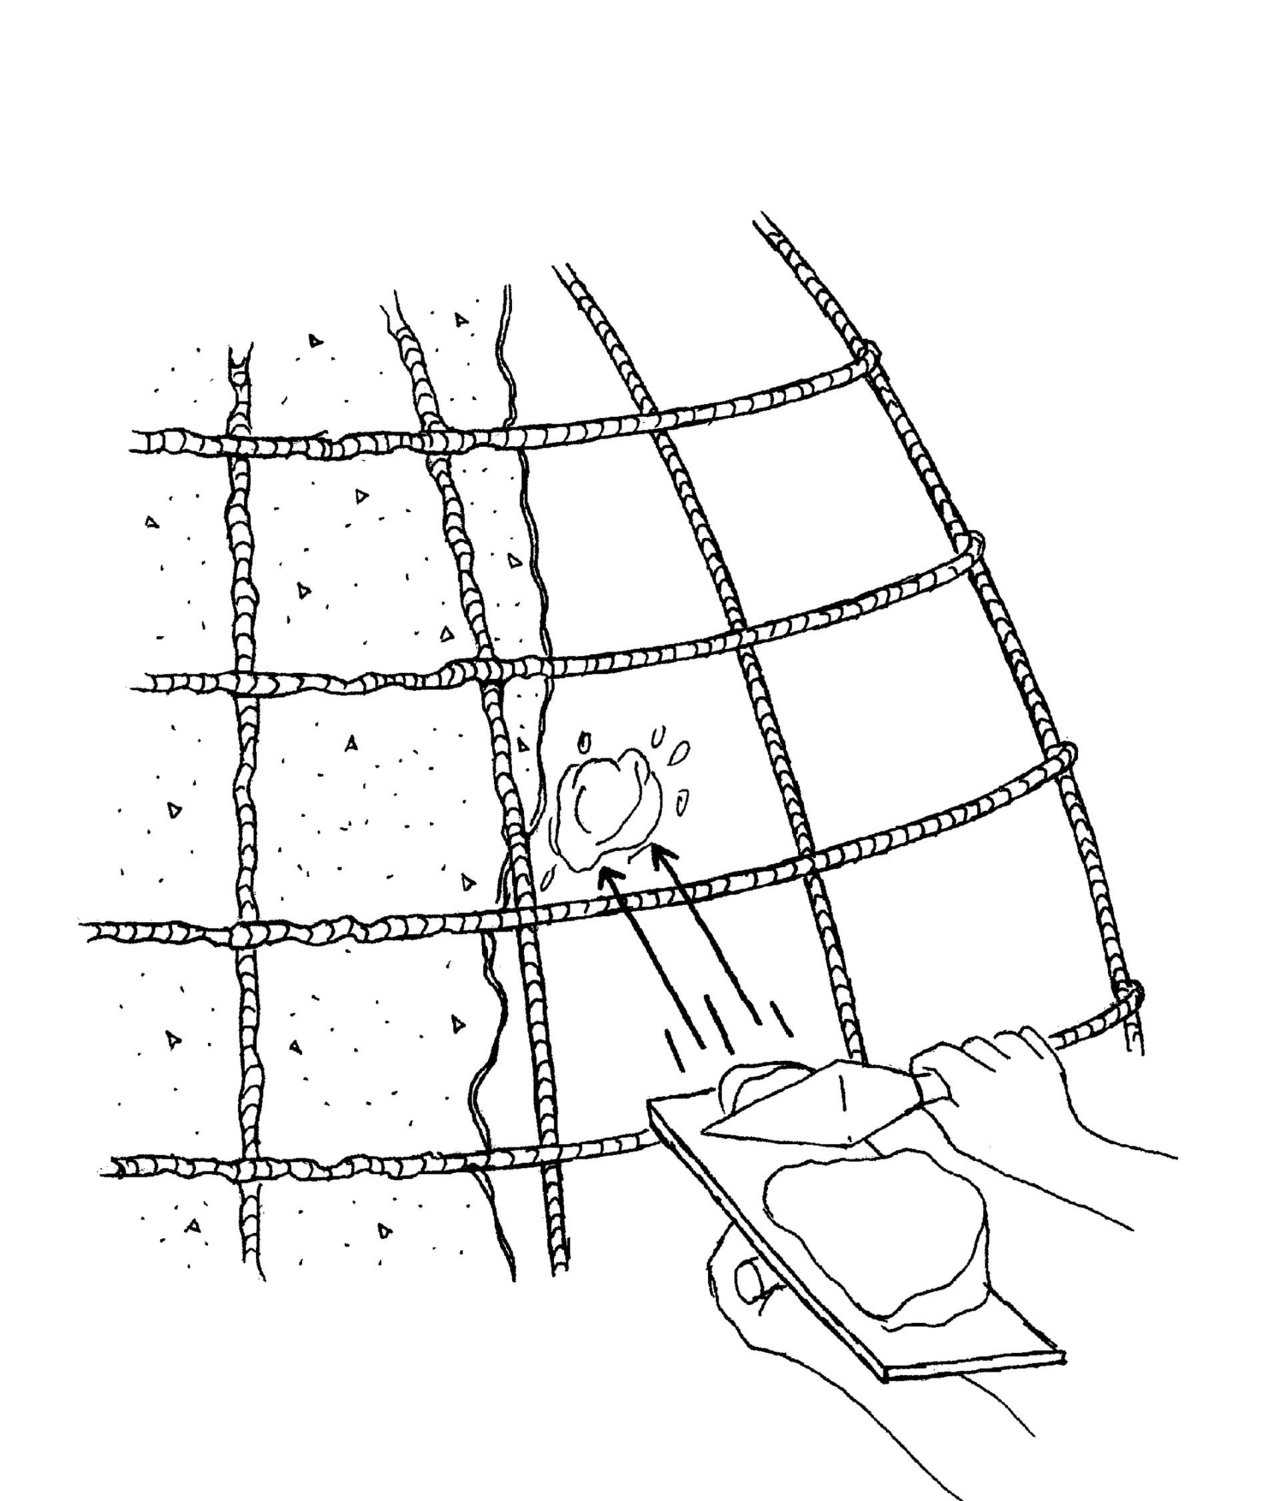
Step 4B – Rebar — Rebar is placed, spaced per engineering. Verticals go against the Airform; horizontals go on the outside. Additional plywood frames for doors and windows can be set against the inflated Airform. Remove from inside after concrete sets. One inch of Shotcrete is applied to the exterior of the Airform, allowed to set, then recoated to finish. (Concrete can be hand applied with a trowel.)
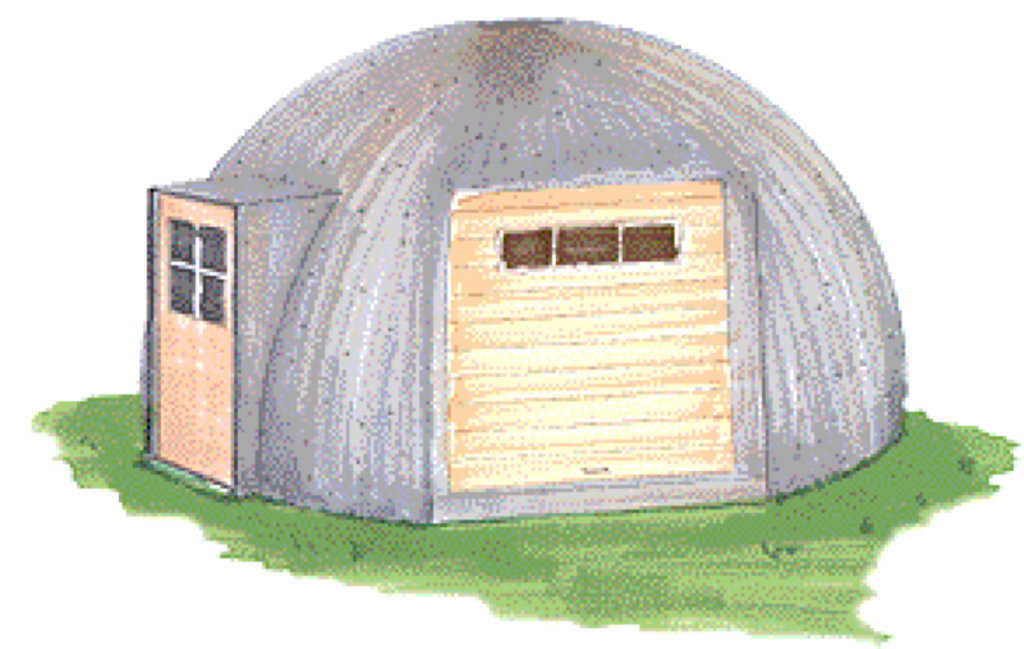
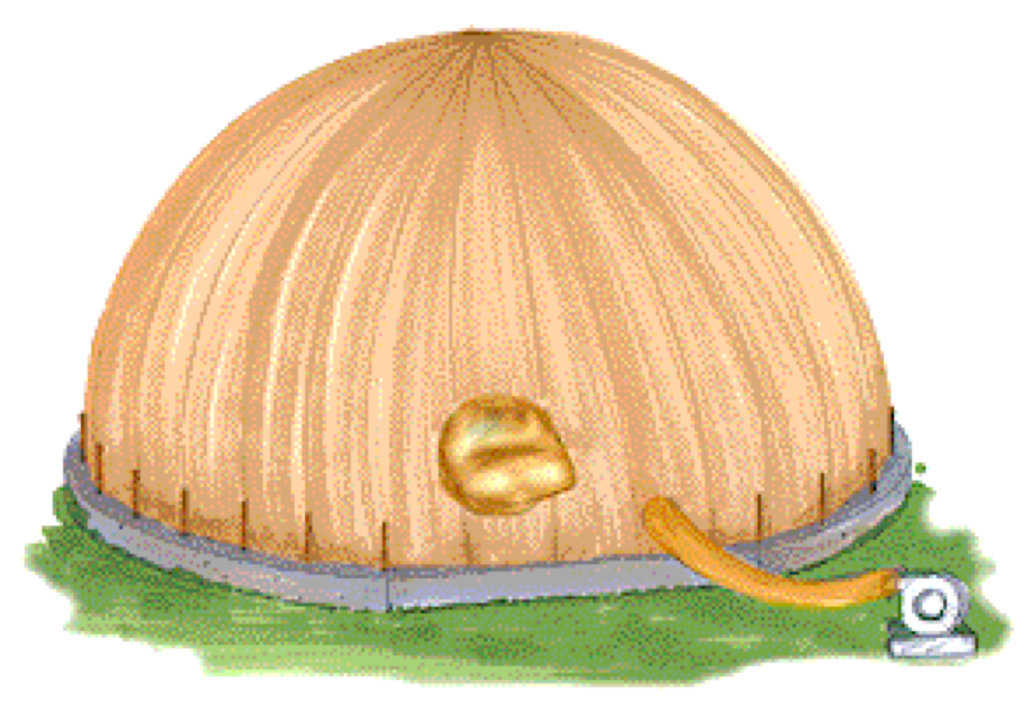
Step 5B – Complete — Remove Airform after the concrete is set. Now that the shell is finished, hang doors, windows and vents. The EcoShell can be used as is or it may be roof-coated – preferably white to reflect heat.