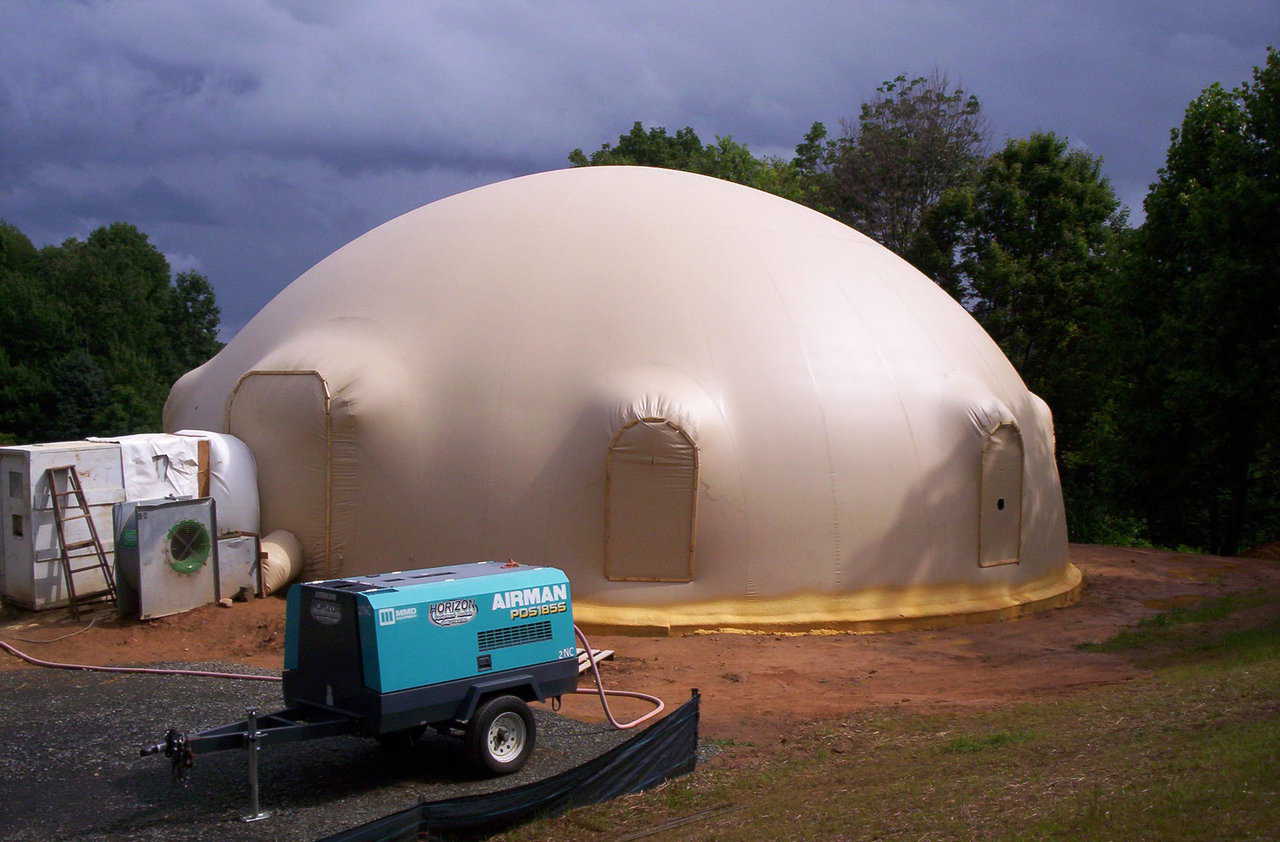
The Ecker dome-home — after the Airform was inflated, its perimeter was sprayed with leftover, two-part, closed cell foam. It’s clearly visible as a bright yellow band along the foundation. (Chris Ecker)
An Option to Avoid with Stitched Seams
Note: Maddy and Chris Ecker live in a Monolithic Dome home in Galax, Virginia. They have researched, written and contributed several articles to our website.
Information that may help
You may find this article helpful if your Monolithic Dome Airform has any stitched seams and also has a barrier material, such as foam along the exterior terminal edge of the Airform.
Our 50-foot-diameter Monolithic Dome was a standard construct. First the formed ring foundation was poured; then the Airform was attached with metal strapping and concrete nails. Once inflation of the Airform was completed, priming and foaming was accomplished on the interior Airform surface with bucks in place.
When our interior foaming was completed, we had about ¼ barrel each of the two-part foam components remaining in the barrels. Our foam contractor offered to spray this remaining foam along the exterior foundation-Airform junction. Although not taught at the Monolithic Workshop, this seemed like a logical use of the leftover foam. I reckoned this exterior foam band would make the junction more airtight and prevent intrusion from any small insects that might find their way under the Airform. And since I hate to waste, the foam was applied.
Some time later the Airform stitching junctions were caulked above and beside our window and door augments. However the caulking was not applied all the way down to touch the exterior foam band so rain driven against the dome would have an escape route. I neglected to realize that the foam shot around our exterior perimeter wouldn’t penetrate into the tight stitching junctions.
Troublesome leaks
Over the next year during several storms, we noticed small leaks near two separate windows. We traced the one in our utility room to a stitched Airform seam length that I missed while caulking. This allowed rain water into the window frame and then along a path that exited from the bottom of the windowsill.
Tracing the second leak was more confusing. It appeared at the interior junction of our shell wall and slab floor directly under a window. This junction had been caulked with a concrete floor product. Inspecting the immediate area, we couldn’t find where rain might have dripped down the wall near or under the window, nor was there any dampness on the windowsill or ledge. There are no water pipes embedded in this portion of the shell wall, nor anywhere nearby in our slab floor.
Figuring I missed something, I waited for the next storm to chase the puddle again. Next storm, same story; the puddle appeared without any signs from where it originated. Since the puddle was typically very small, we dismissed chasing the source and blotted up the water as needed, which only happened with driving rain and wind.
Fast forward a year later as we began prepping for some dome exterior finish. By corresponding with other dome owners who used block, brick or rock for exterior material, monitoring Monolithic’s website and reviewing the monthly e-newsletter, Maddy and I began finessing our dome exterior plans.
Part of this preparation involved removing the foam band that had been applied during earlier construction. The two-part foam held up extremely well. Its surface was slightly discolored from UV exposure as expected, but was so firm that it had to be chiseled off with a hammer and nail puller. There was a slight fishlike smell when the pieces were removed – but oddly, I thought the chunks cleaved off looked a lot like cheesecake.
Some general observations during the foam removal process:
- No bugs burrowed more than ½ inch into the foam. No eggs or evidence of nesting was noted.
- As the foam was removed, the exposed concrete foundation appeared dark, as if damp and still curing. There were pockets of air between the Airform and foundation where the strapping had been cinched tight, and the foundation was slightly protruded on the high side of the ring form.
- There were puddles of water that appeared sporadically during the foam removal. After much studying, I believe these originated from small voids between the Airform and foundation, from inside of the Airform rope cavity (through the rusted staple penetrations), and from a very slight amount squeezed from some of the foam closest to the foundation, indicating water vapor drive. All of this moisture was trapped behind the foam that had been applied to the exterior. These puddles appeared mostly in areas near windows.
- The Airform metal strap and one concrete nail closest to the remaining interior water leak had a white oxidized appearance. This (presumably) aluminum oxide was only noted on this single nail, in this one area.
When I began to study the water puddles and the oxidized nail more closely, I noted ample opportunity for storm driven rain to enter behind the Airform along stitched seam areas where I failed to caulk. Once the water entered behind the Airform, it could trickle down to any small voids between the Airform and the ring foundation.
Although our interior slab floor was slightly higher than the Airform foundation ring, vapor drive may have encouraged water up through the floor/wall junction to create the puddle we noted inside, perhaps along the oxidized nail.
Another likely scenario is that a tiny path between the exterior Airform stitching and a small void on our window buck or frame allowed the minimal water intrusion. Gravity would allow this water to drip to the floor, though I still expected to find some dampness on the underside of the windowsill.
We’ve had a few driving rains since the foam band has been removed, and there have not been any more puddles under our windows. It is probable that the small interior water leaks would not have occurred if the Airform seams had been caulked along their entire length and if the excess two-part foam had not been applied around the perimeter. As we go forward with our exterior work we will finish caulking the entire length of the stitched seams before we apply our final exterior material(s).
Editors Note — Since Mr. Ecker has had this problem we have been welding the Airforms at every junction and the rope at the bottom is welded in. This has eliminated many of the conditions discussed here.
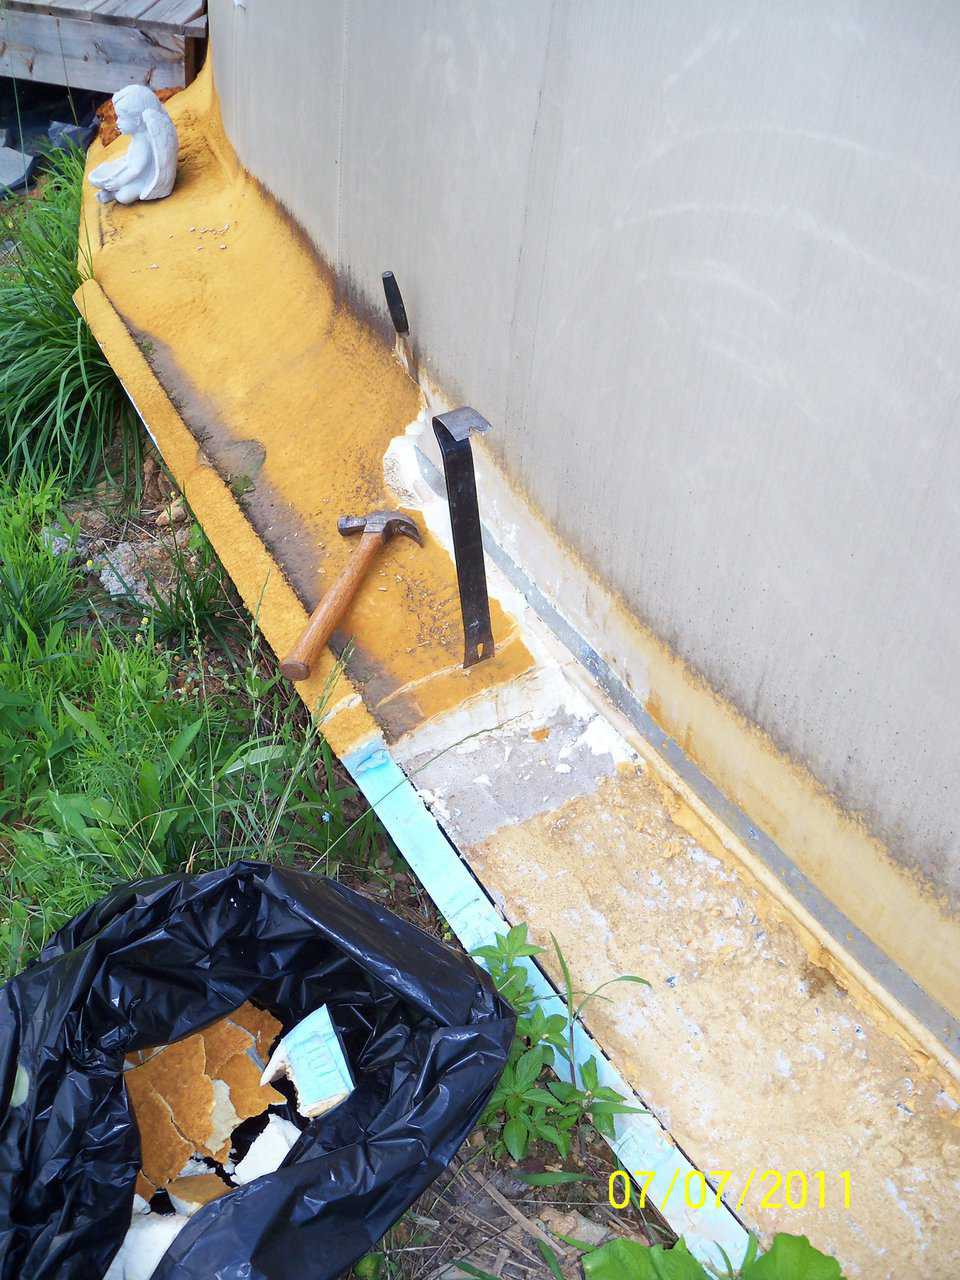
Off with the band! — two years later the foam band was chiseled off the foundation so exterior finish work could begin. In the photo’s lower right corner, note the tanned UV discoloration on the foam’s surface and the small puddle along the metal strapping. (Chris Ecker)
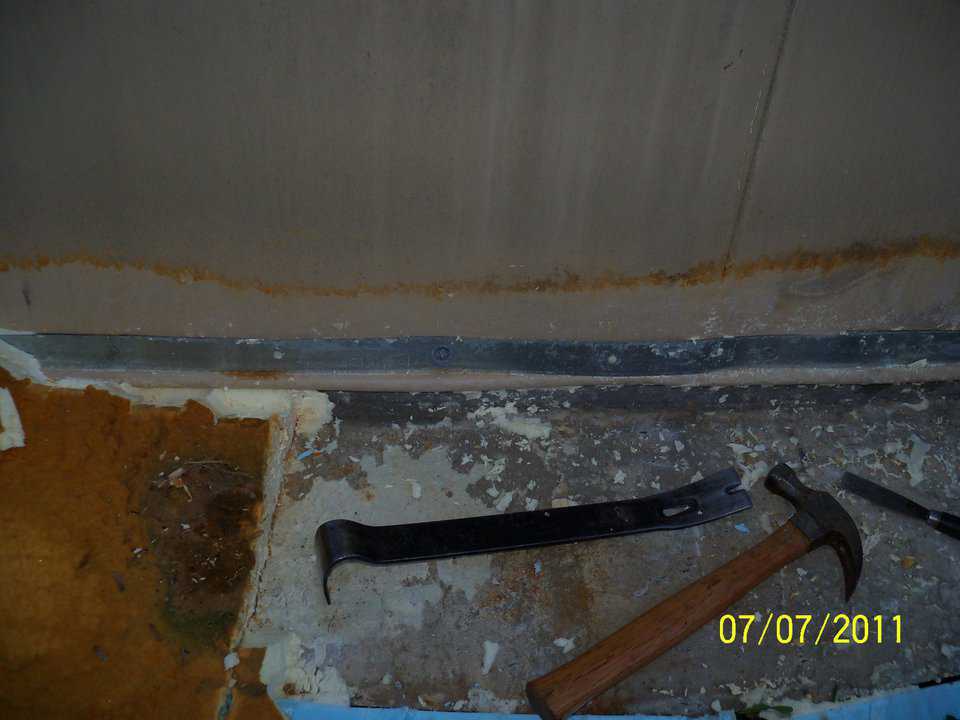
An oxidized nail — the nail piercing the metal cladding in the left hole is oxidized. Beyond the empty nail hole, the two nails on the far right do not appear affected. The right-most nail is through a strapping overlap. There is a tiny gap of un-caulked seam just above the residual foam upper border. This photo also shows the dark grey foundation concrete still curing just under the Airform rope. (Chris Ecker)
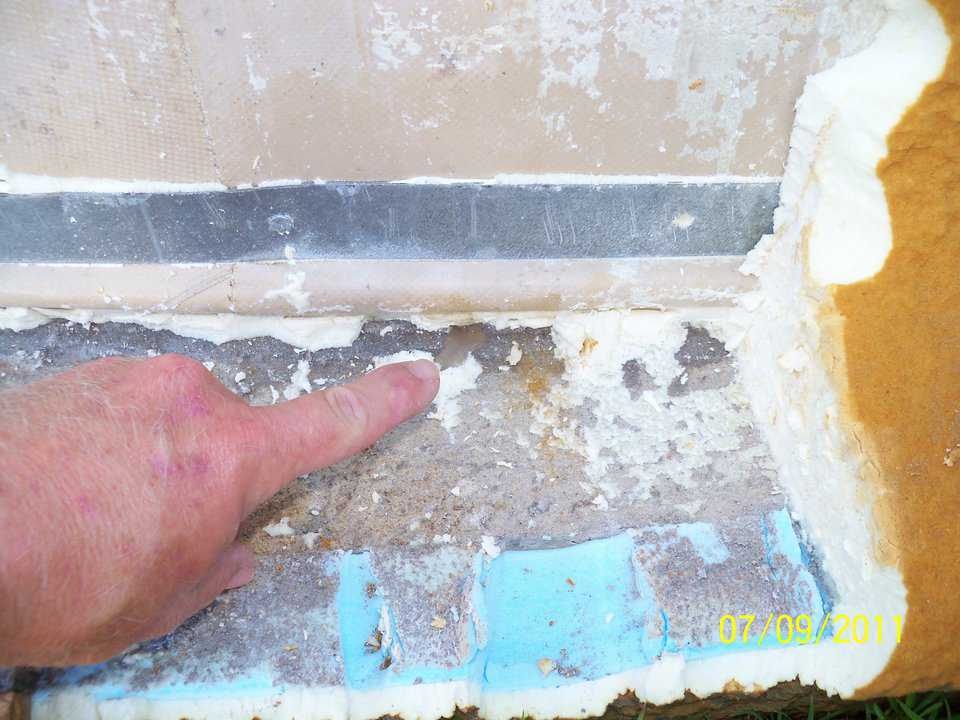
A puddle — here a small puddle of water drips out from behind the Airform rope. There was a small void behind the Airform and above the strapping where the foundation ring crowned outward along the highest border. Note the proximity of the seam to the puddle. (Chris Ecker)