Strengthening a Large Creek Bank
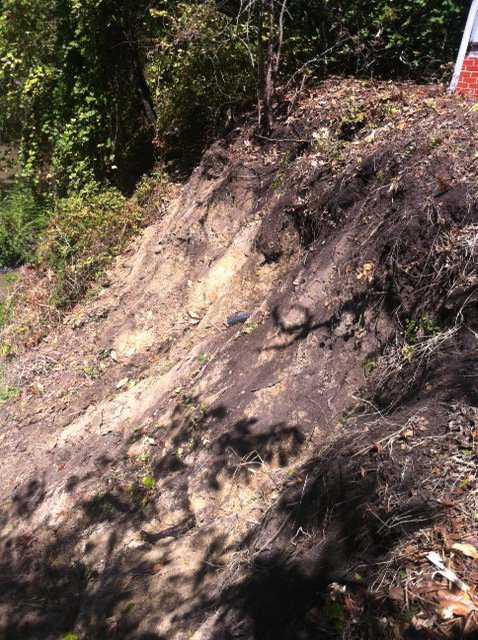
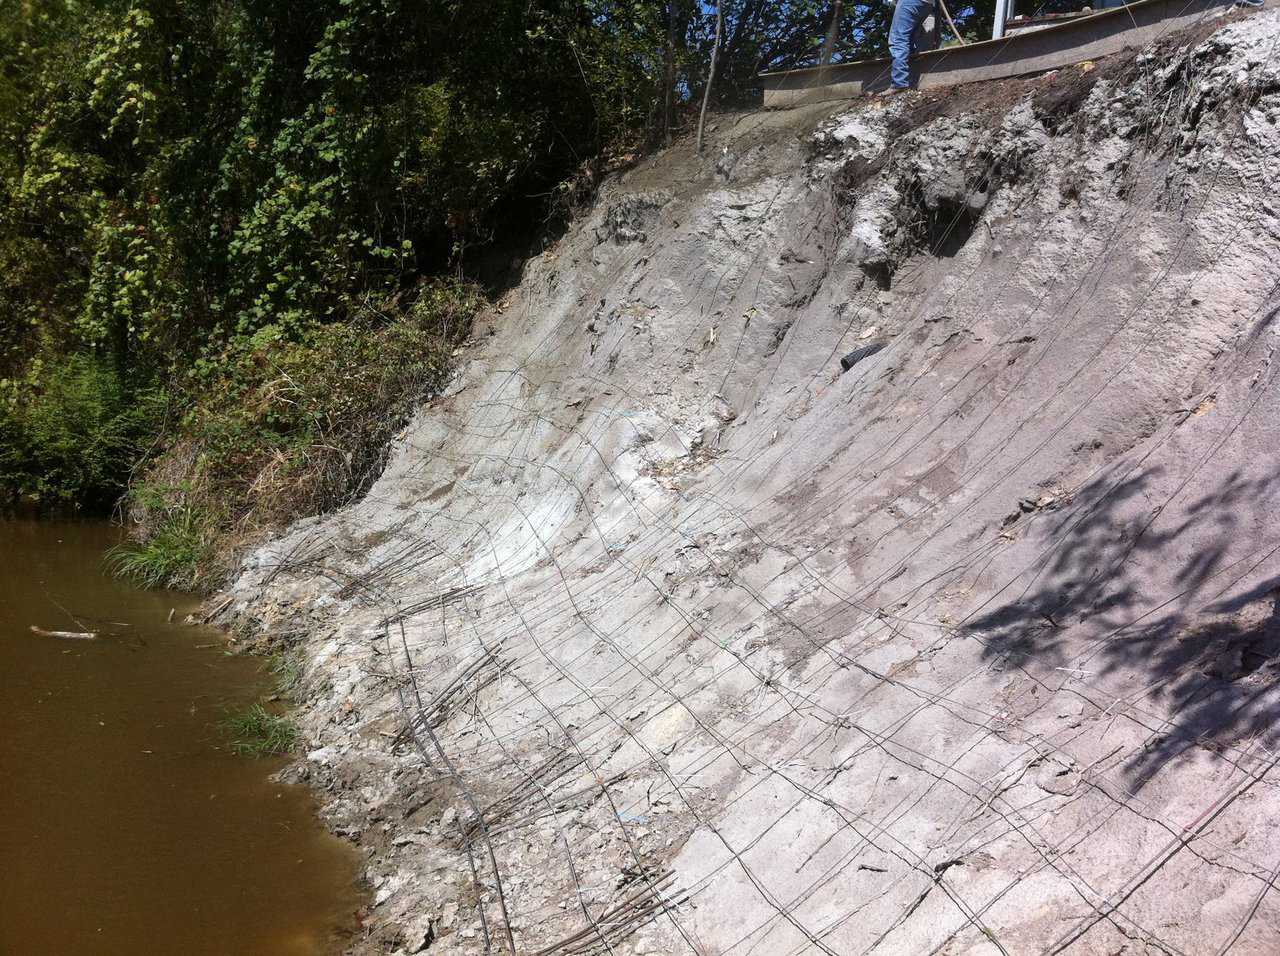
The bank was rough and we did not intend to greatly change it. We smoothed a few spots. Our goal was bank stabilization – not a seemingly new bank that looked manufactured. (Mike South)
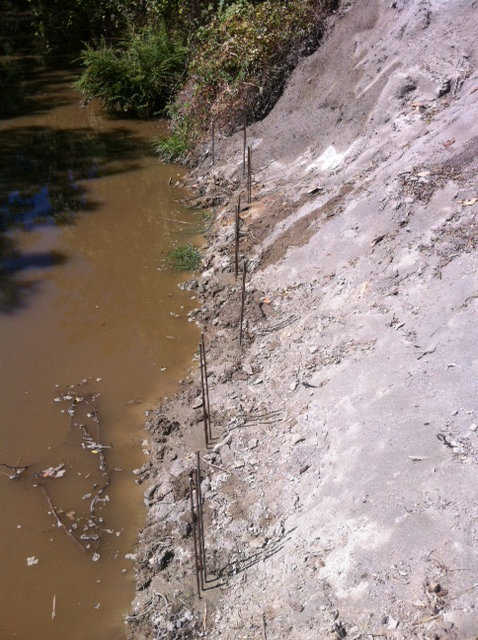
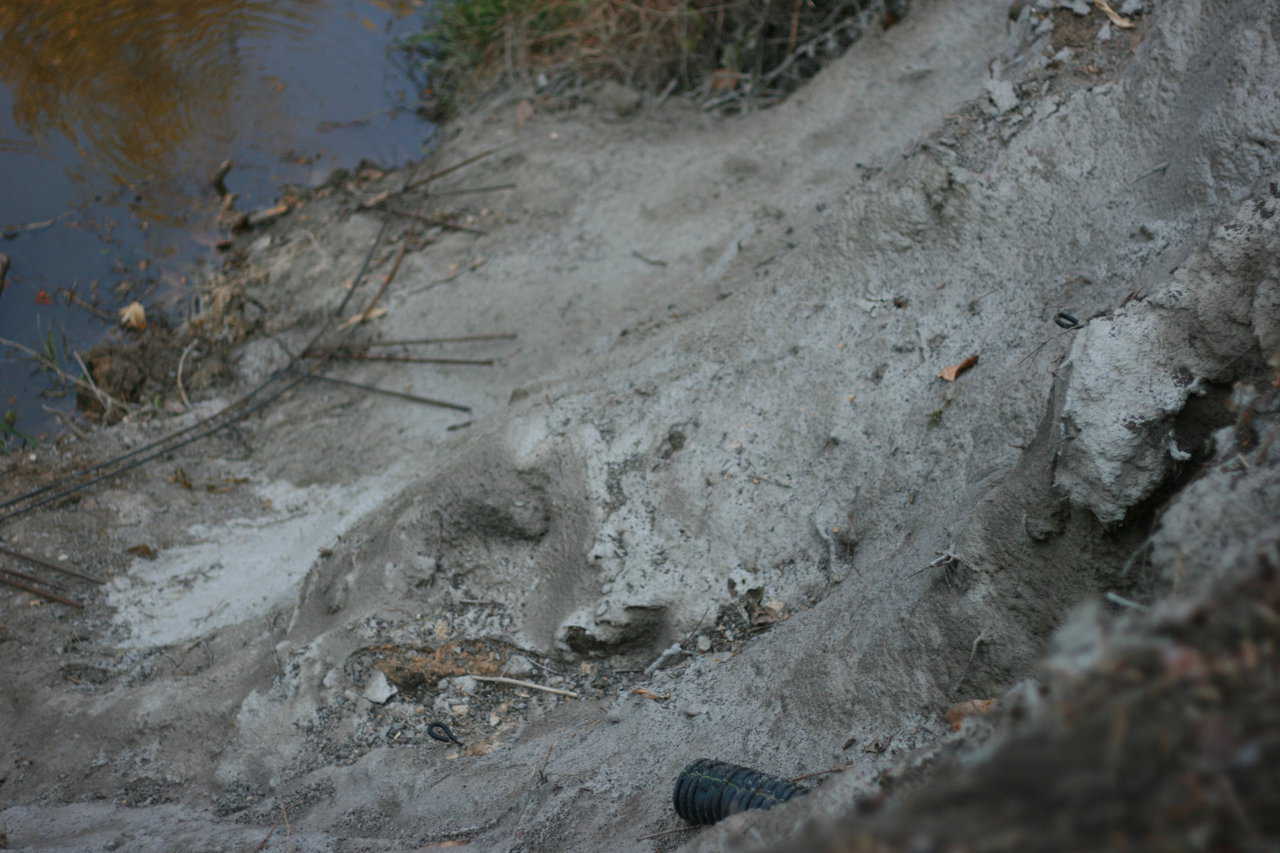
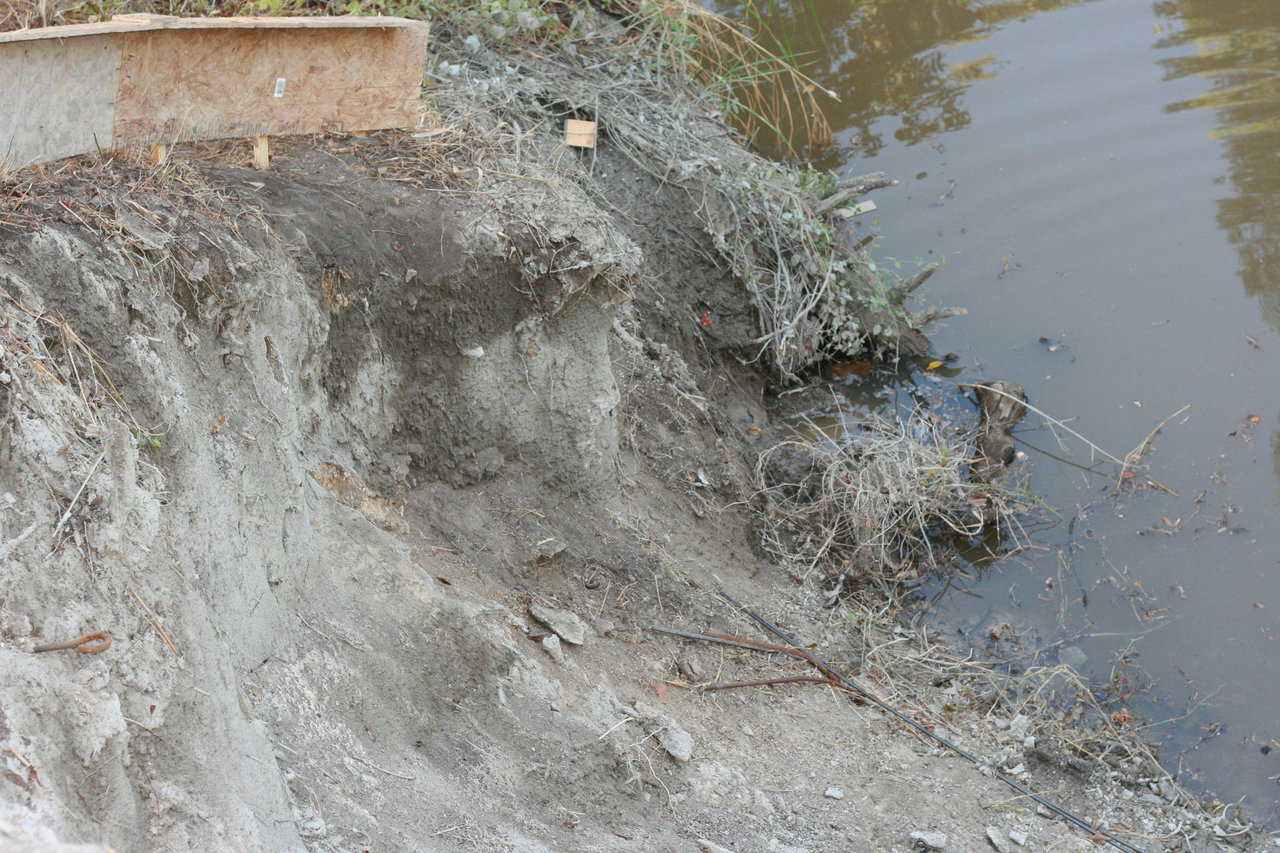
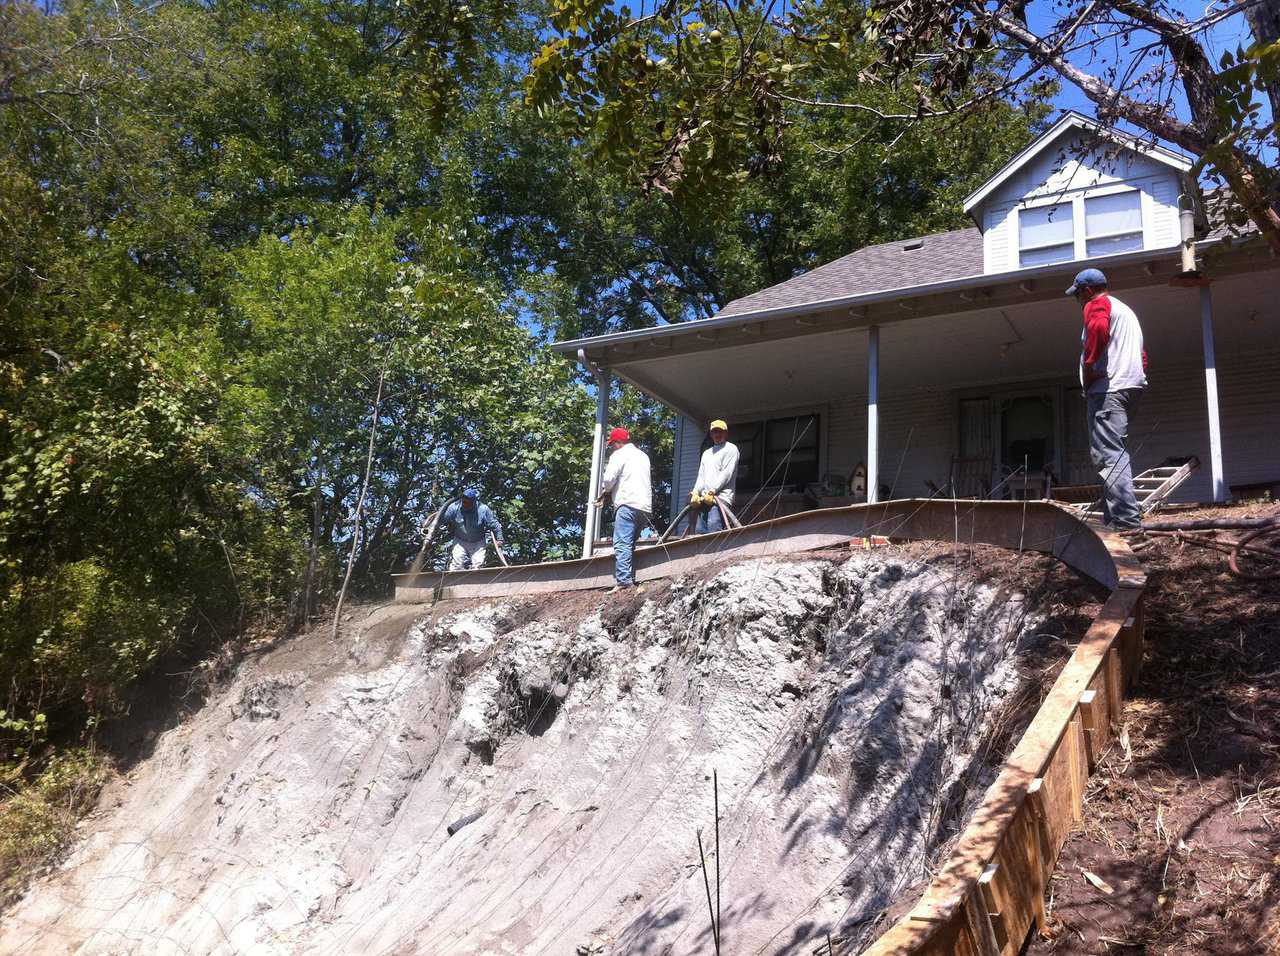
We began by embedding serious post holes at the bottom where the bank levels out. We poured concrete into these post holes, down through the water, which was simple to do. We used a substantial amount of concrete to protect the rebar at this location. (Mike South)
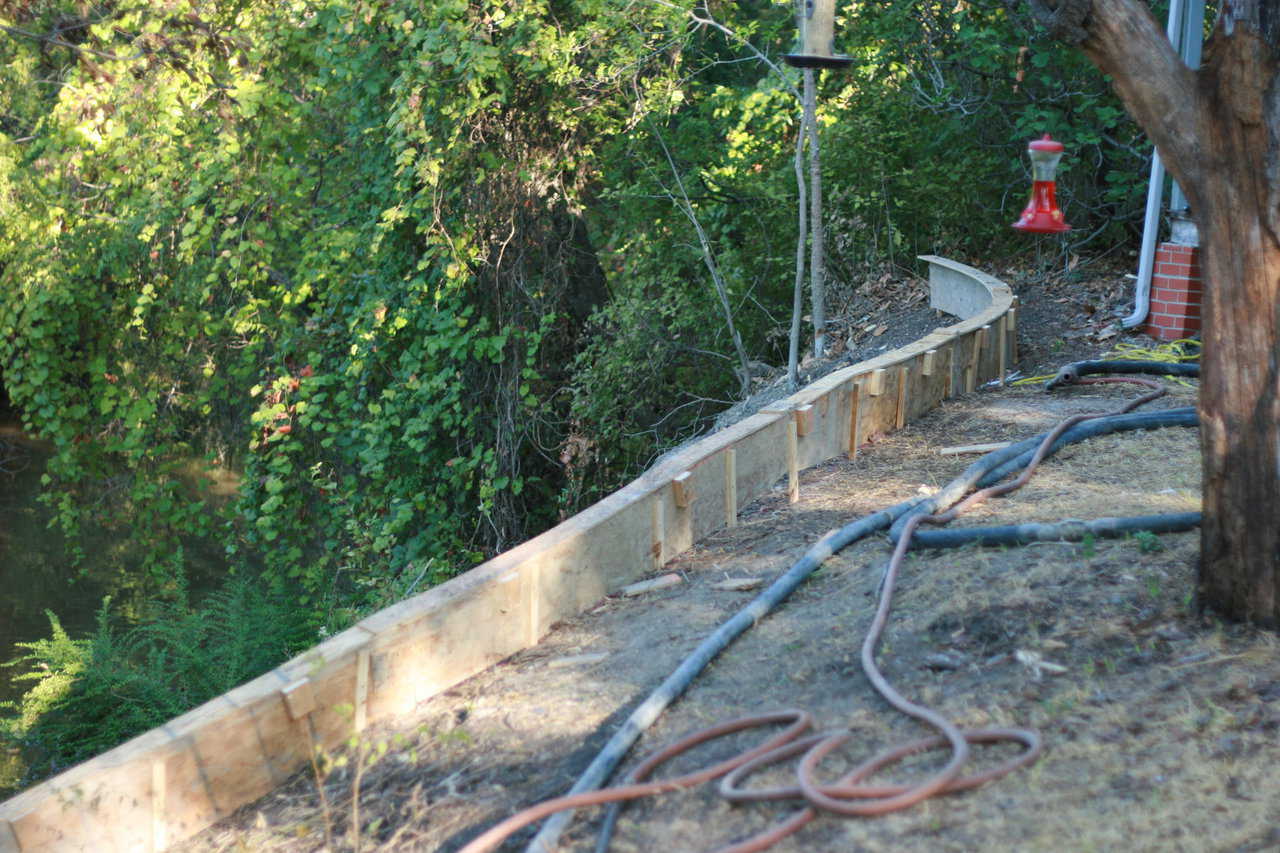
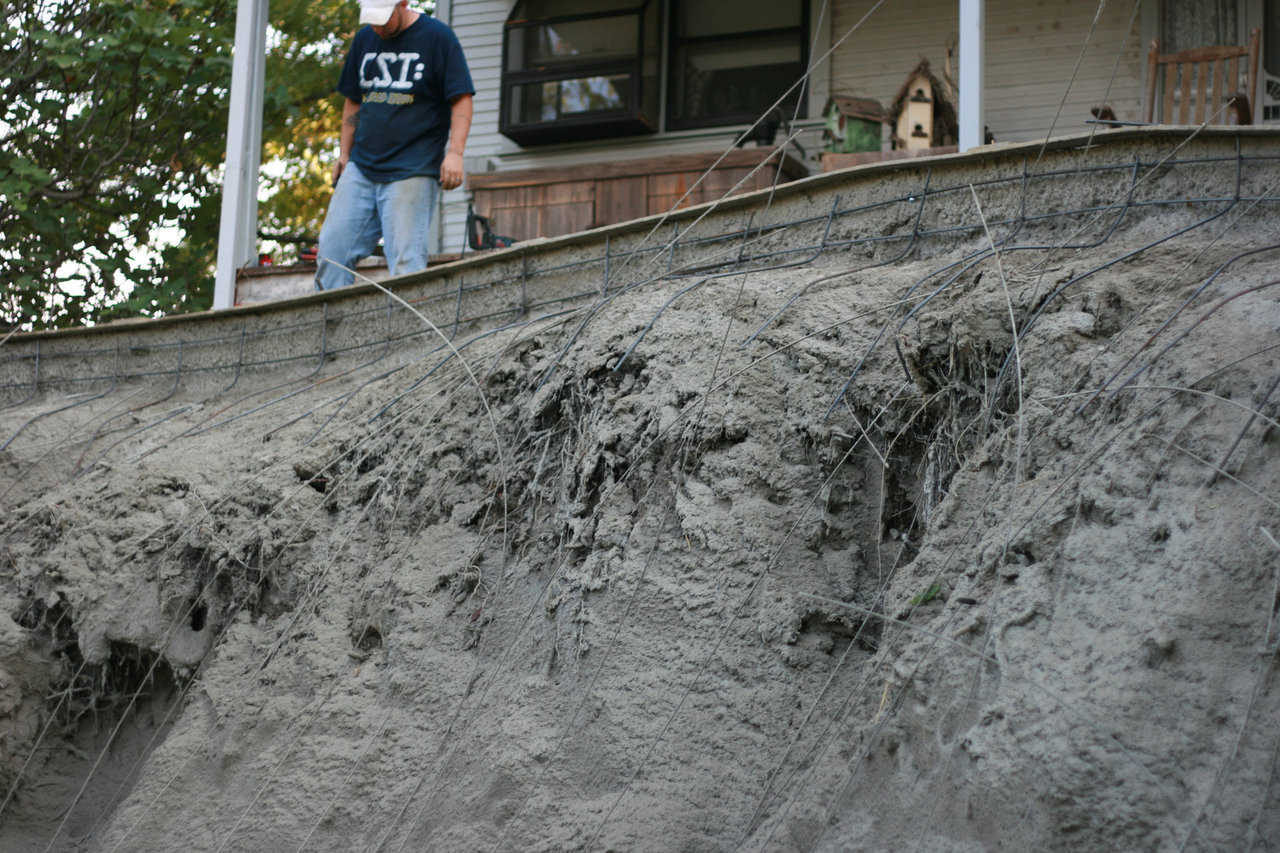
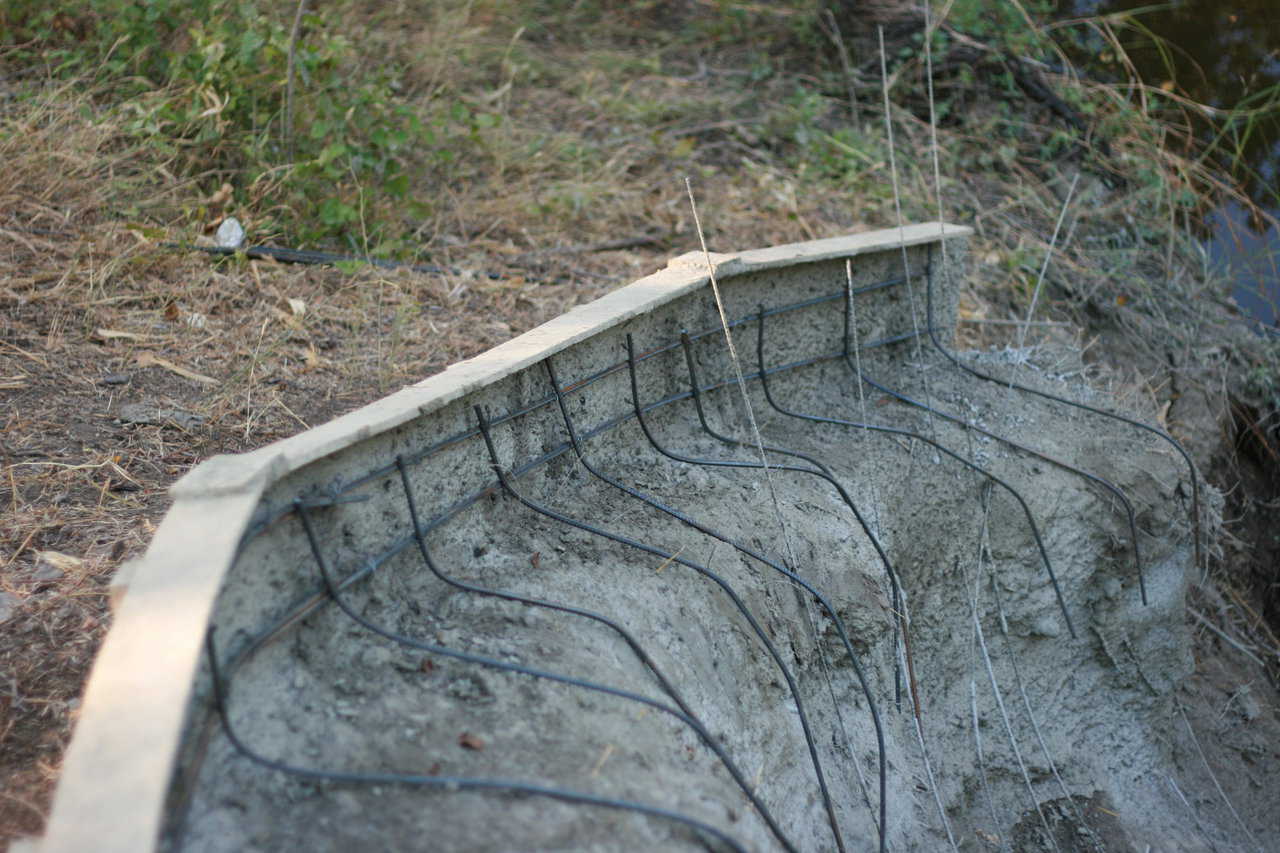
We didn’t want the top washing over the embankment, so we formed a symmetrical smooth top that the owners can fence or leave as is. (Javier Figeuroa)
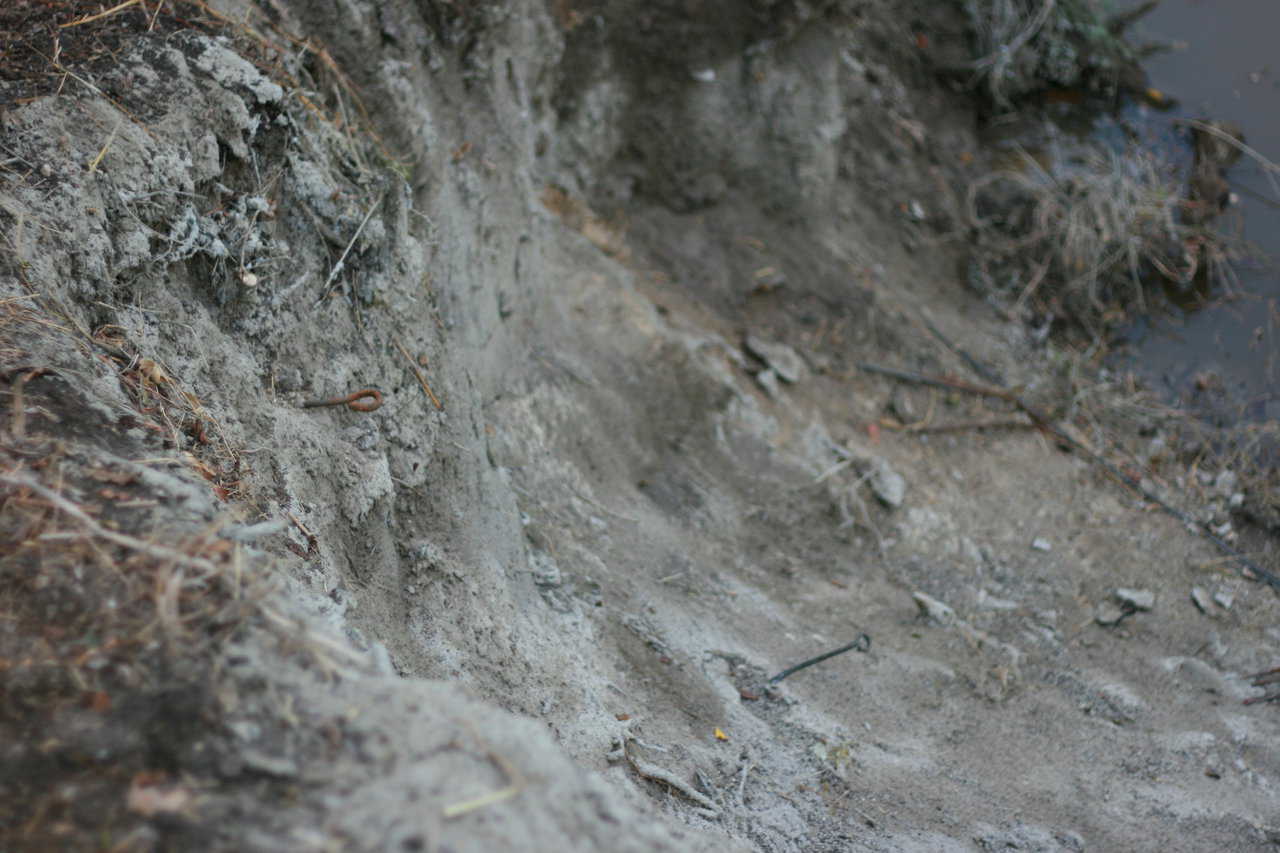
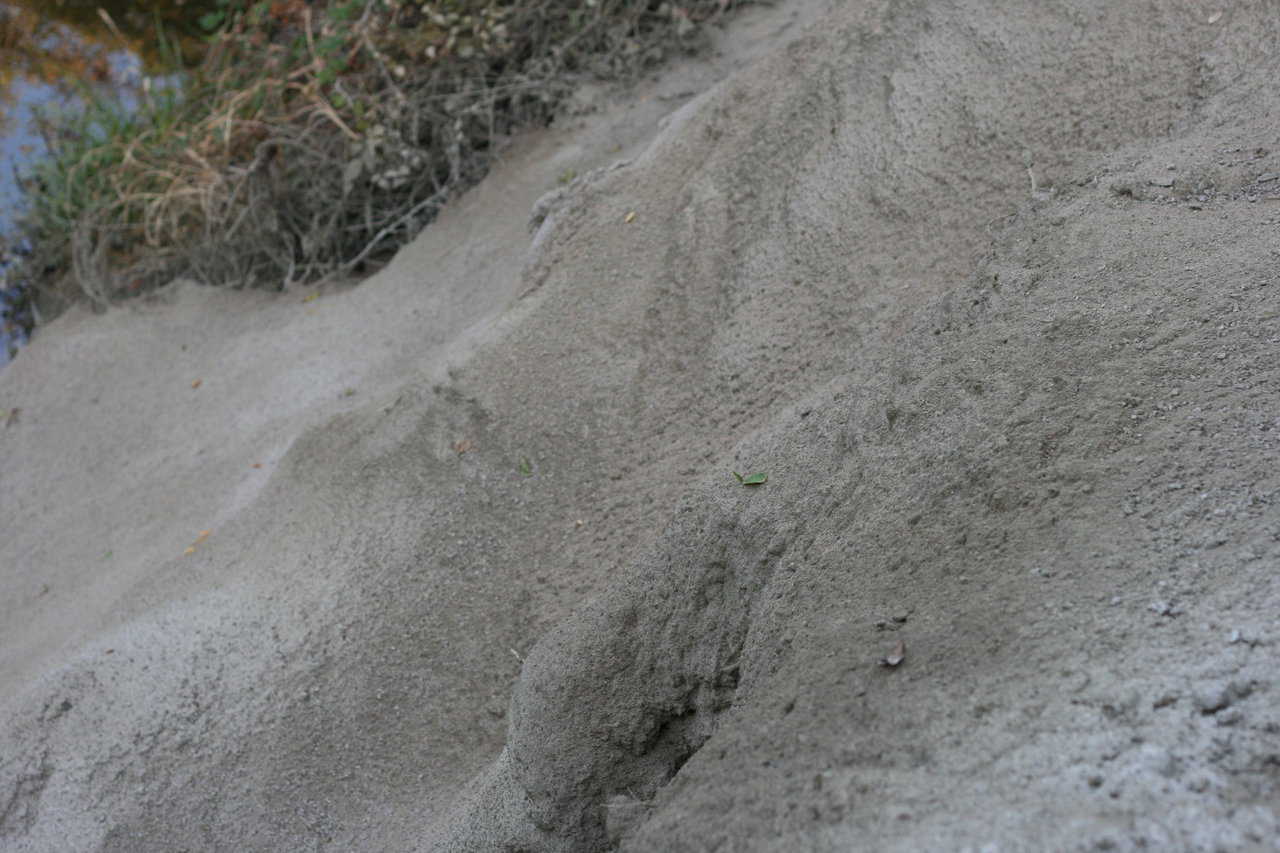
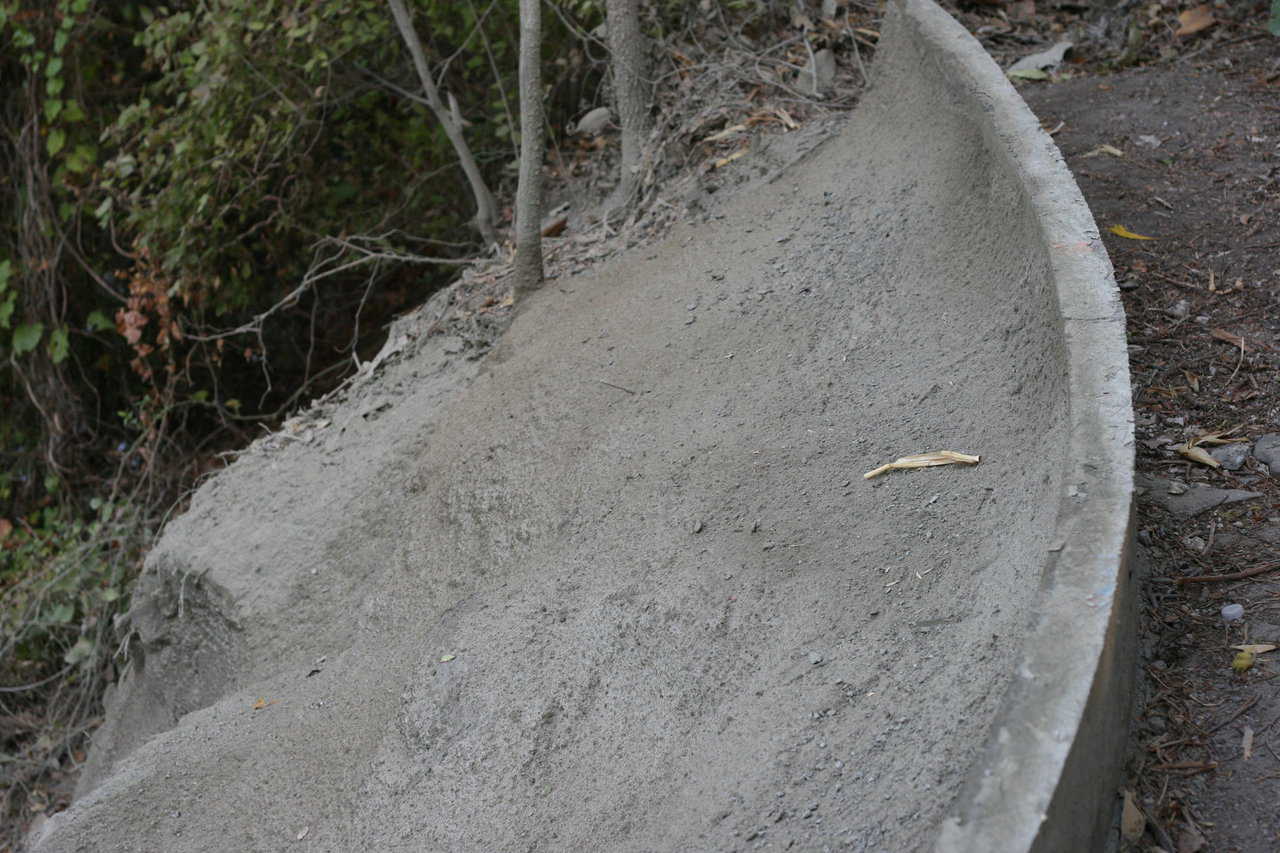
Here you can see the undulated side of the hill that has not been changed much. (Mike South)
The embankment is just as it was. We put some rebar onto the embankment. (Mike South)
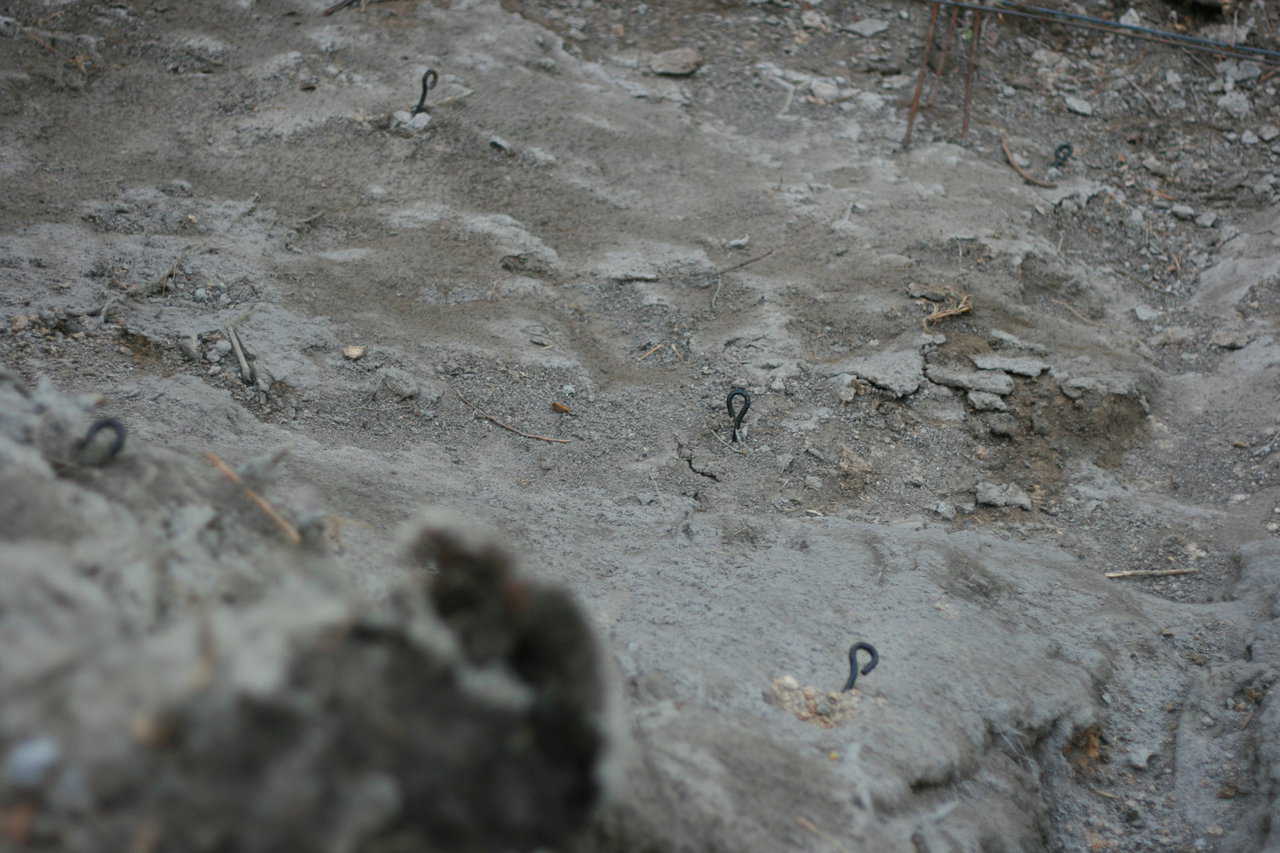
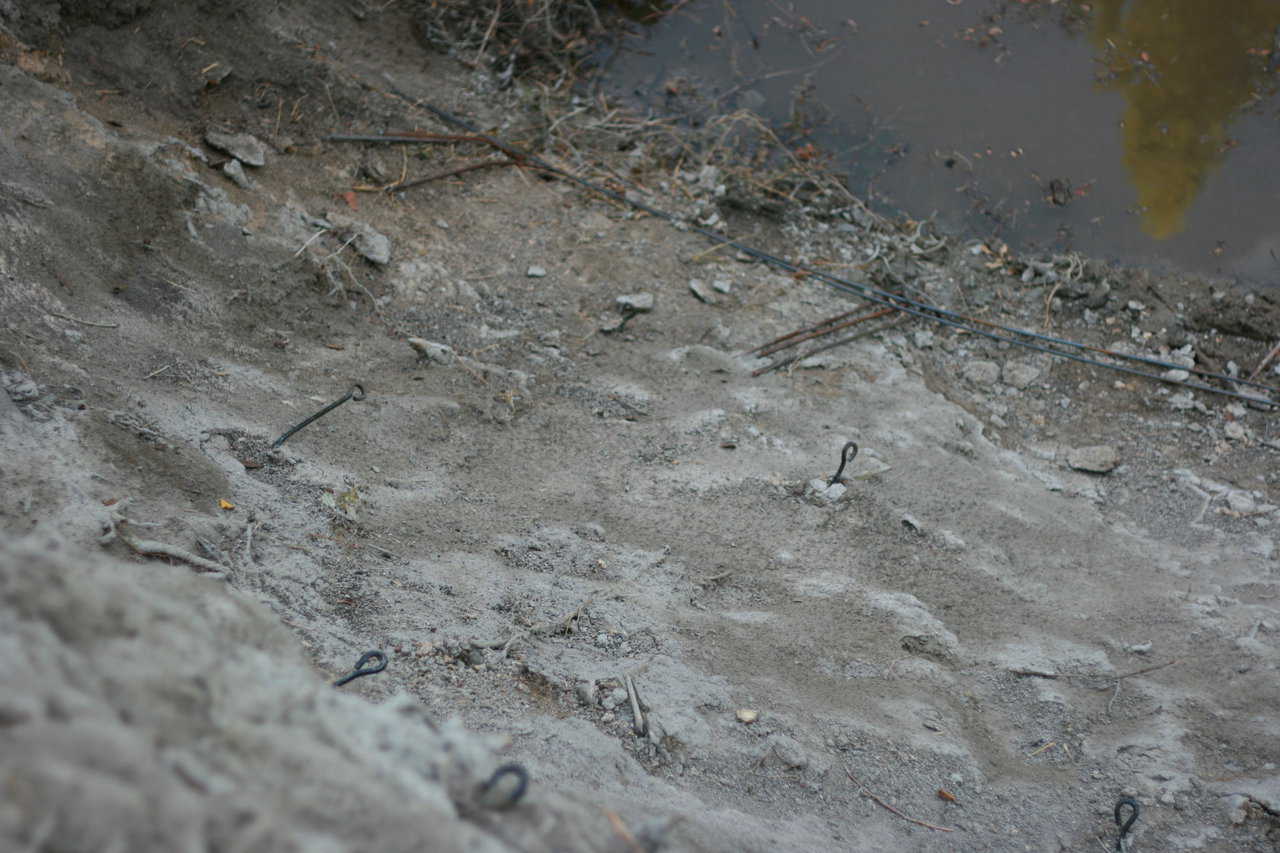
Notice the round rings sticking out of the earth. Those are attached to ground anchors we call mobile home anchors. At their far ends, they have a screw; they vary between two, four and five feet in length and are screwed into the earth. (Mike South)
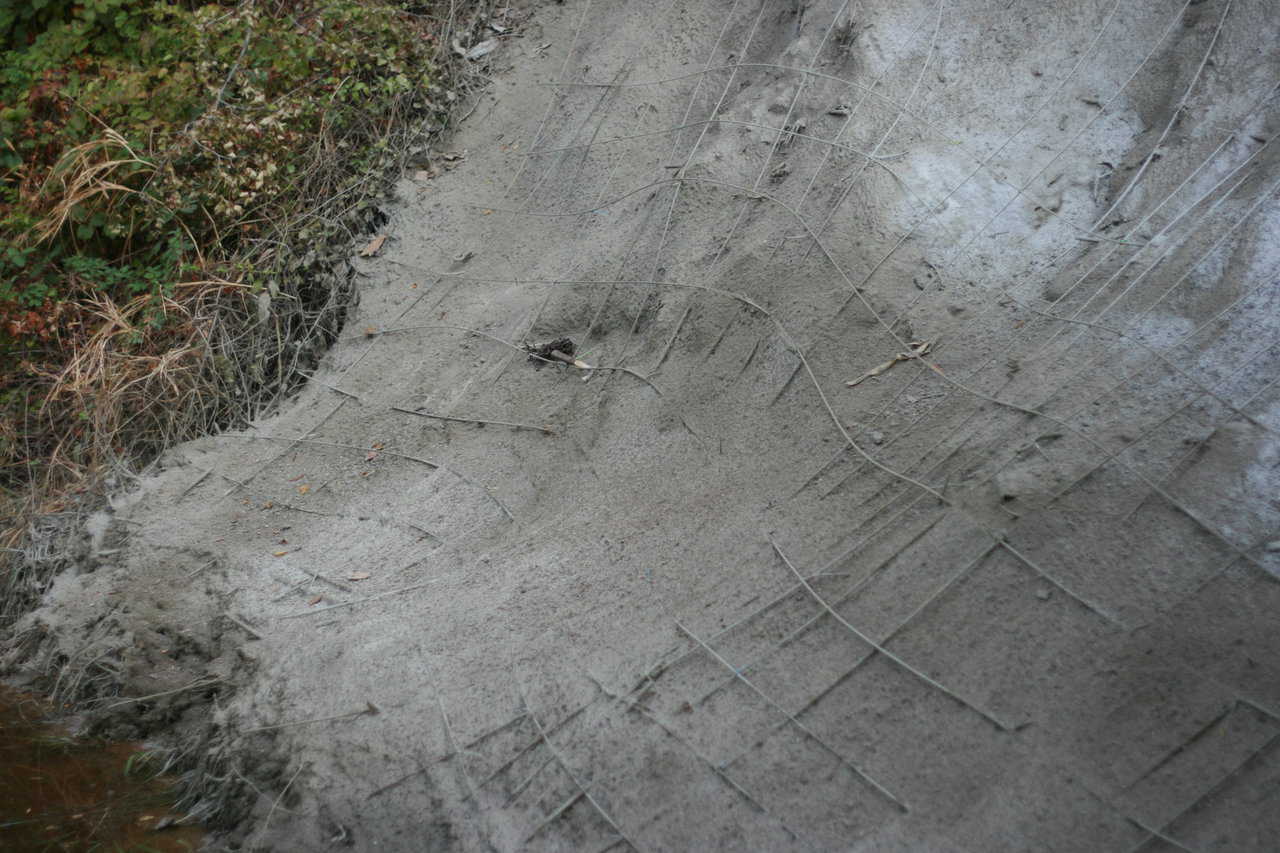
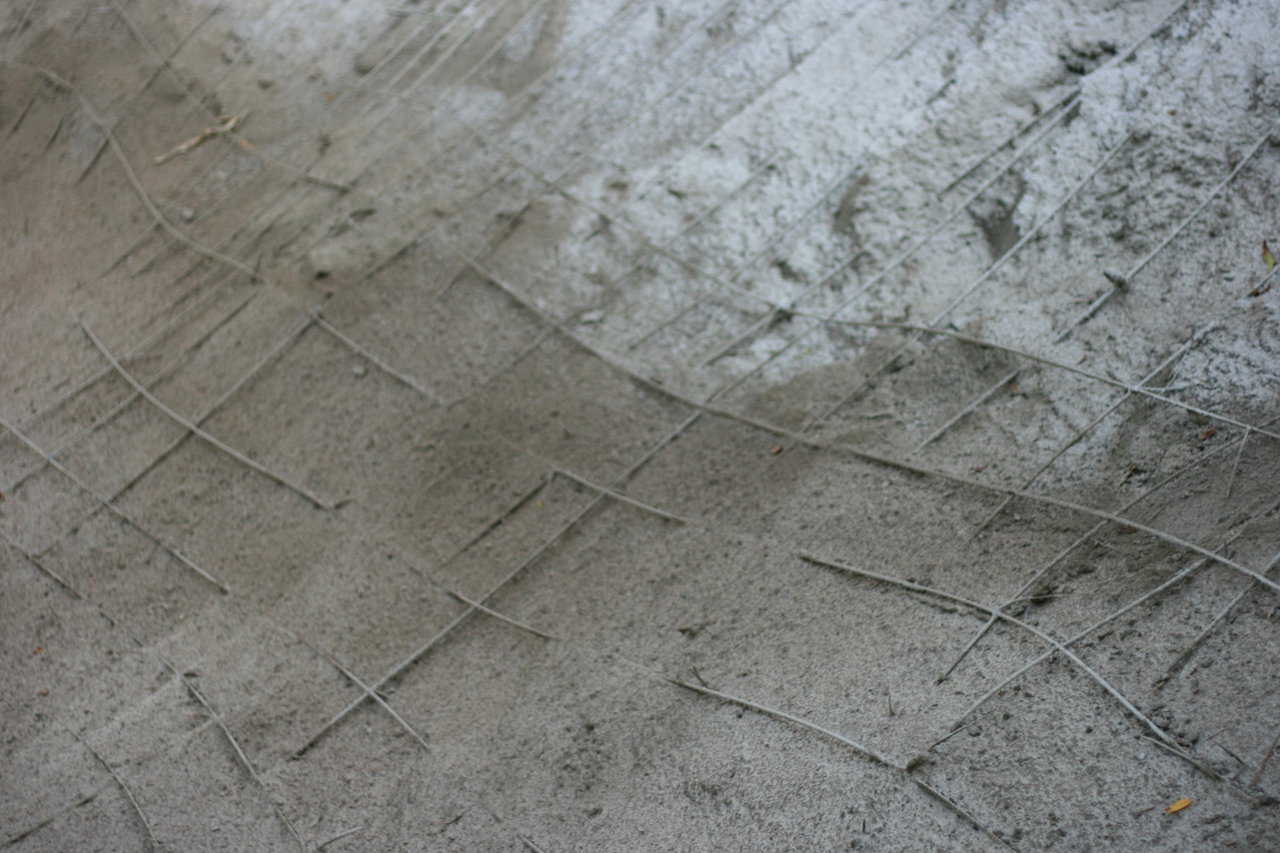
You can still see the top of a ground anchor and some rebar being bent up through the area. (Mike South)
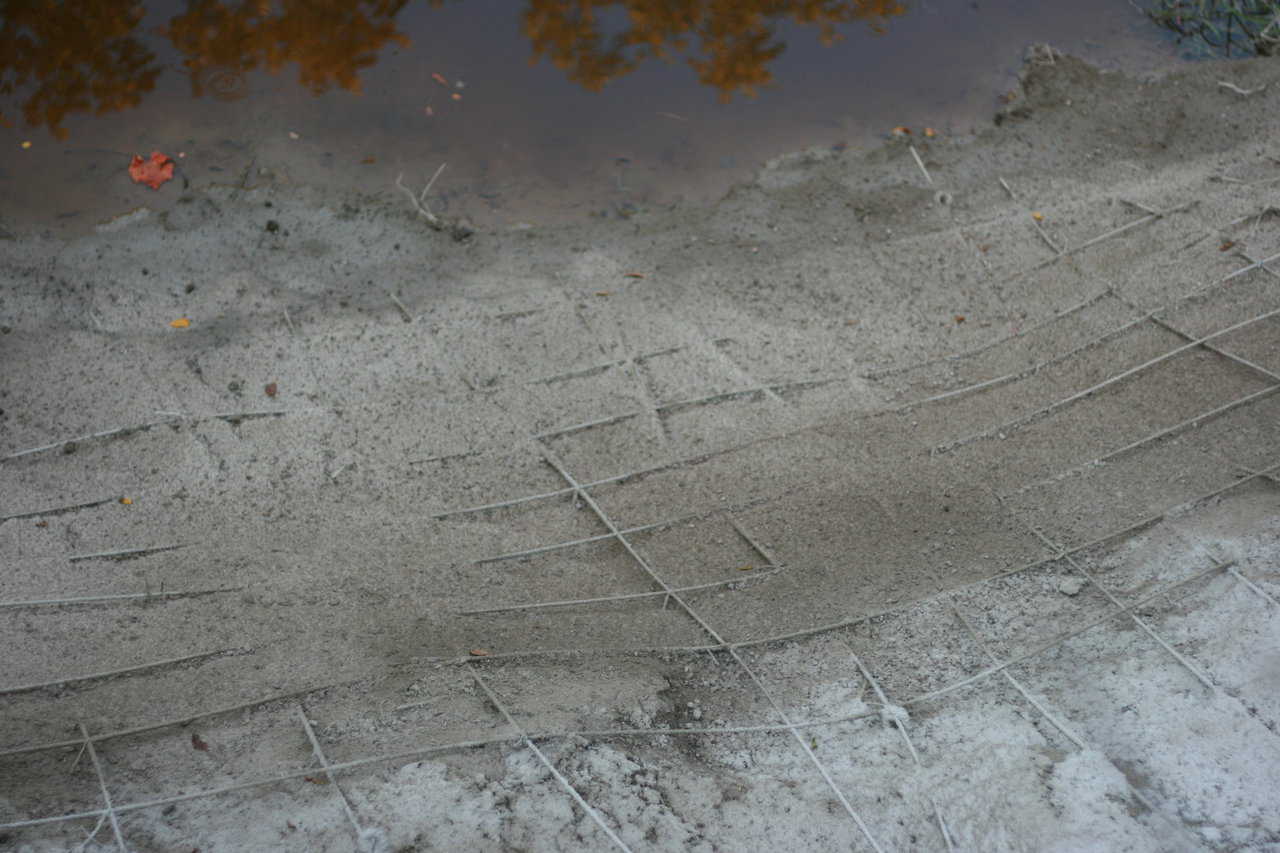
The rebar here is Basalt Rebar. We used Basalt because it doesn’t rust, and there is no way you can get rebar perfectly encased in six inches of concrete without spending enormous amounts of money. But Basalt doesn’t care; it will not rust and will be there literally forever. (Mike South)
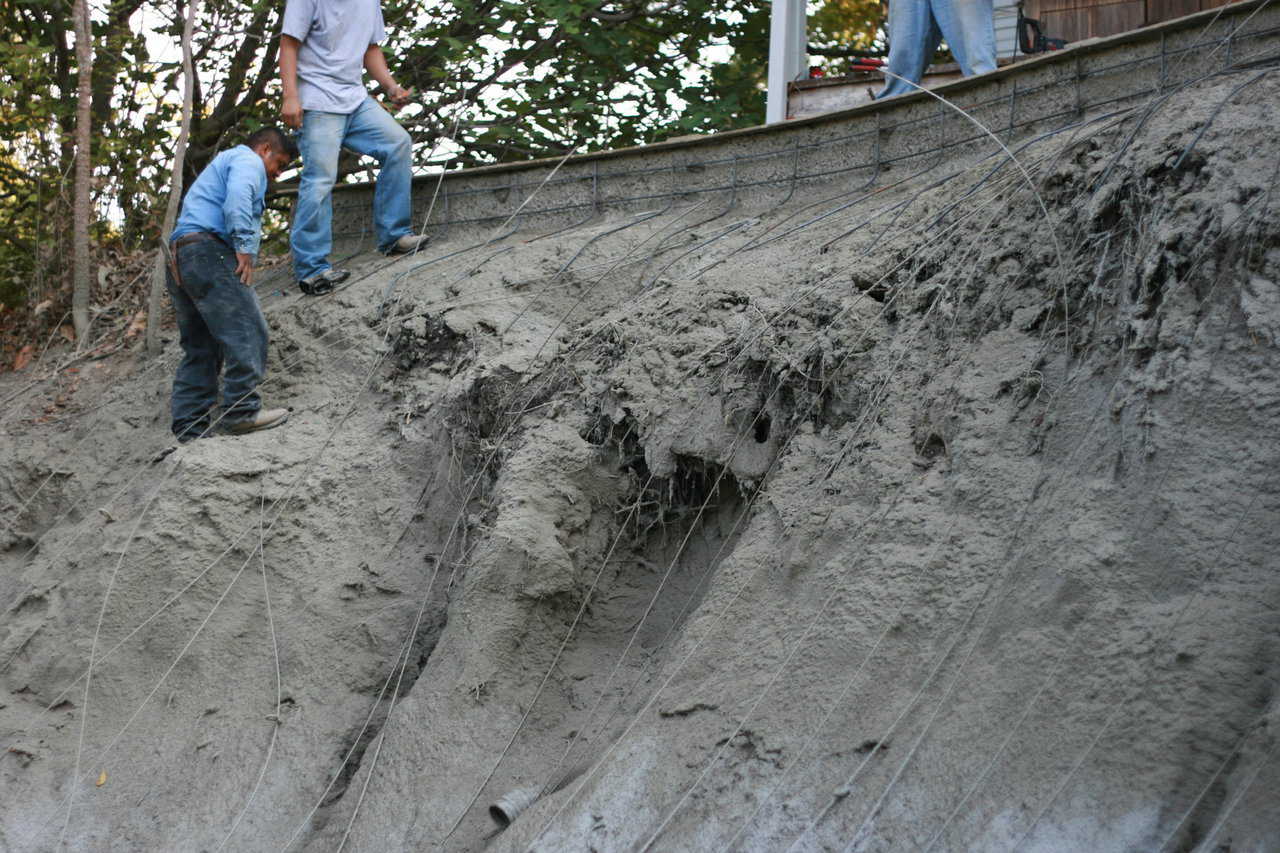
We can see more of the vertical slope and the ground anchors with Basalt Rebar. (Mike South)
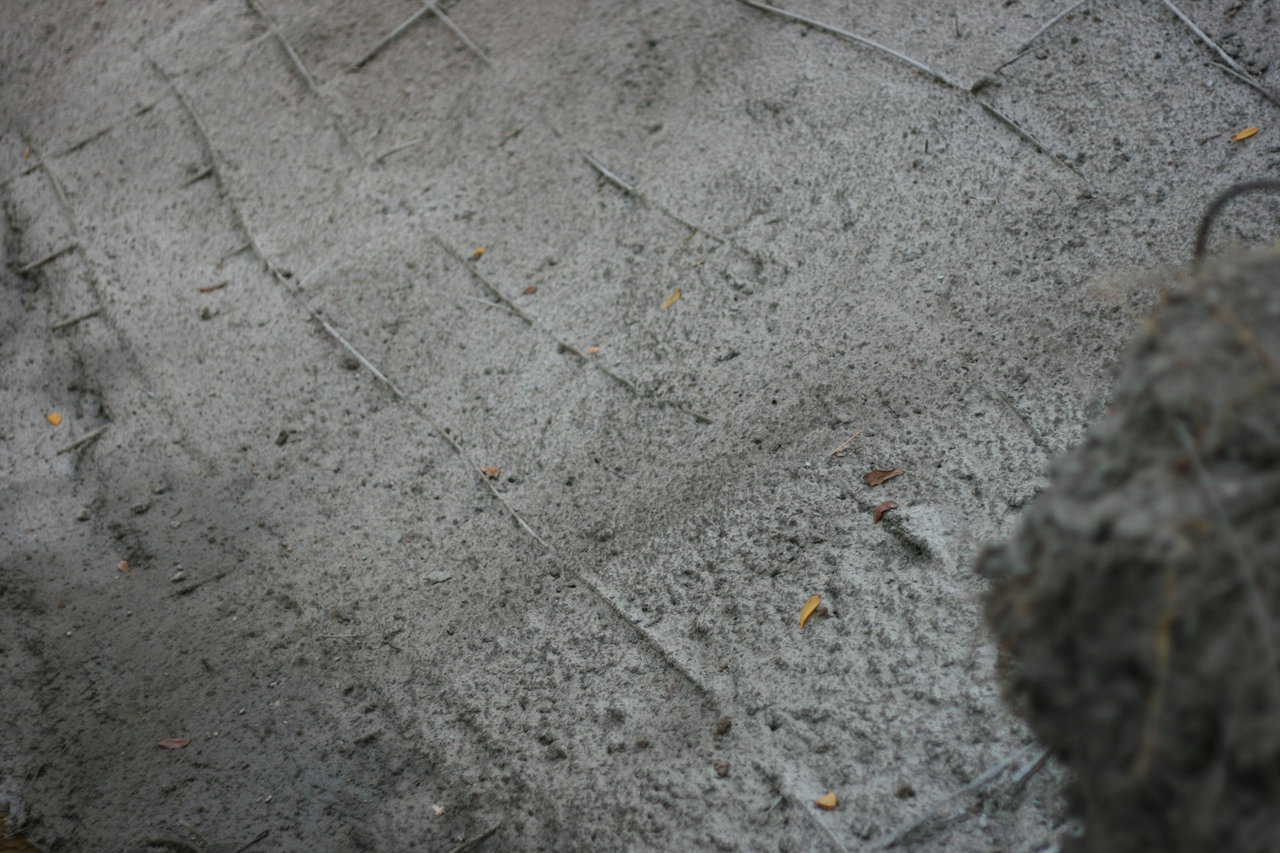
We began getting into some steep sides. Again, this was anchored back, and Basalt Rebar was used up the embankment’s main face. (Mike South)
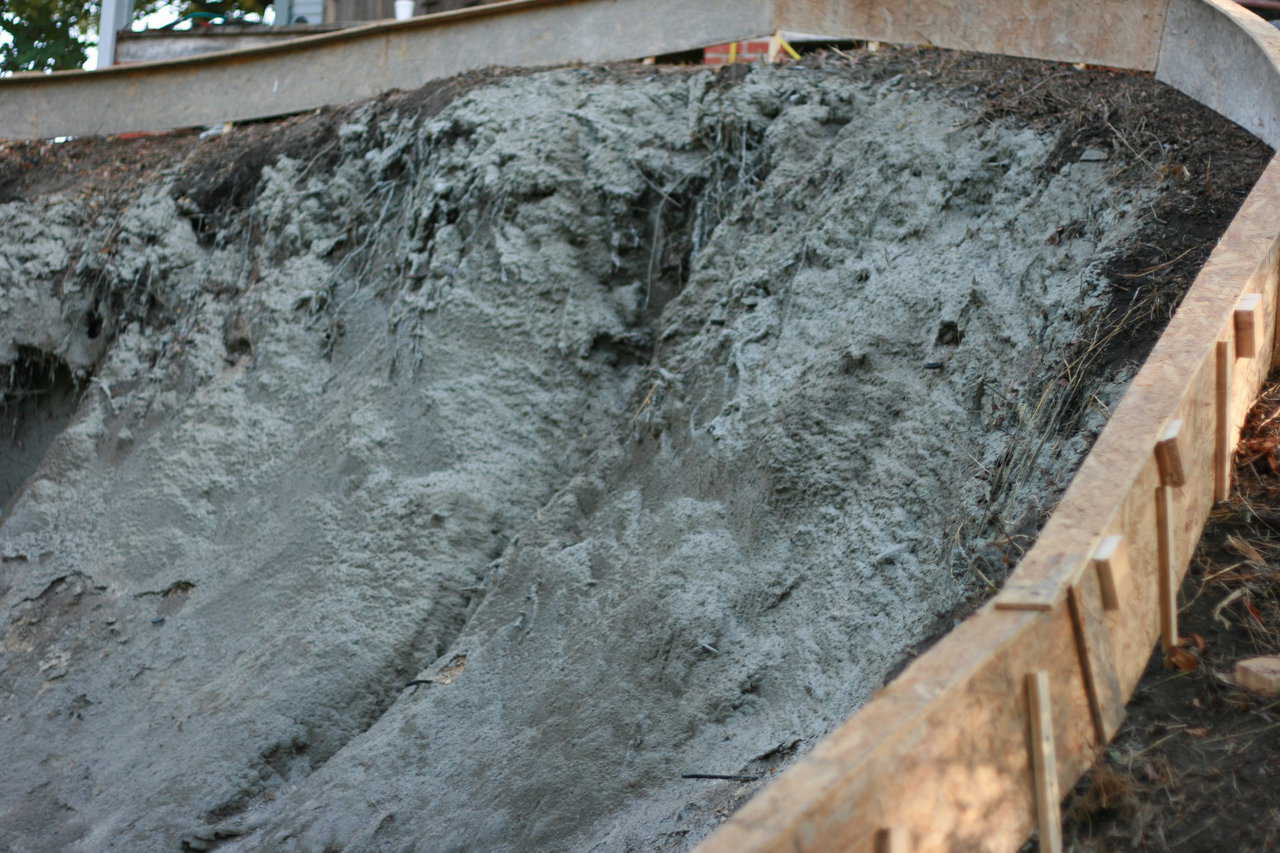
We began getting close to the top. Basalt was placed and forced to fit the slope of the embankment. At each step of the way more concrete was added to hold the dirt and the Basalt Rebar in place. (Mike South)
The concrete started thickening and embedding the rebar. (Mike South)
We got close to the embankment near the finish wall – time to start worrying about how it all gets finished. (Mike South)
More Basalt Rebar got embedded. At this point, the concrete was primarily used to hold everything still as it was put it place. (Mike South)
More concrete was used to stabilize the wall sections. (Mike South)
More and more of the Basalt Rebar is in place. Not as clearly shown are the rebar anchors that are drilled back into the hillside to hold the whole thing together. (Mike South)
We used steel rebar as we got closer to the top. At this point, we were not worried about rusting since we made the concrete thicker. By using steel rebar, we can more easily make the curves we need. (Mike South)
We got close to the top and close to finishing it up! (Mike South)
The slopes were close to finish. Rebar is now all covered and just the concrete left rough is in place. (Mike South)
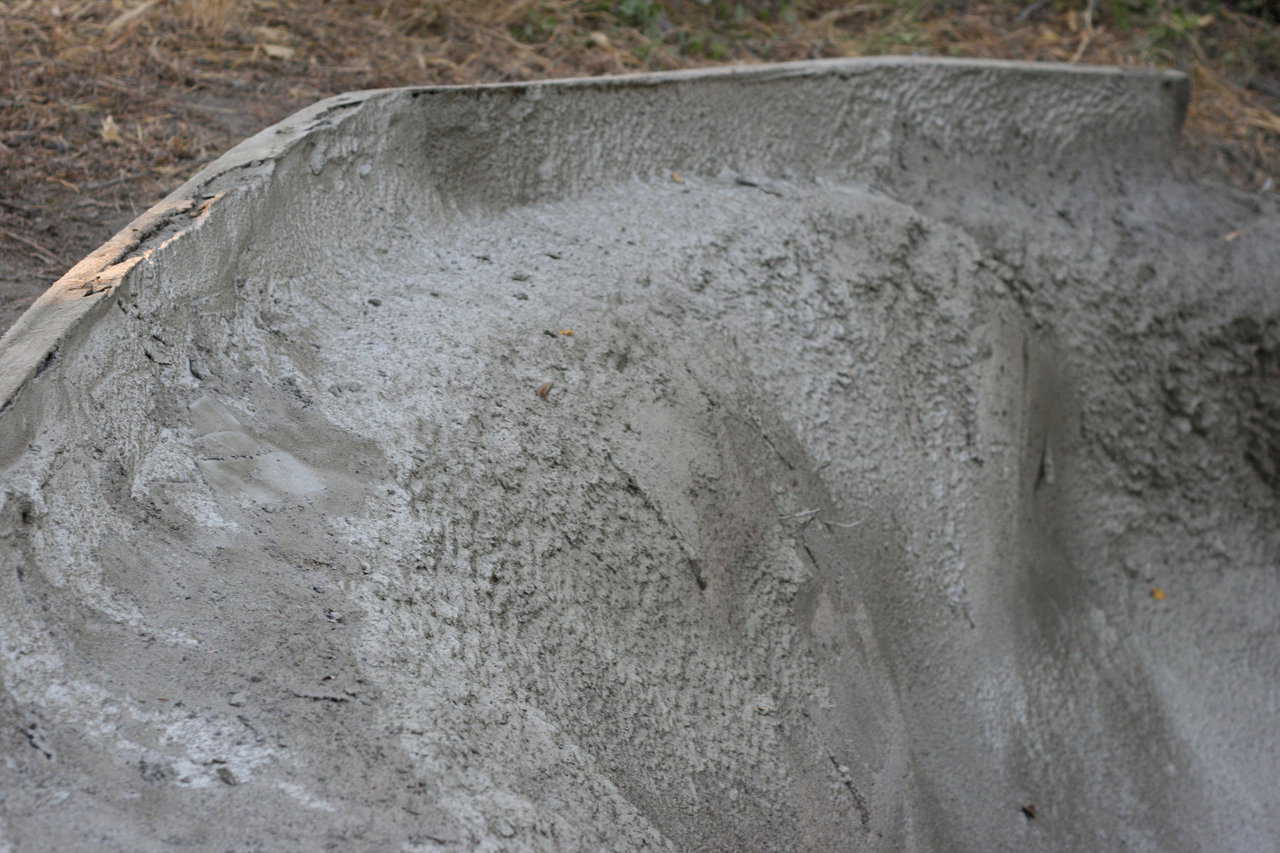
Again, the top of the wall is now structurally done; it just needs the trimming. (Mike South)
Concrete is near completion. The bank is stabilized, and the top wall is finished except for the trim. (Mike South)
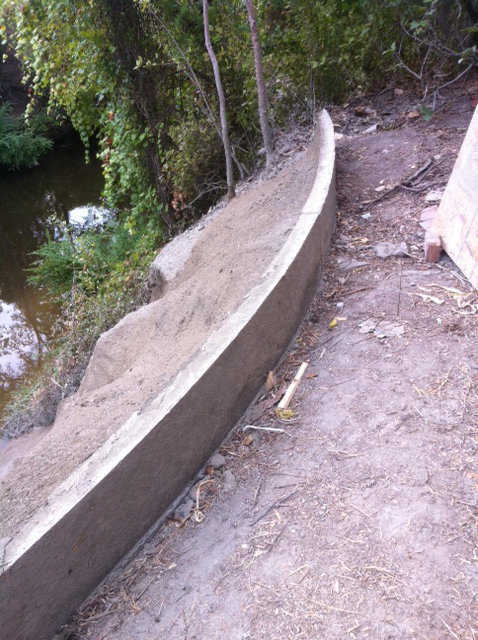
We have the top looking down the slope all done. The top wall is done, except for a bit of grouting to clean the vertical surface. (Javier Figeuroa)
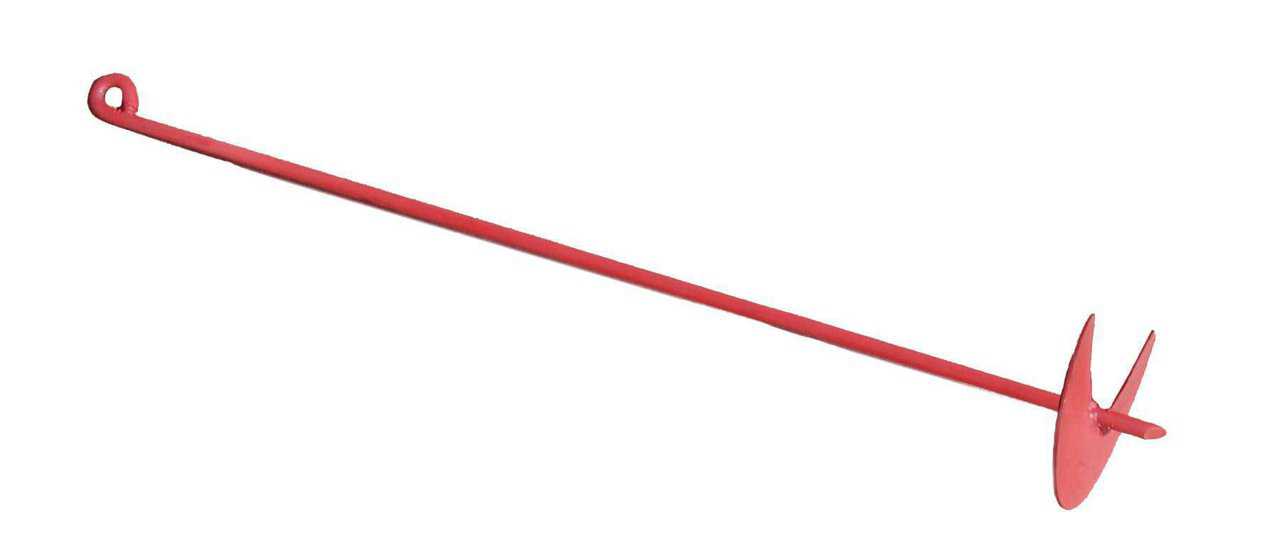
Ground Anchor – Available in 15" to 48" long, 1/2" – 3/4 " diameter. Using ground anchors, we attached the concrete blanket into the soil.